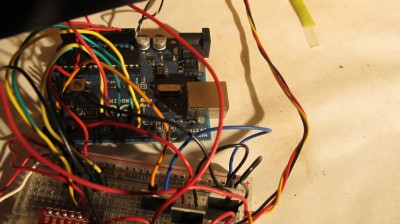
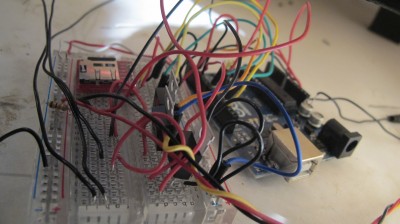
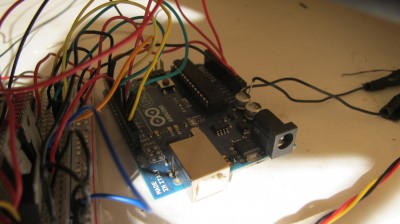
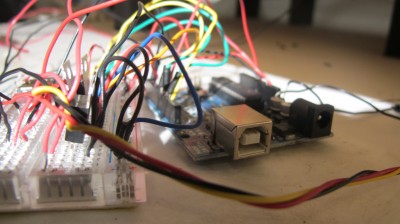
circuits
crankshaft music
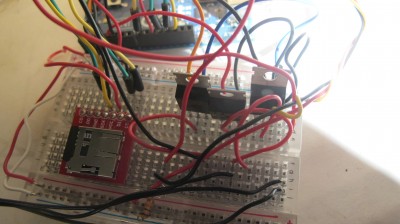
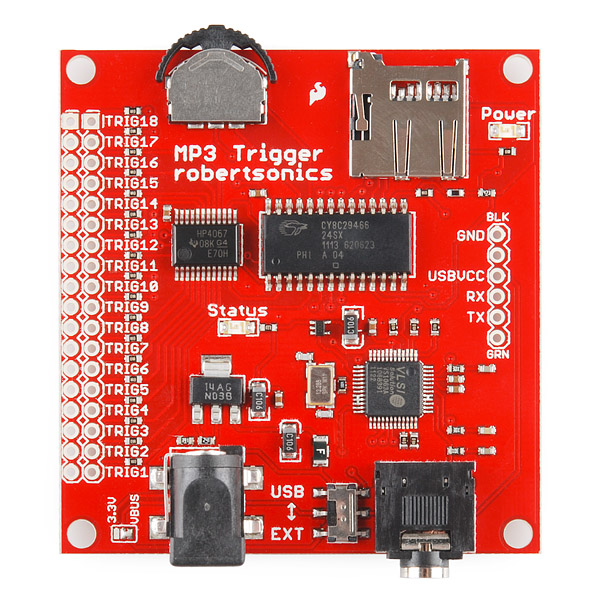 things i’m learning from the mp3 trigger that i forgot:
>>power it using usb or 5V? extension
>>Status light:
1 long blink – No formatted microSD media found.
1 long blink, followed by 1 short blink – microSD media found, no MP3 files located.
Constant short blinks – Hardware problem with MP3 Decoder.
3 short blinks – microSD media found, at least 1 MP3 file located.
NAMING
–>Track names have to be as followed:
TRACK001.MP3
TRACK002.MP3
and so on
LIMITATIONS TO THE MP3 FORMAT?
—>IT Supports a bit rate of up to 192 kB
Initially I think my problem is the SD card, if I remember correctly:
What I’m trying to set up now :
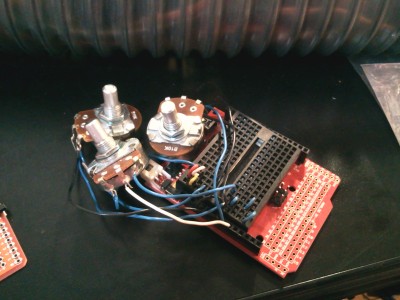
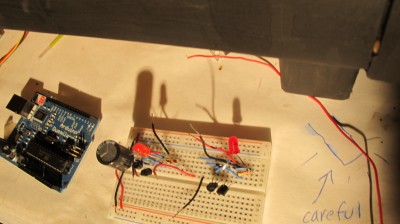
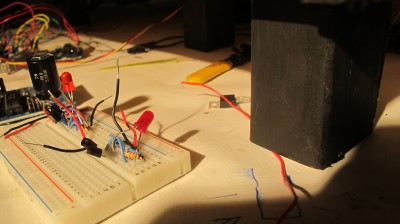
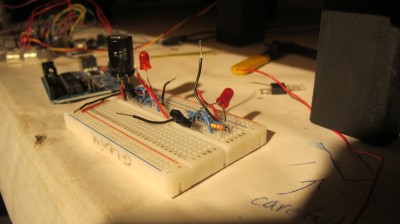
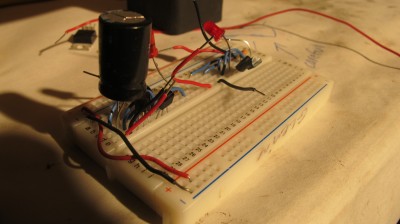
–>spin an crank shaft that is somehow attached to an encoder, when the encoder recognizes motion, trigger a song. To trigger a song, this should happen when jumping one of the “mp3 tracks” to ground on the mp3 trigger, ie writing low to one pin that is connected to the mp3 trigger track pins.
using any encoder code: http://bildr.org/2012/08/rotary-encoder-arduino/
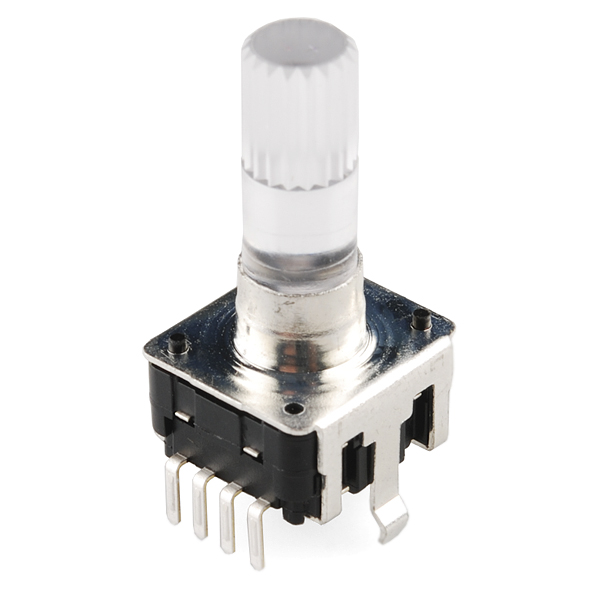
and this schematic:http://www.hobbytronics.co.uk/arduino-tutorial6-rotary-encoder
— > Step 1. Only if there is a change in state of encoder position, write LOW to the pin.
Let’s start with pin 13, just to see if I can have this happen with the light.
AND , once the state changing stops, write HIGH (ie don’t play the song)
Simply, this takes an arduino input (ie the encoder) but then outputs a DIGITAL signal to trigger a track. So here, D13 triggers a track to play when written LOW.
The outer strip on the mp3 trigger pins are GND; the inner pins are what D13 should be connected to;
———–
After a while this proved not to be so simple:
https://forum.sparkfun.com/viewtopic.php?f=14&t=32647#p145292
https://forum.sparkfun.com/viewtopic.php?f=14&t=34282#p152976
things learned: use a pull up resistor for triggering clean, LOW output. ; if any of the pins are “pulled high” none of the pins will work…
eventual code:
Documentation of Sneel_002
Soon I will make a how-to guide for Sneel_002 on instructables.com, as I did for the first version of Sneel, (i’m working on that) but until then…
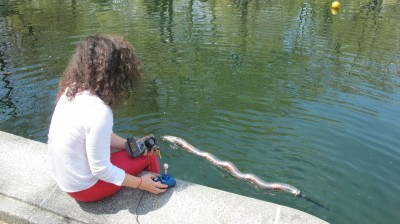
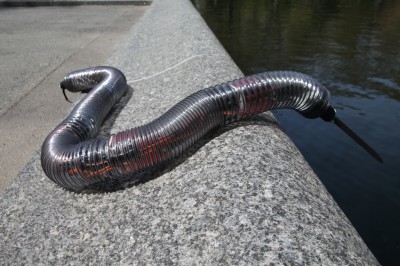
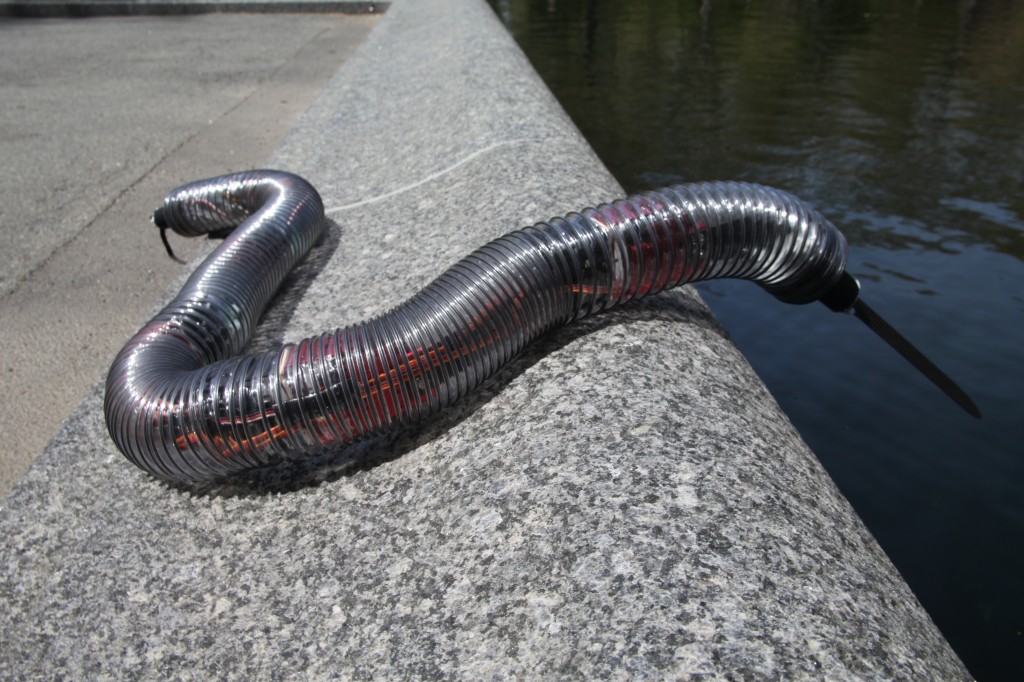
Sneel swam in central park
The hardware:
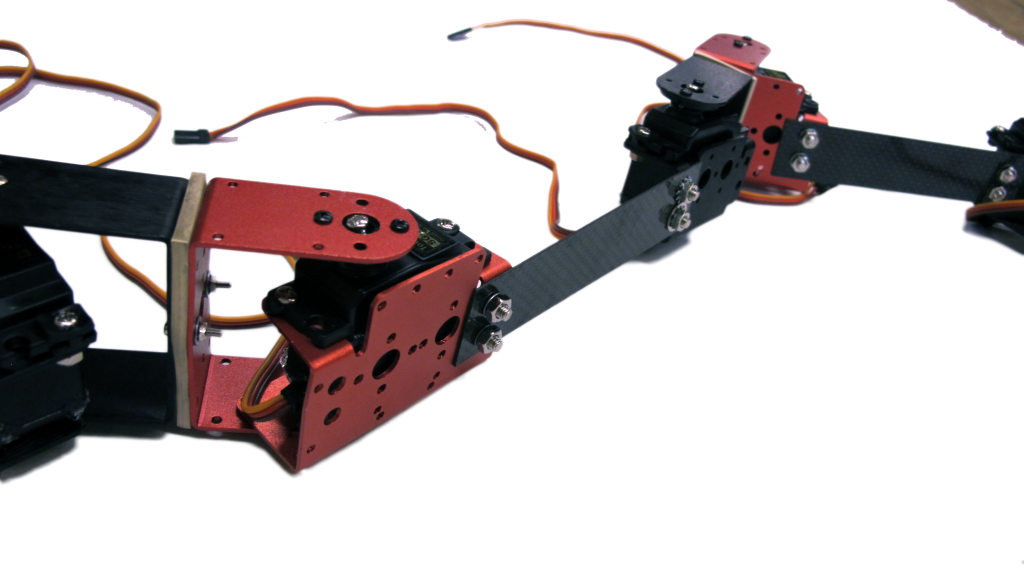
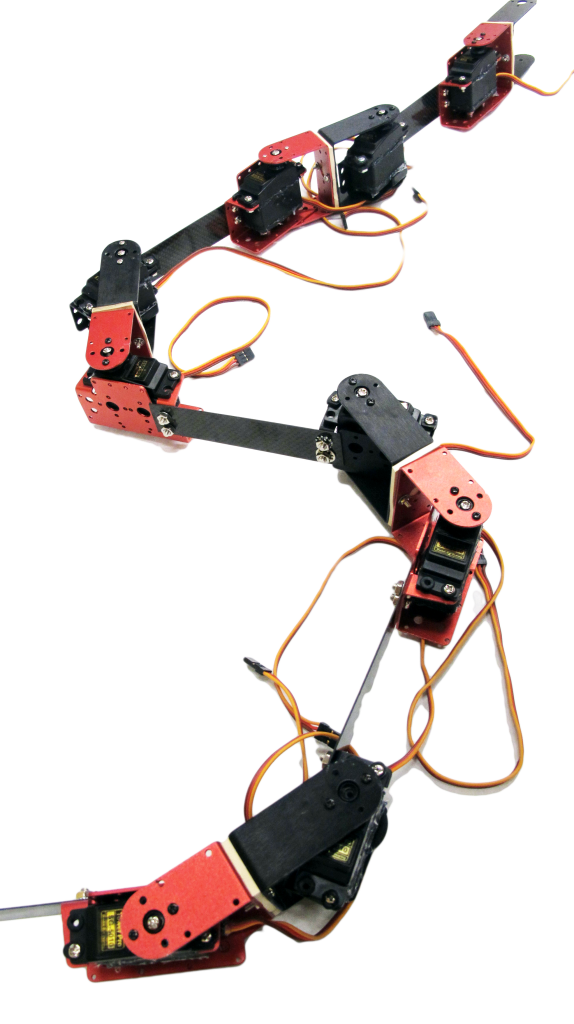
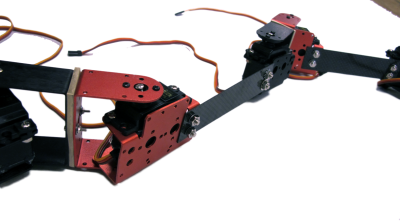
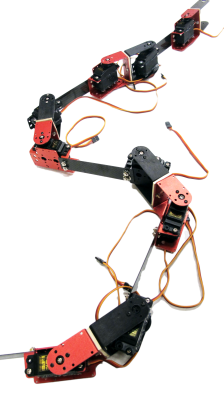
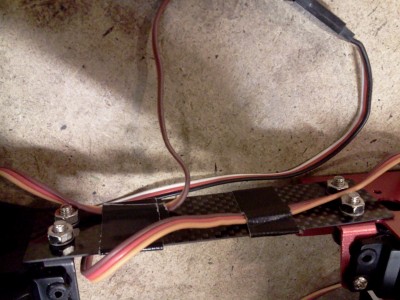
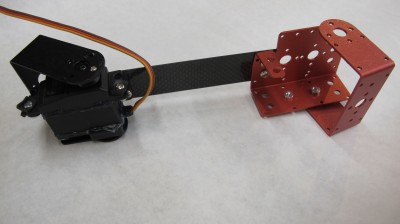
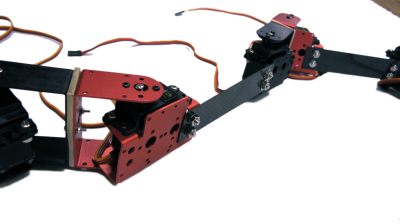
Like a real snakes vertebrates:
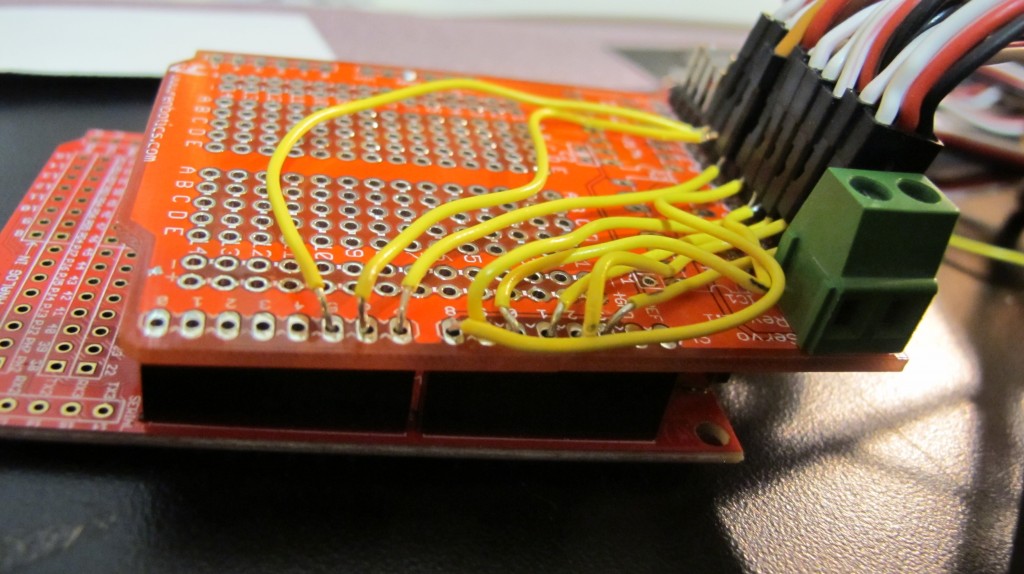
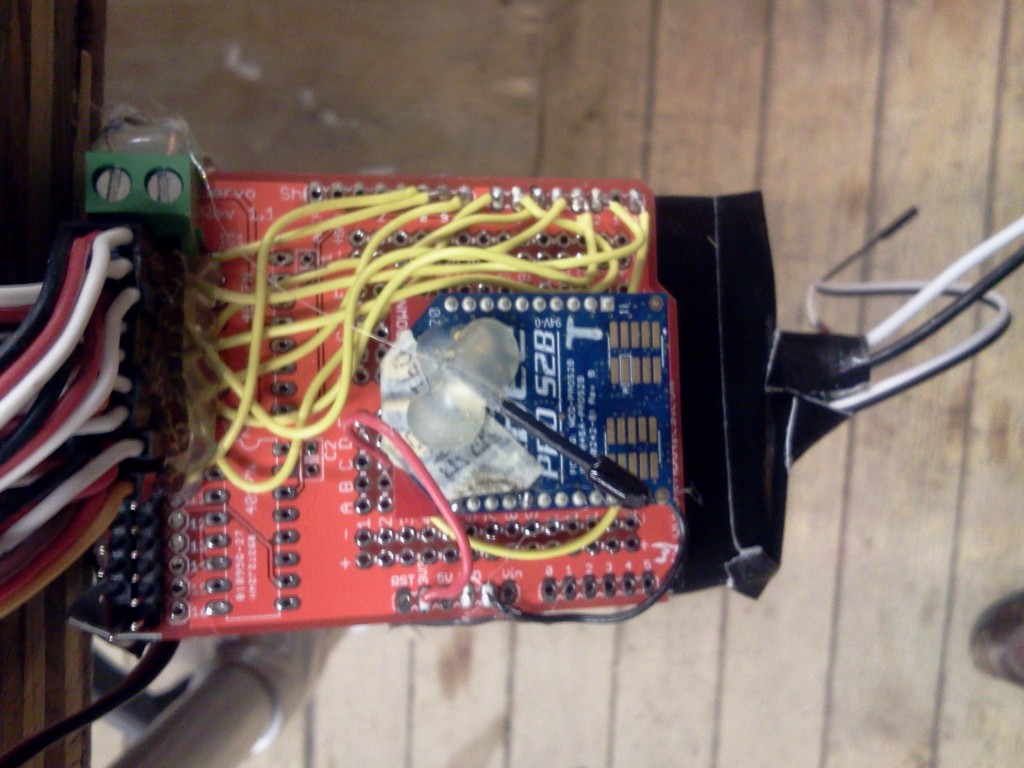
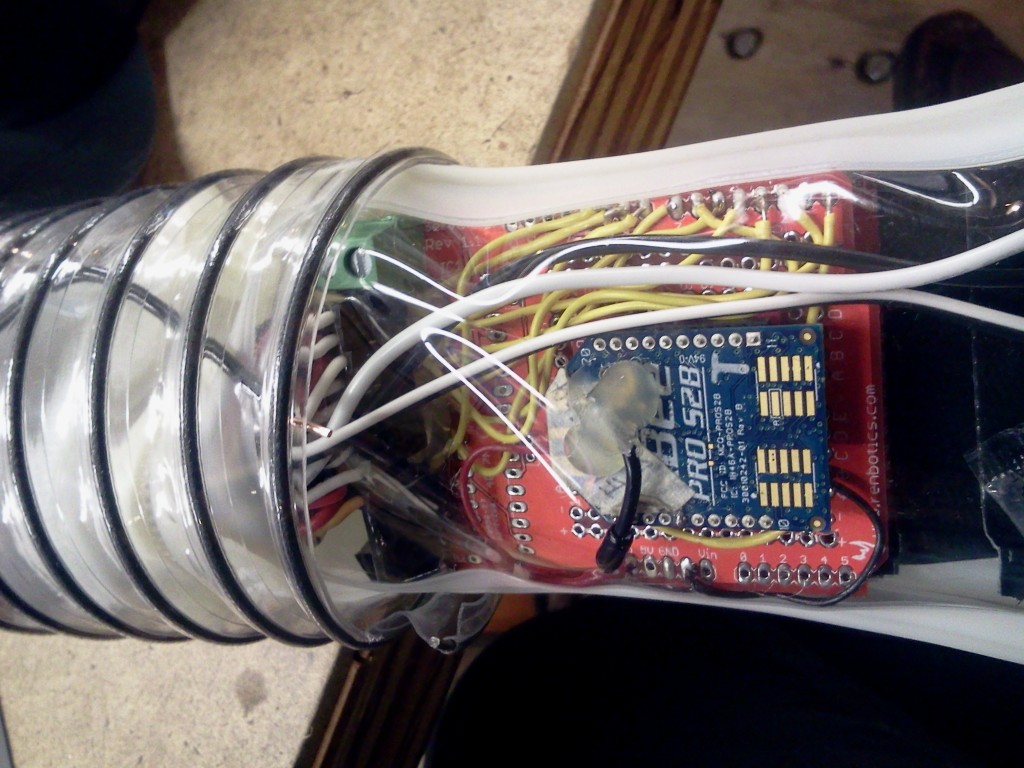
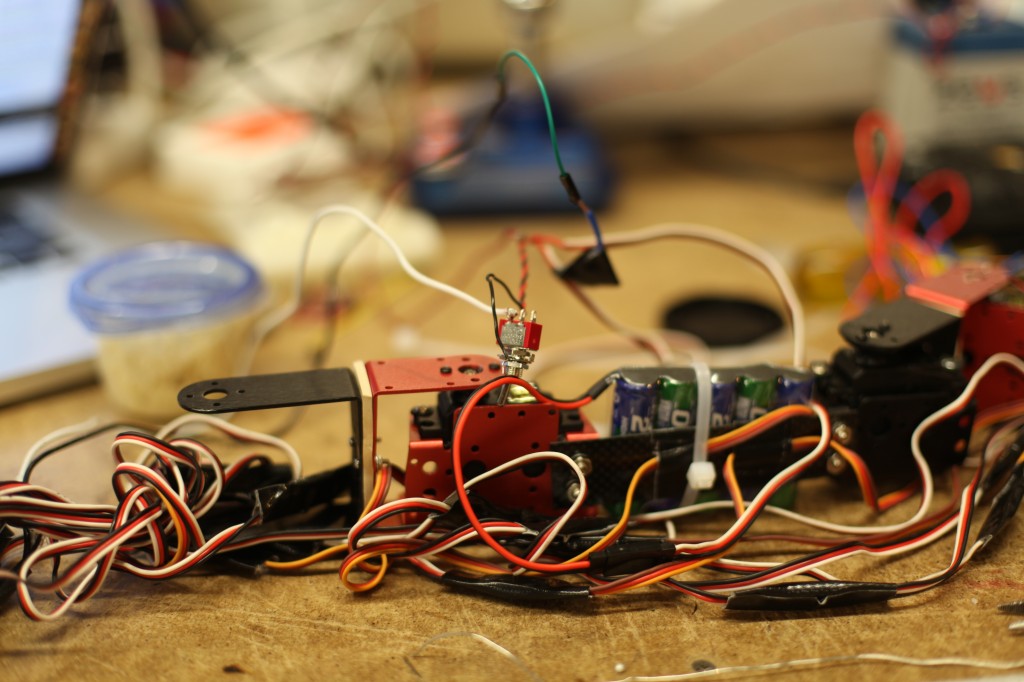
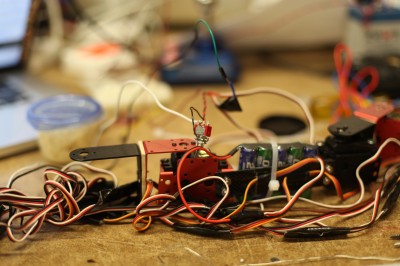
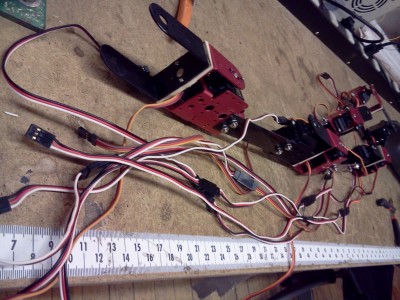
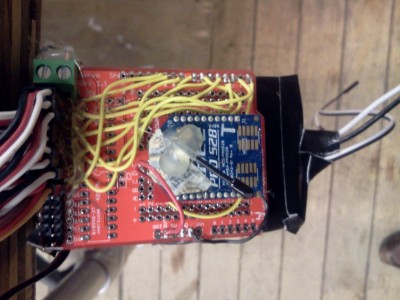
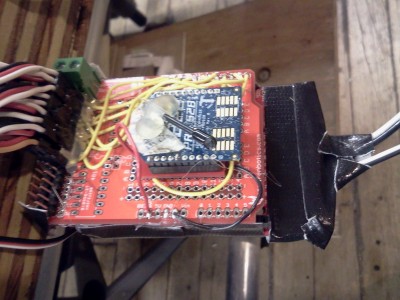
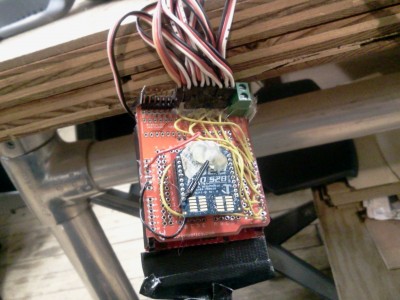
I used Arduino Mega with multiple servos attached, using multiple 6V NiMh battery packs, placed along the body, with an xbee mounted on top to control three parameters of wave behavior: period, wavelength, and amplitude.
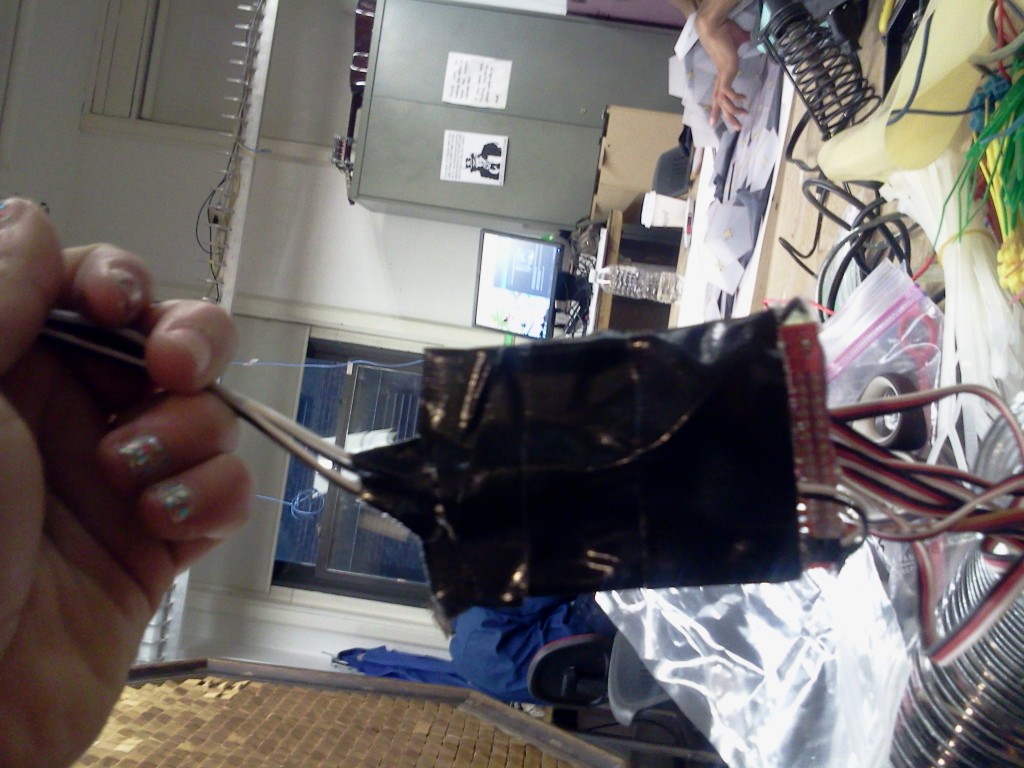
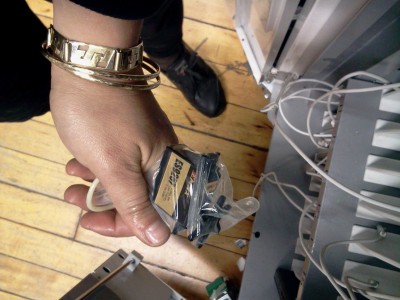
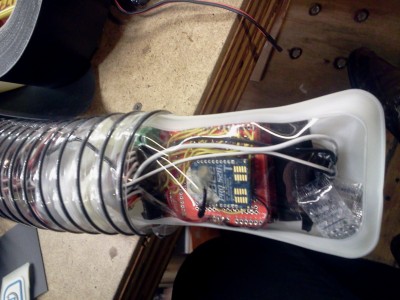
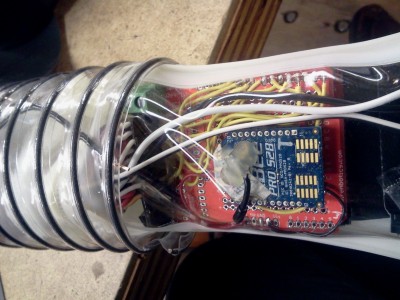
I taped the bottom of the Arduino so nothing shorted:
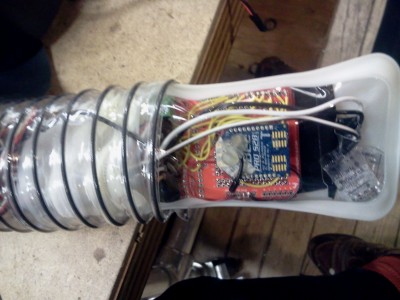
First I stuffed the arduino + xbee into a waterproof sac:
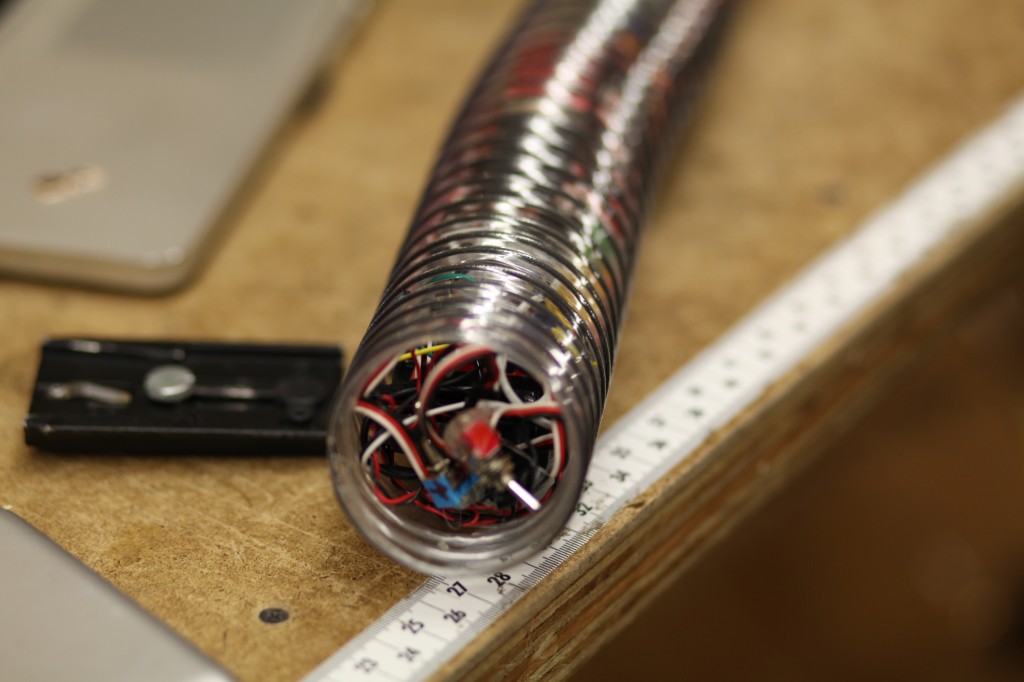
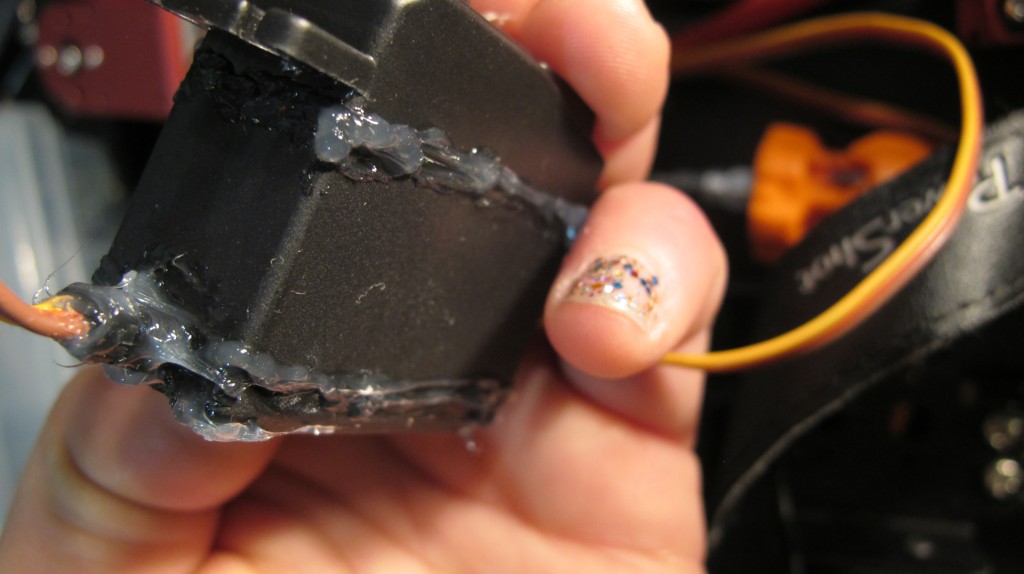
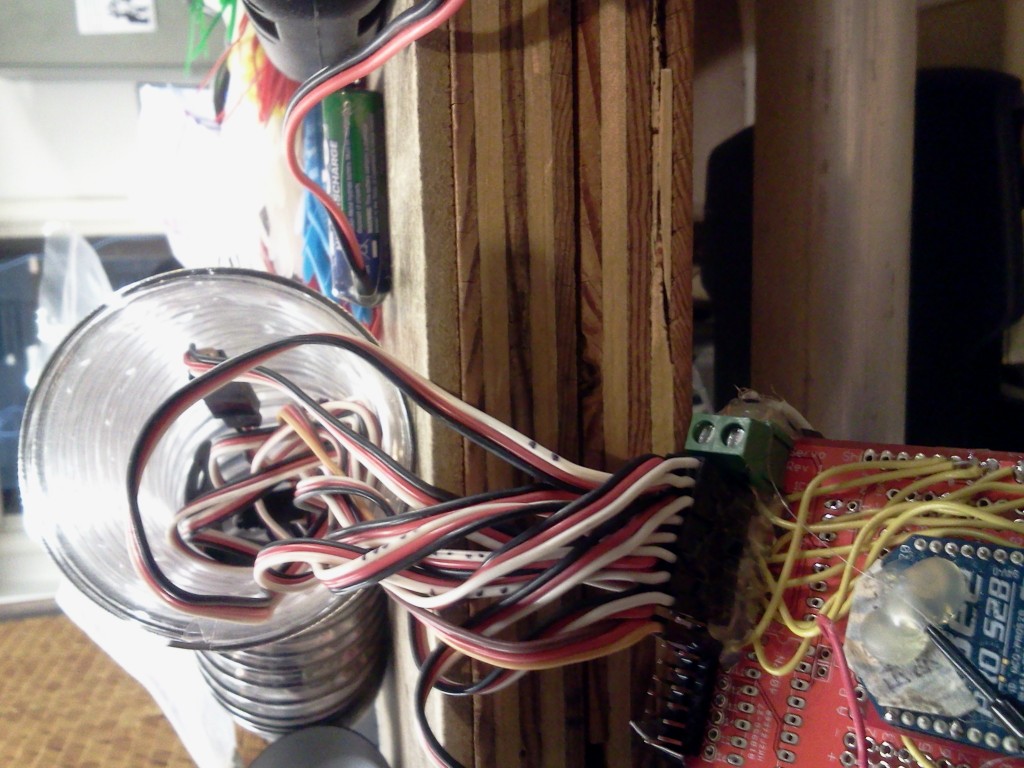
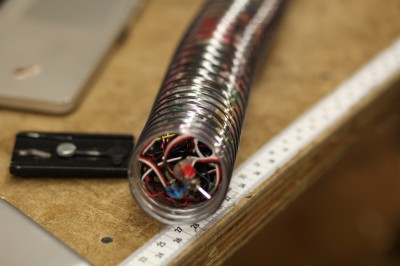
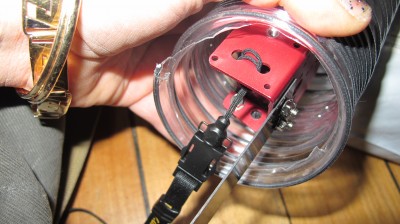
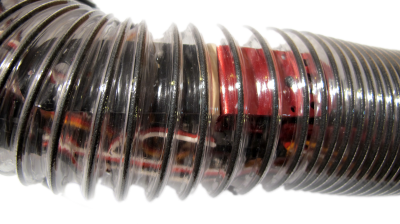
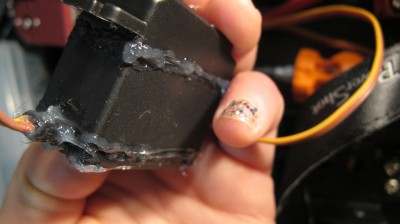
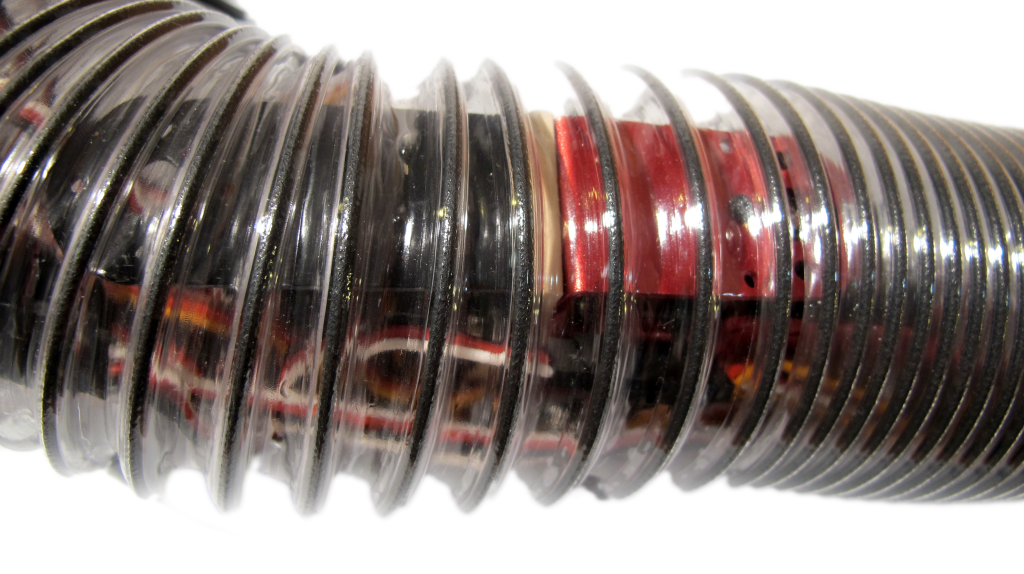
Then I decided that was overkill so I just stuffed everything into the tube (as I had sealed each servo motor with epoxy and had a water tight seal on the tube top and bottom)
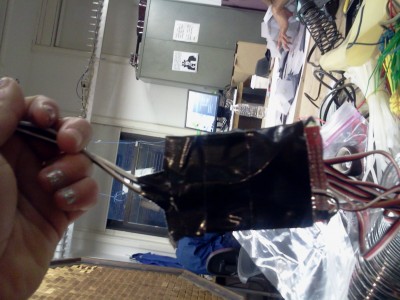
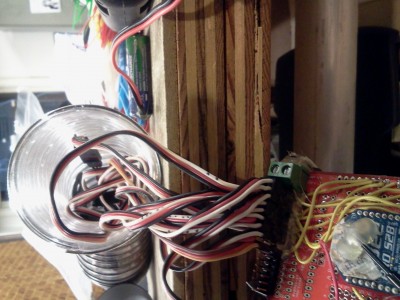
See wires etc. stuffed in the tube:
The Software:
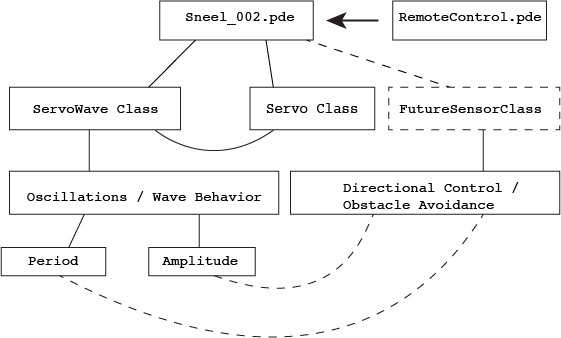
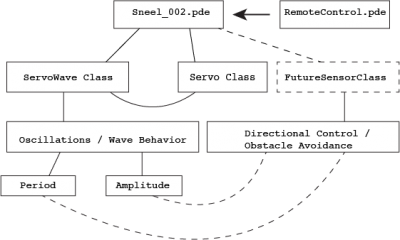
A diagram of the control firmware and the relationship between the classes:
I wrote an Arduino library called ServoWave to control period, amplitude and wavelength of the oscillation for Sneel’s swimming behavior.
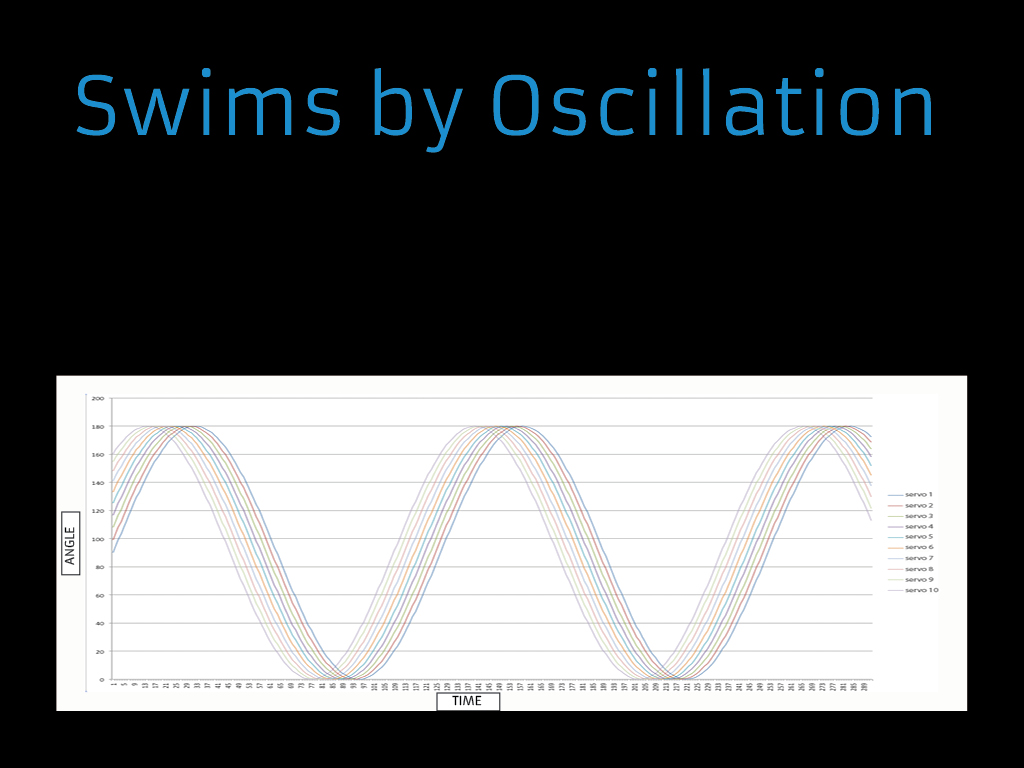
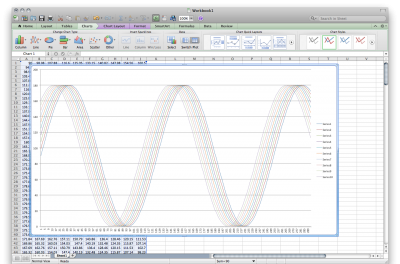
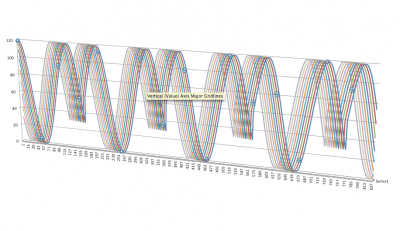
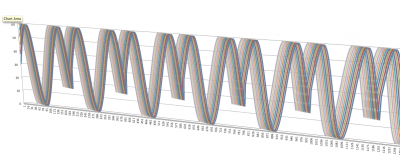
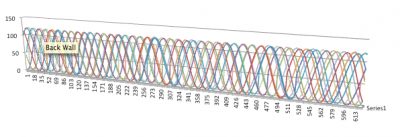
See how each servo motor oscillates – in the following graph, I print out values of each servo as each motor rotates in a sine wave slightly out of phase from each other. The x axis is time and the y axis is angle, and each colored line is a different motor.
After getting everything packed up in the tube, I tested Sneel_002 on the floor of ITP.
He seemed sort of real:
Sneel in the wild:
Well, Sneel_002 swam pretty well, sort of like a real snake, but there’s much work to be done…
Model shot:
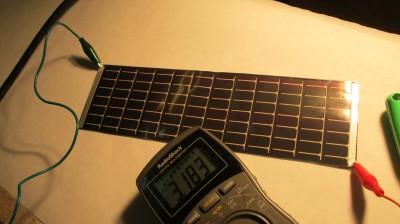
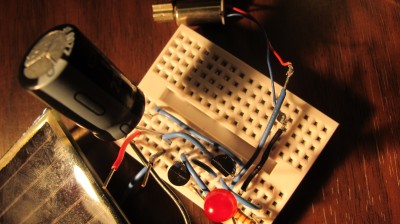
bellflower voltage logging solar panel
logging voltage here: http://www.levinegabriella.com/bellflower/bellflower_dataLog.txt
arduino code here:
https://github.com/gabriella/bellflower
php and more to come…
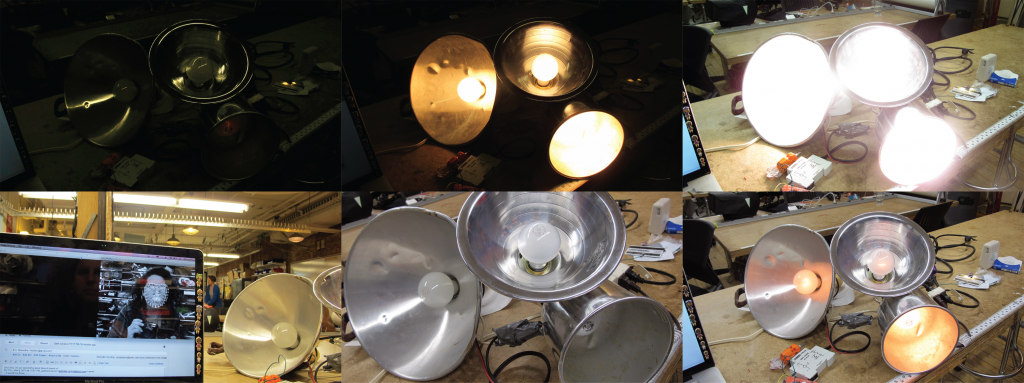
BLINK detection –> blinding LIGHT
code here
I like the concept of always trying to reach something, or always trying to see something, but you cannot penetrate barrier in order to reach / see it. In a sense, something only occurring when you blink, to me seems like you straddle the threshold of perception… well, i dunno. I have to develop this more and figure out what it actually is I’m trying to see that I never can
Here is a video of me testing my blink mechanism then trying to implement it in the dark, as I thought that would be dramatic. However, there was a delay in the dark, as I guess the camera vision was more difficult.
A few tests with others:
payphone
for the fusebox festival, payphone revival project, in austin texas
using a mp3 trigger, and getting into the matrix circuit behind the keypad (luckily the phone was OPEN and not locked) we’re going to allow people to pick up the phone
The payphone is so much simpler than I thought! the coin slot is just a bunch of gears, then the circuitry for the buttons and the receiver etc… nice
So I soldered some wires onto the already working switch so when the receiver is picked up a dial tone plays, then working on the matrix to activate different tracks when I button is pressed
cool.
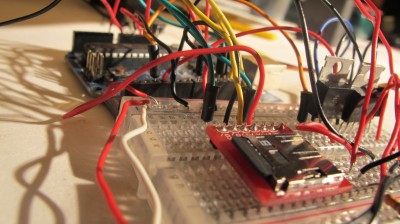
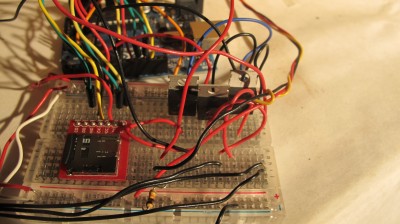
the mp3 trigger is pretty simple with a micro sd card, FAT 16 formatted (<2 gb)- either it can be digitally controlled, by closing the switch on pins 0-17 (which switches between 18 tracks), Or it can interface with arduino serially. [gallery]
transformer
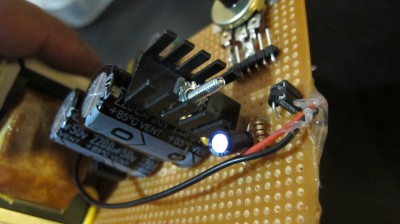
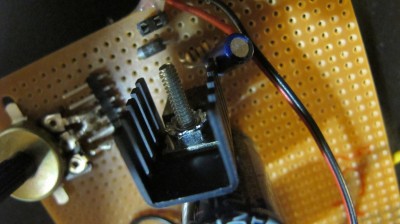
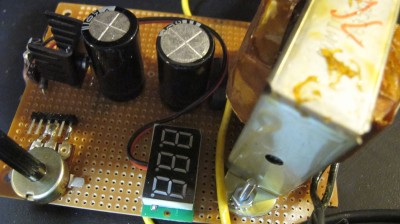
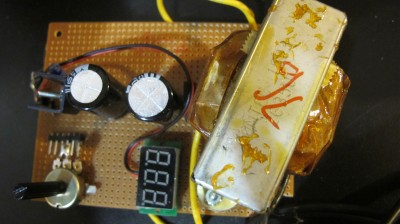
Following the below circuit, I made used a transformer to make a variable voltage DC power supply, from 0-32 V. Here is the link: http://web.mac.com/er0sentha1/NYUBAC/Session_3.html
This was from Eric Rosenthal’s Basic Analog Circuit class
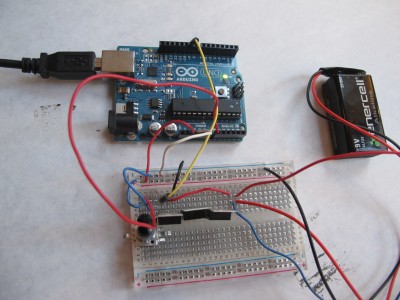
AC DIMMER Circuit!!
I adapted this from info from Dmitri Grinberg’s post on Hackaday, “Lamp Fading and Remote Control for the Lazy”.
I have been trying for a number of weeks to perfect this, as in, find the correct transistor that would not overheat or burn out (one that is rated for a high enough voltage since it’s using AC 120 V). I followed this circuit from Dmitri’s blog, except instead of the IRF 250 I used an IRF730. 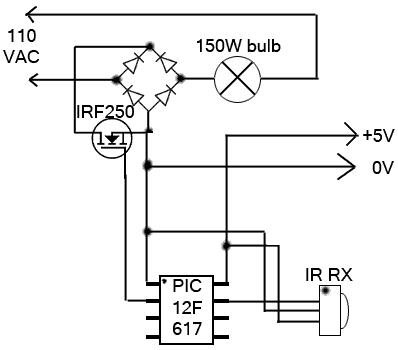
At first, I was using the IRF 520, with a 100 V drain source voltage and a 9 amp continuous drain current. It worked fine at first, and then it burnt out (there was connectivity between the gate-source and gate-drain). So I got an IRF540, with a 100 V drain source voltage and a 33 continuous drain current. This similarly worked at first, then burnt out.
Finally, I used the IRF730 which works pretty well so far! And doesn’t burn out – it is rated upto 400 V (which far surpasses the 120 V wall voltage in the US).
It works for a light (a resistive load):
and a fan (an inductive load):
Here is the simple dimming code used with the infrared detection sensor. I used a universal sony remote as the transmitter.
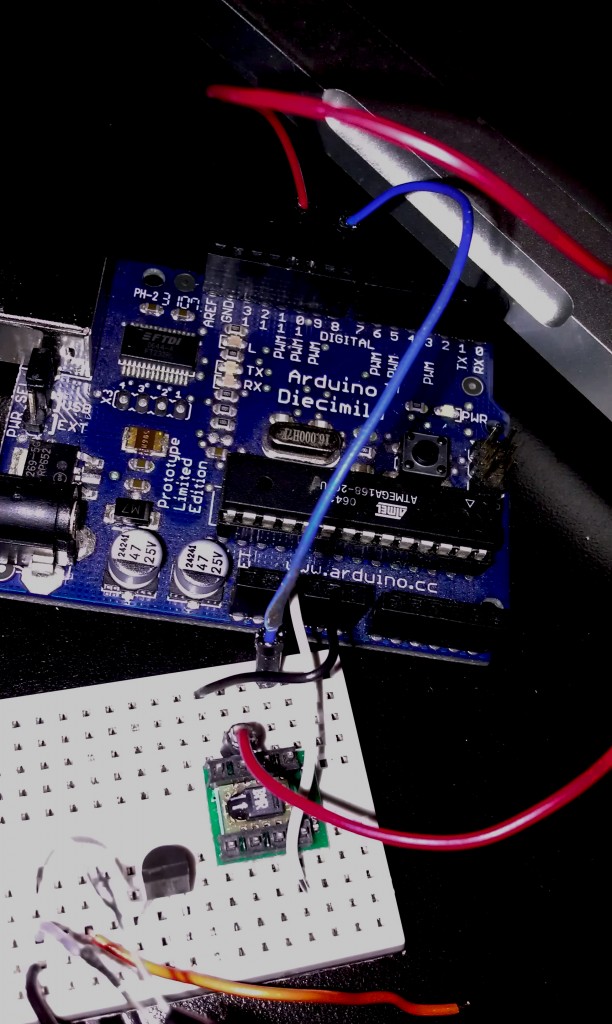
tmp36
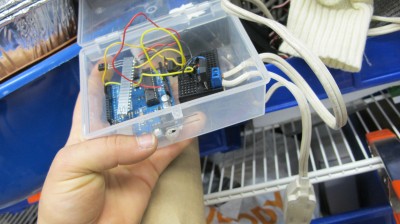
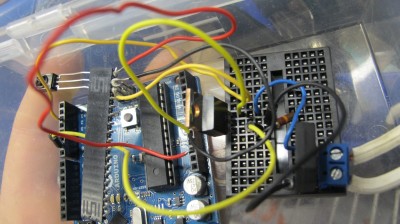
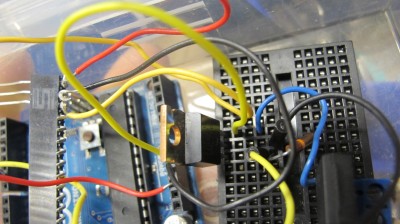
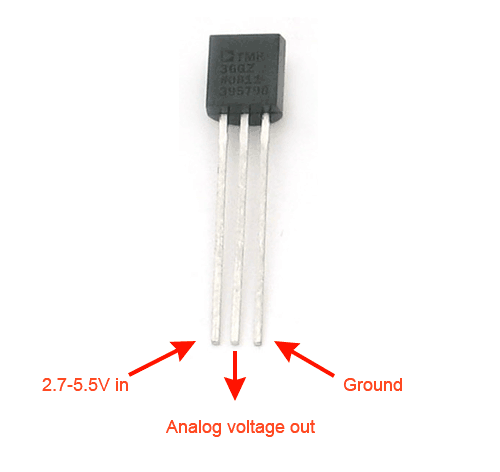
I’ve switched over to this sensor as a solid state temperature sensor:
I will use thermocouples for rapid rate of changes of liquids but for environmental sensing:
temperature from tmp36 sensor: http://www.ladyada.net/learn/sensors/tmp36.html
0.73 volts
22.75 degrees C
72.96 degrees F
0.73 volts
//TMP36 Pin Variables
int sensorPin = 0; //the analog pin the TMP36's Vout (sense) pin is connected to
//the resolution is 10 mV / degree centigrade with a
//500 mV offset to allow for negative temperatures
/*
* setup() - this function runs once when you turn your Arduino on
* We initialize the serial connection with the computer
*/
void setup()
{
Serial.begin(9600); //Start the serial connection with the computer
//to view the result open the serial monitor
}
void loop() // run over and over again
{
//getting the voltage reading from the temperature sensor
int reading = analogRead(sensorPin);
// converting that reading to voltage, for 3.3v arduino use 3.3
float voltage = reading * 5.0;
voltage /= 1024.0;
// print out the voltage
Serial.print(voltage); Serial.println(&amp;quot; volts&amp;quot;);
// now print out the temperature
float temperatureC = (voltage - 0.5) * 100 ; //converting from 10 mv per degree wit 500 mV offset
//to degrees ((volatge - 500mV) times 100)
Serial.print(temperatureC); Serial.println(&amp;quot; degrees C&amp;quot;);
// now convert to Fahrenheight
float temperatureF = (temperatureC * 9.0 / 5.0) + 32.0;
Serial.print(temperatureF); Serial.println(&amp;quot; degrees F&amp;quot;);
delay(1000); //waiting a second
}
IR proximity sensor
Here’s the Sharp product i’m using: http://www.sparkfun.com/datasheets/Sensors/Infrared/gp2y0a02yk_e.pdf
bought from here: http://www.sparkfun.com/products/8958
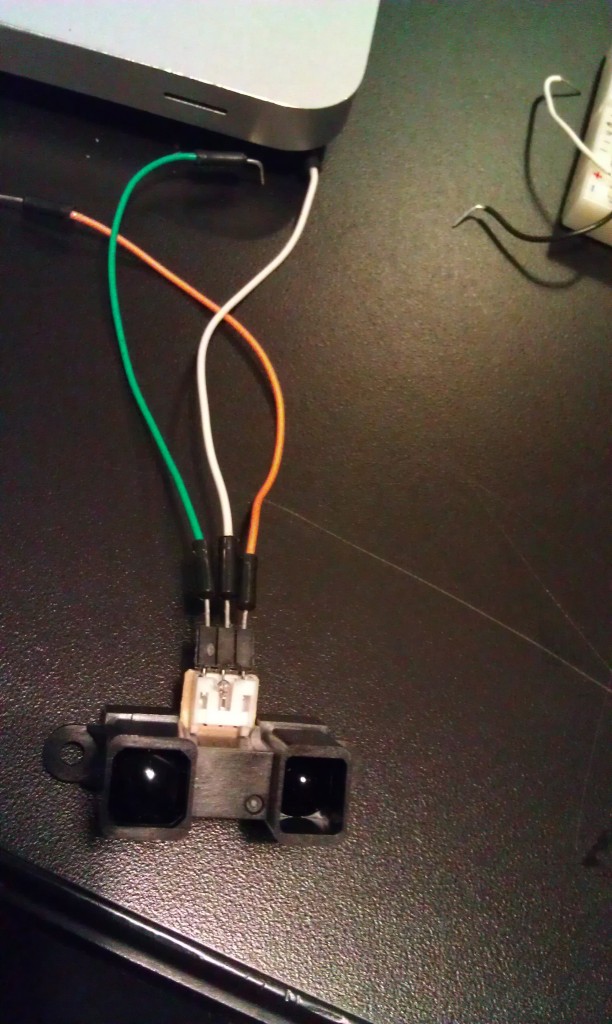
This code is simply smoothing an analog input value (0-5V), and it seems to work ok, but I have to see – I’m working on graphing the values (using Excel and CoolTerm) to make sure that my linearizing function I got from here: http://www.acroname.com/robotics/info/articles/irlinear/irlinear.html = has worked correctly
const int numReadings = 100;
int readings[numReadings]; // the readings from the analog input
int index = 0; // the index of the current reading
int total = 0; // the running total
int average = 0; // the average
int inputPin = A0;
void setup()
{
// initialize serial communication with computer:
Serial.begin(9600);
// initialize all the readings to 0:
for (int thisReading = 0; thisReading &amp;lt; numReadings; thisReading++)
readings[thisReading] = 0;
}
void loop() {
// subtract the last reading:
total= total - readings[index];
// read from the sensor:
readings[index] = analogRead(inputPin);
// add the reading to the total:
total= total + readings[index];
// advance to the next position in the array:
index = index + 1;
// if we're at the end of the array...
if (index &amp;gt;= numReadings)
// ...wrap around to the beginning:
index = 0;
// calculate the average:
average = total / numReadings;
// send it to the computer as ASCII digits
Serial.println(average);
}
This code also is seems good but I have to check it out more closely:
int sensorPin = 0; // input pin for the sensor
int barPin[] = {2, 3, 4, 5, 6, 7, 8, 9, 10, 11};
int barPinCount = 10;
int volt = 0; // variable to store the value coming from the sensor
int zeit = 100; // *10 = Gesamtzeit - total time
void setup() {
Serial.begin(9600);
int thisPin;
// the array elements are numbered from 0 to (pinCount - 1).
// use a for loop to initialize each pin as an output:
for (int thisPin = 0; thisPin &amp;lt; barPinCount; thisPin++) {
pinMode(barPin[thisPin], OUTPUT);
}
}
void loop() {
int volt = 0;
for(int i=0; i&amp;lt;10; i++)
{
volt += analogRead(sensorPin);
delay(zeit);
}
volt /= 10;
Serial.println(volt);
int litCount = 0;
if (volt &amp;lt;= 82) {
// &amp;gt;= 80cm
litCount = 1;
} else if (volt &amp;lt;= 92) {
// &amp;gt;= 70cm
litCount = 2;
} else if (volt &amp;lt;= 102) {
// &amp;gt;= 60cm
litCount = 3;
} else if (volt &amp;lt;= 123) {
// &amp;gt;= 50cm
litCount = 4;
} else if (volt &amp;lt;= 154) {
// &amp;gt;= 40cm
litCount = 5;
} else if (volt &amp;lt;= 184) {
// &amp;gt;= 30cm
litCount = 6;
} else if (volt &amp;lt;= 266) {
// &amp;gt;= 20cm
litCount = 7;
} else if (volt &amp;lt;= 328) {
// &amp;gt;= 15cm
litCount = 8;
} else if (volt &amp;lt;= 461) {
// &amp;gt;= 10cm
litCount = 9;
} else if (volt &amp;gt; 461) {
// &amp;lt; 10cm
litCount = 10;
}
for(int b=0; b&amp;lt;10; b++)
{
if(b&amp;lt;=litCount)
digitalWrite(barPin[b], HIGH); // Turn the bar on
else
digitalWrite(barPin[b], LOW); // Turn the bar off
}
}
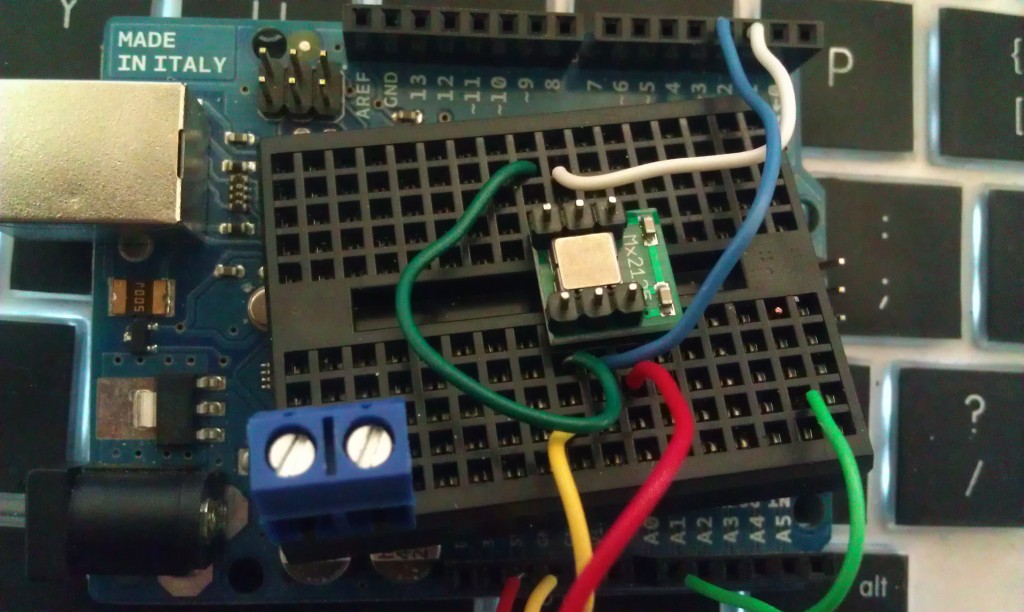
circuit – SHT11 humidity sensor
I found a super nice library – https://github.com/practicalarduino/SHT1x – it’s working way better than what I had going before – Thanks!
I’m using this schematic: using this http://www.parallax.com/dl/docs/prod/acc/SensirionDocs.pdf
I’m getting legible values :
Temperature: 25.4199981689C / 77.8459930419F. Humidity: 23.45%
Temperature: 25.4399948120C / 77.8639984130F. Humidity: 23.45%
Temperature: 25.4799957275C / 77.7919921875F. Humidity: 25.12%
Temperature: 25.4599990844C / 77.8999938964F. Humidity: 27.65%
Temperature: 25.3600006103C / 77.7739944458F. Humidity: 27.87%
Temperature: 25.5199966430C / 77.9719924926F. Humidity: 26.86%
circuit – 2 axis parallax accelerometer
This is on the arduino side:
int pinX = 3;
int pinY = 2;
unsigned long serialTimer = millis();
unsigned long xAcc = 0;
unsigned long yAcc = 0;
boolean flipflop;
void setup()
{
pinMode(pinX, INPUT);
pinMode(pinY, INPUT);
Serial.begin(115200);
}
void loop()
{
if (flipflop == true) {
xAcc = pulseIn(pinX, HIGH);
flipflop = false;
} else {
yAcc = pulseIn(pinY, HIGH);
flipflop = true;
}
if ((millis() - serialTimer) &amp;gt; 50 ) {
Serial.print(&amp;quot;X &amp;quot;);
Serial.println(xAcc);
// Serial.print(&amp;quot; &amp;quot;);
Serial.print(&amp;quot;Y &amp;quot;);
Serial.println(yAcc);
}
}
to visualize it:
in processing:
import processing.serial.*;
Serial port; // Create object from Serial class
int val; // Data received from the serial port
int xAngle;
int yAngle;
void setup()
{
println ( Serial.list());
size(200, 200,P3D);
frameRate(10);
// Open the port that the board is connected to and use the same speed (9600 bps)
port = new Serial(this, Serial.list()[0],115200);
port.bufferUntil(13);
lights();
}
void draw()
{
background(0);
directionalLight(51, 102, 126, 0, 0, -1);
translate(100,100,0);
rotateX(map(xAngle,3800,6300,-1 * HALF_PI,HALF_PI));
rotateY(map(yAngle,3800,6300,-1 * HALF_PI,HALF_PI));
translate(-50,-50,0);
rect(0,0,100,100);
}
void serialEvent(Serial p) {
String msg = port.readStringUntil(13);
if (msg != null) readMsg(msg);
}
void readMsg(String msg) {
//remove non printing chars
int badChars = 0;
for (int i = msg.length() -1; i &amp;gt;= 0; i--) {
char c = msg.charAt(i);
if ( c == 10 || c ==13) {
badChars++;
}
}
if (badChars &amp;gt; 0) msg = msg.substring(0,msg.length()-badChars+1);
String[] words = splitTokens(msg);
if (words[0].equals(&amp;quot;X&amp;quot;)) {
xAngle = int( words[1]);
}
if (words[0].equals(&amp;quot;Y&amp;quot;)) {
yAngle = int( words[1]);
}
}
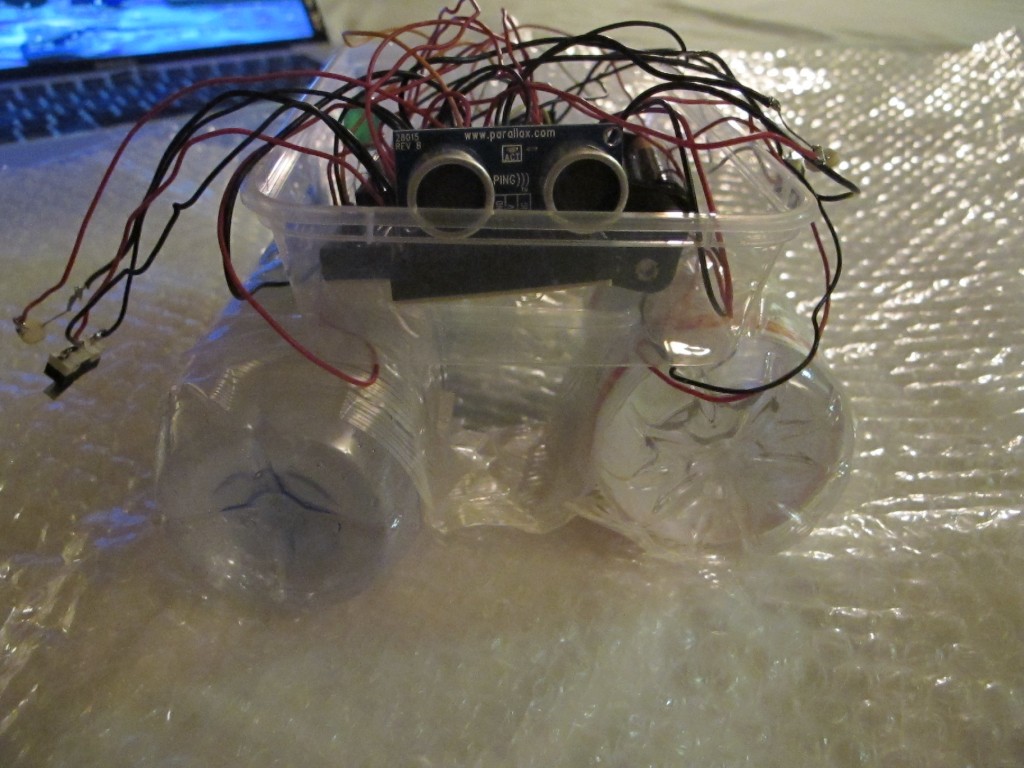
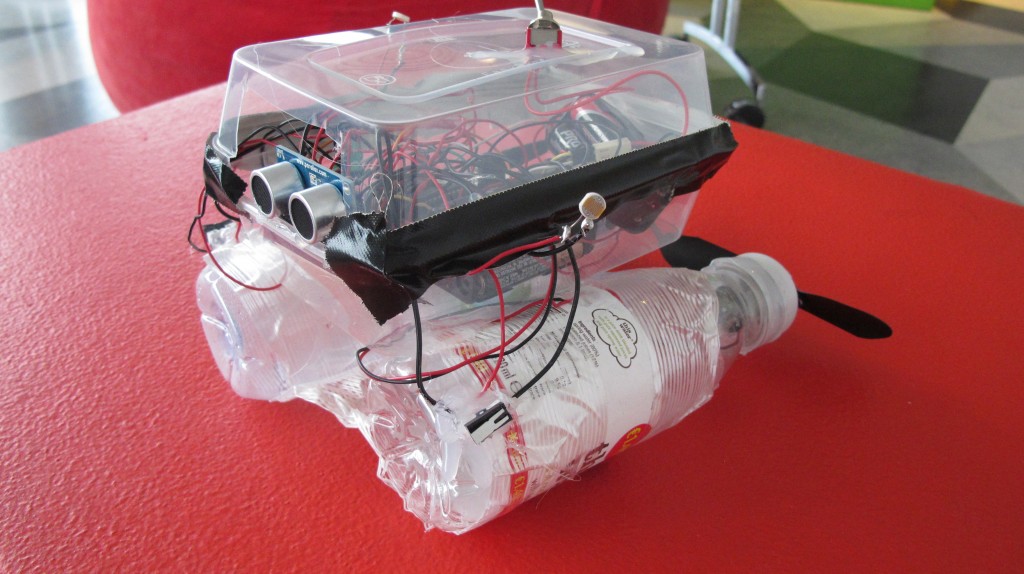
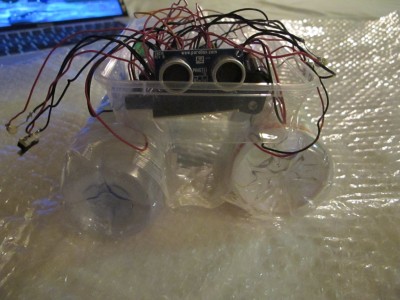
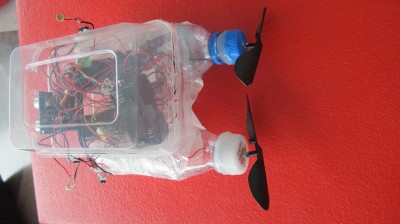
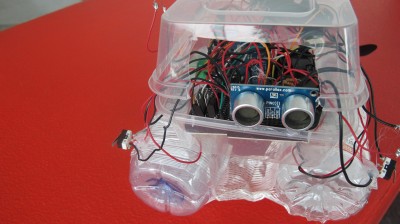
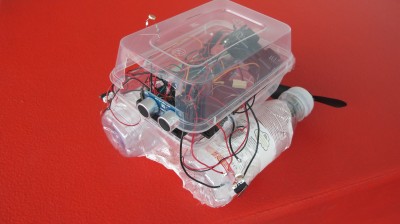
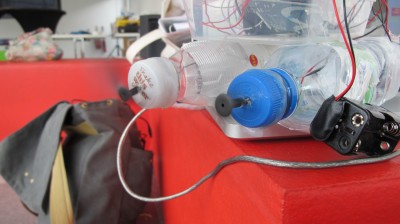
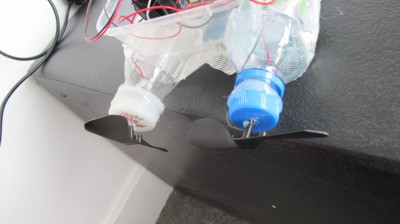
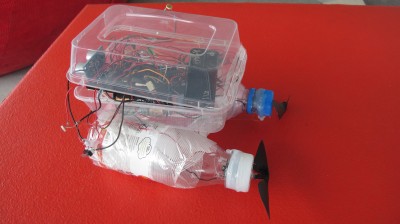
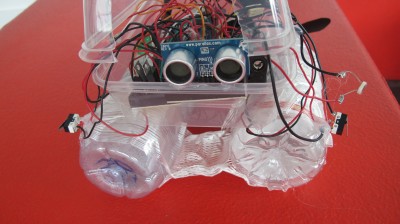
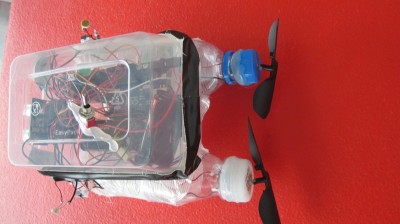
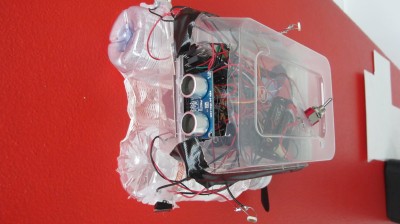
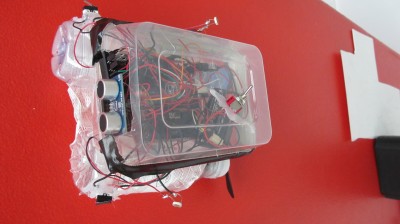
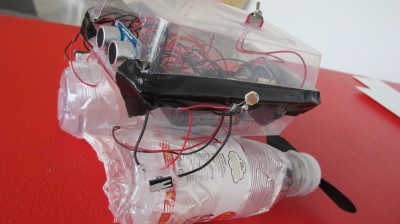
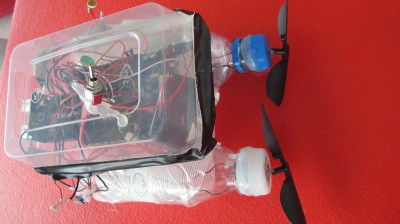
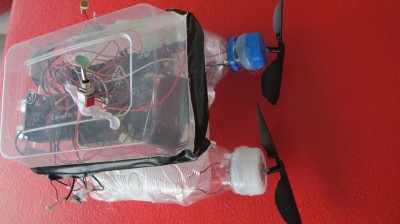
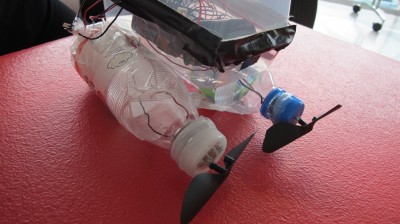
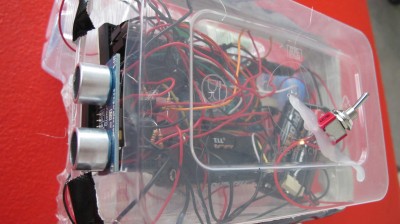
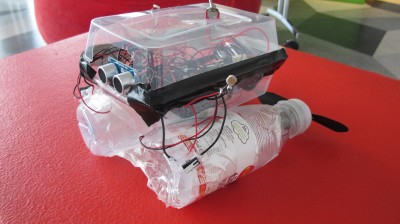
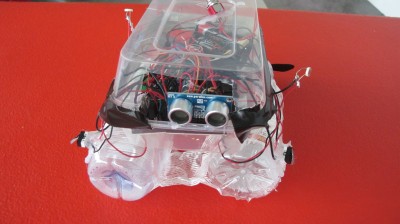
robot boat with many sensing capabilities
STEP BY STEP HOW TO:
http://levinegabriella.com/teaching/Boat.pdf TUTORIAL and CODE
github.com/gabriella/boat-
circuits for later
TIP120
FRED Photopopper
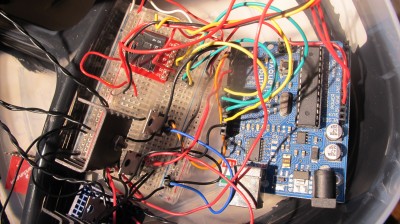
Solenoids and Data logging shield and RTS
humidity, air pressure, photocell, rts, data shield etc…


