Physical Computing
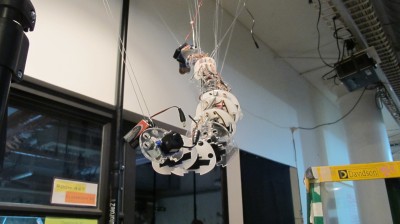
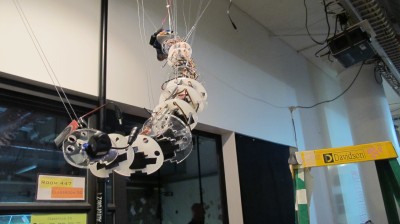
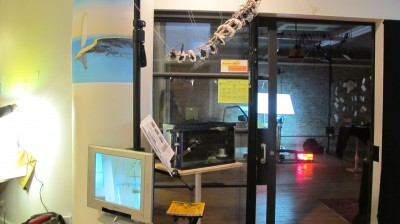
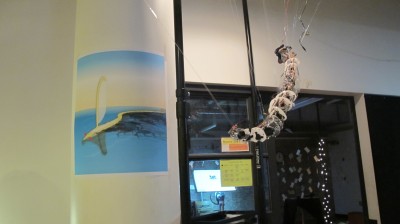
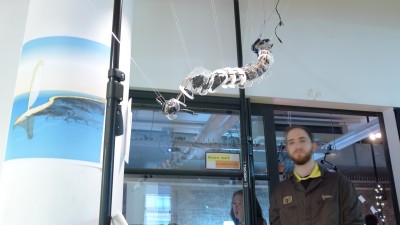
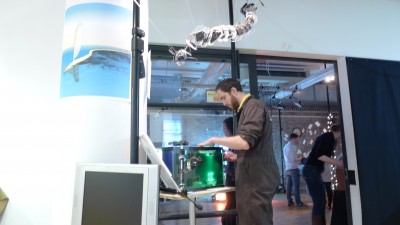
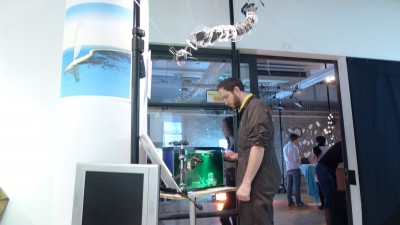
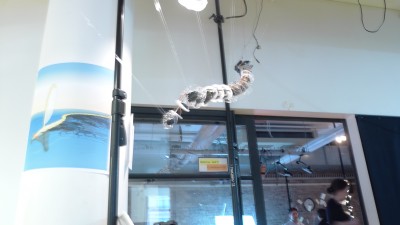
Documentation of Sneel_002
Soon I will make a how-to guide for Sneel_002 on instructables.com, as I did for the first version of Sneel, (i’m working on that) but until then…
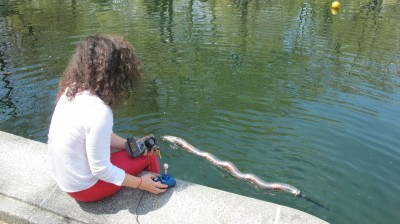
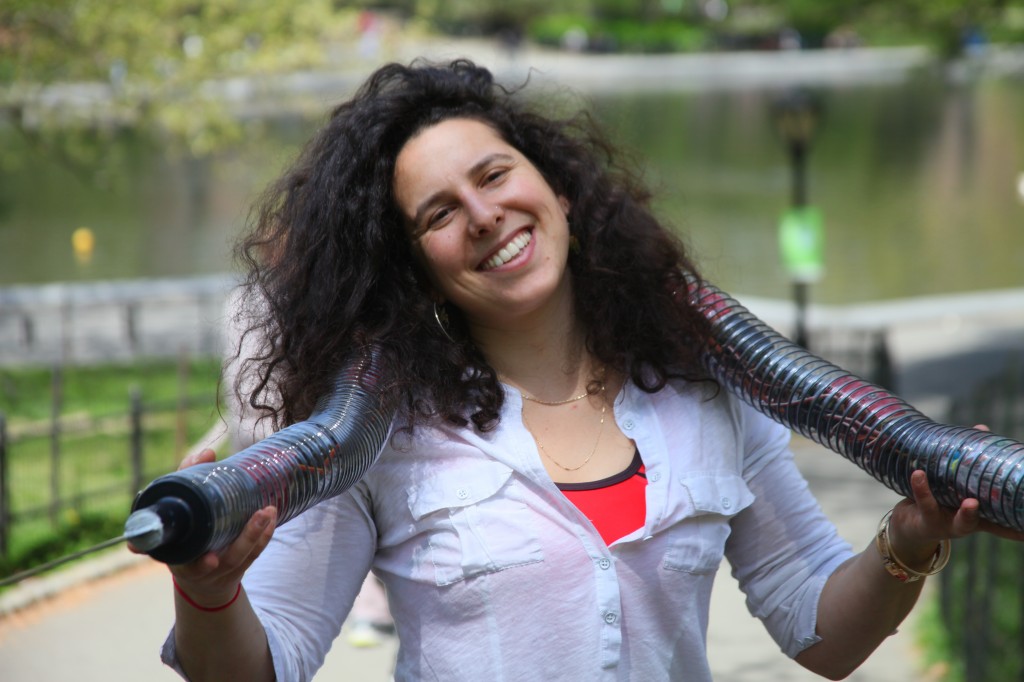
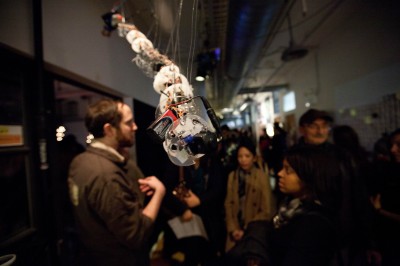
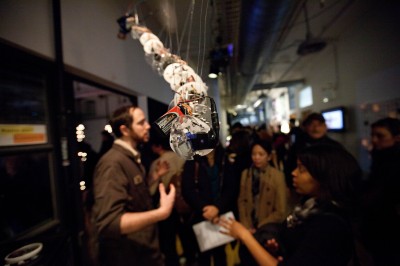
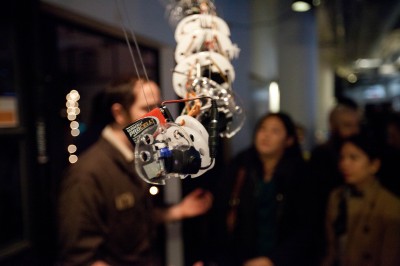
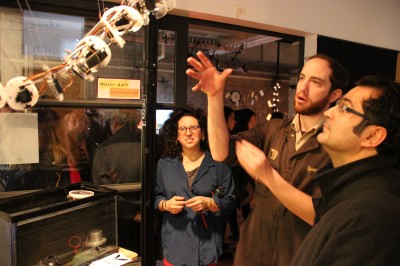
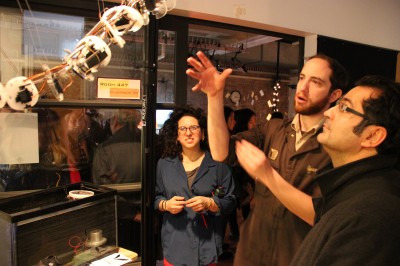
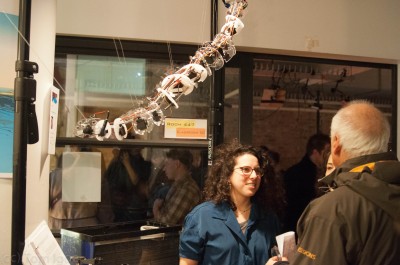
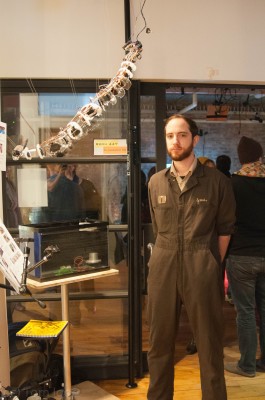
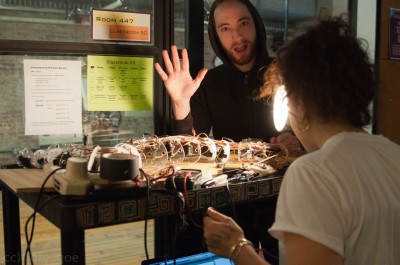
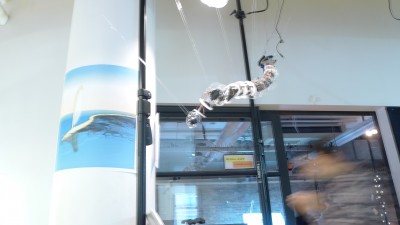
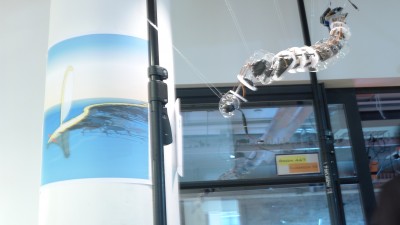
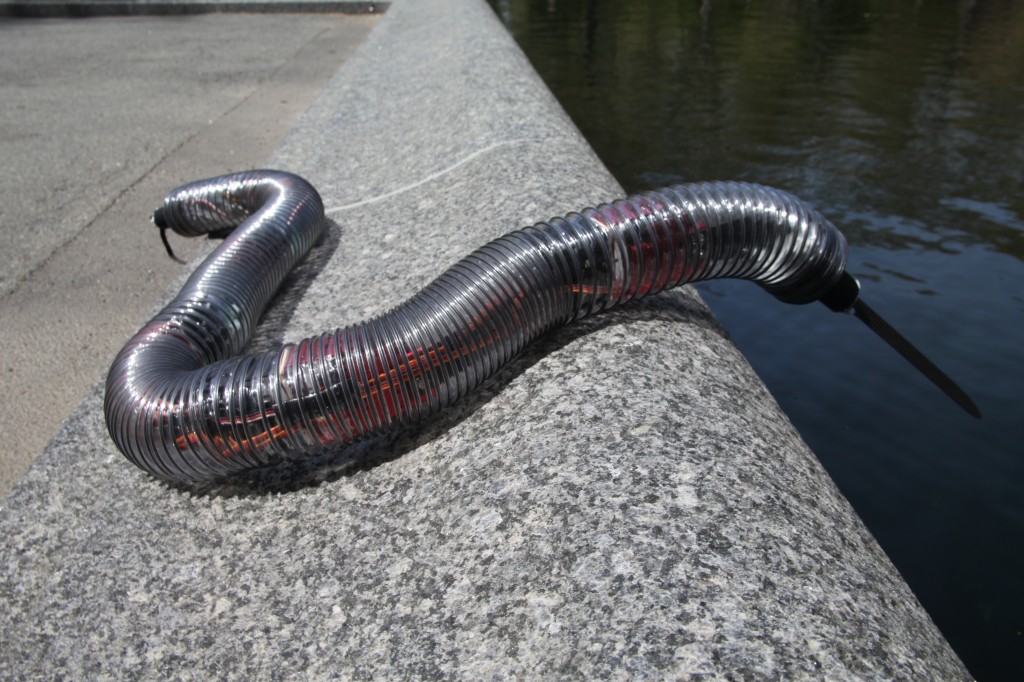
Sneel swam in central park
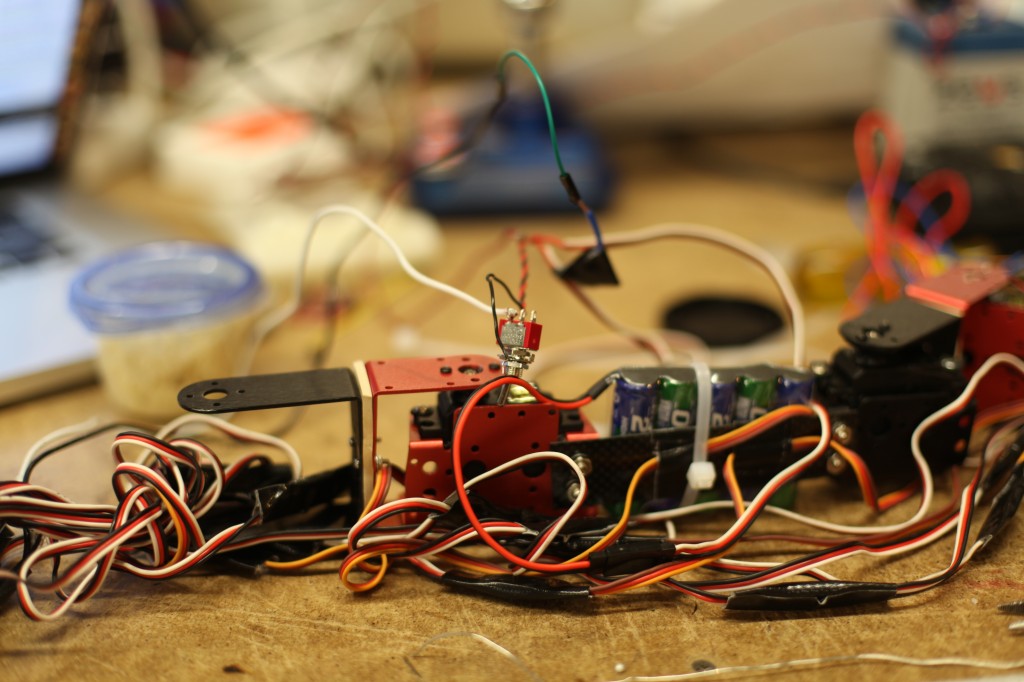
The hardware:
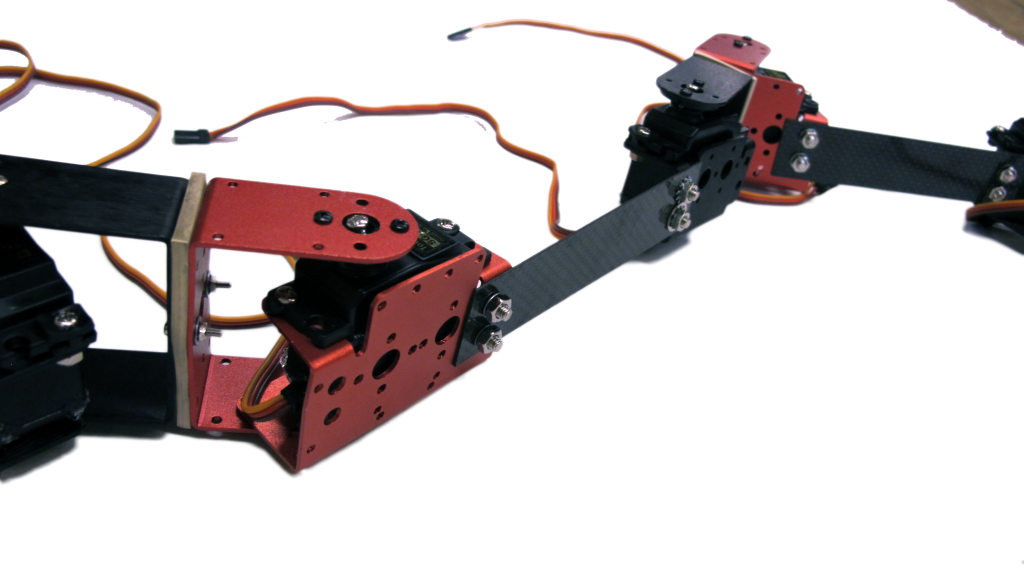
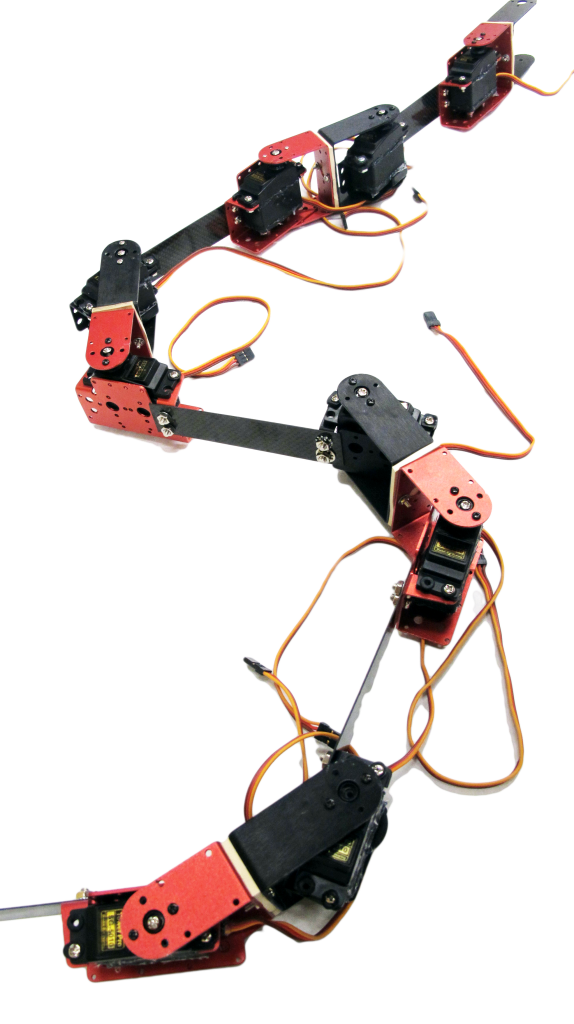
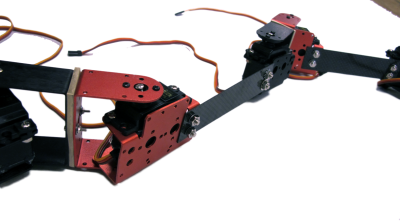
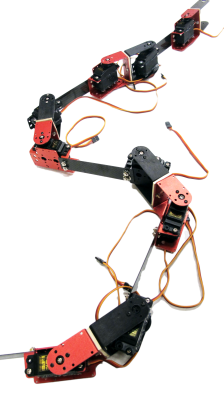
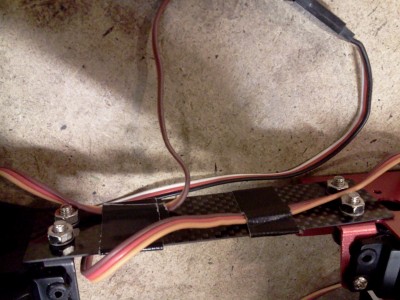
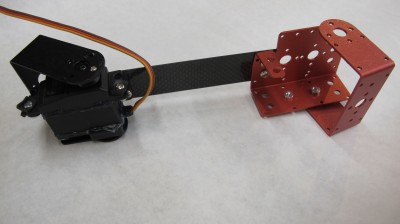
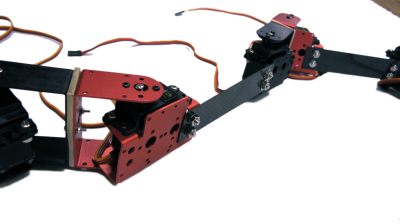
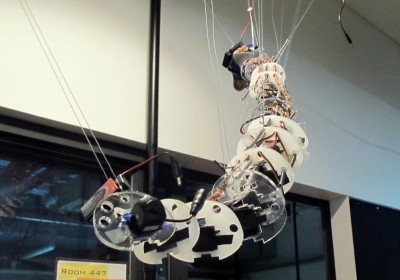
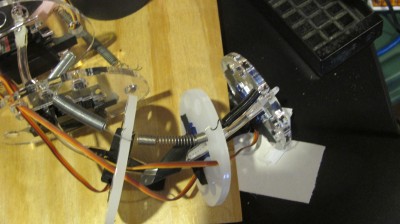
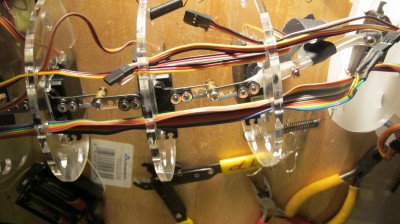
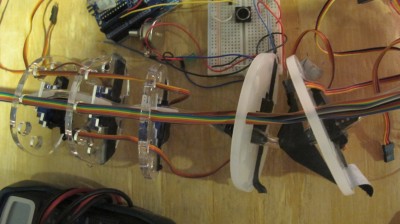
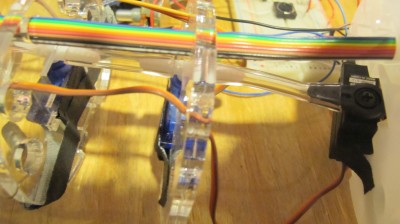
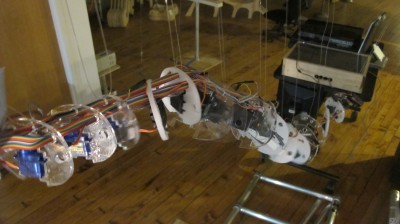
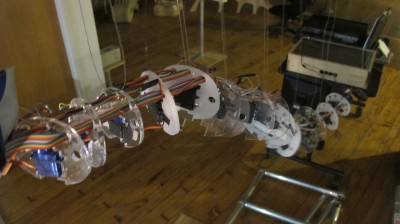
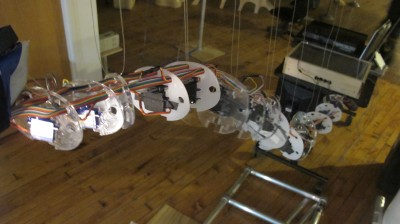
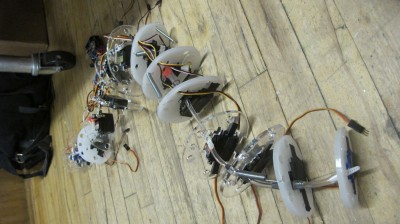
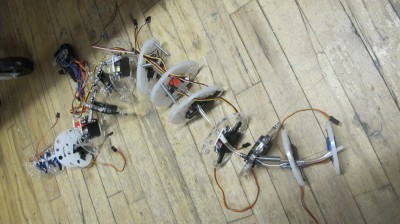
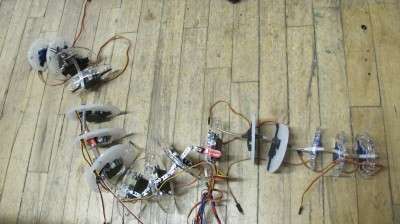
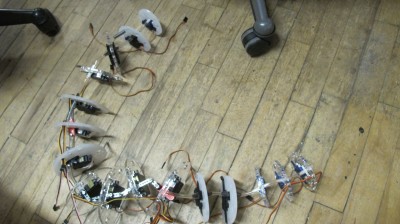
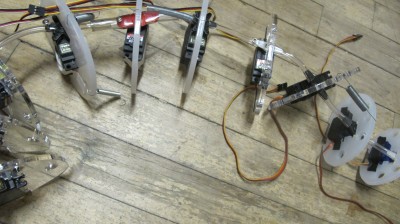
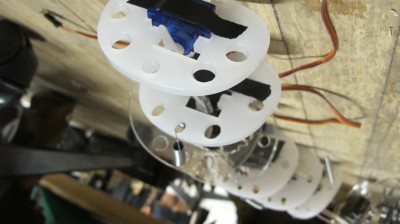
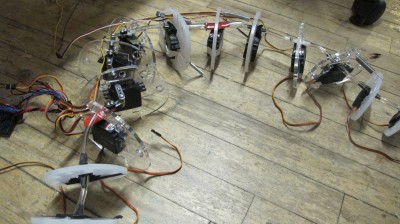
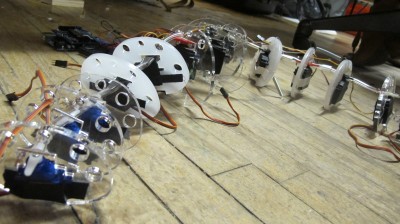
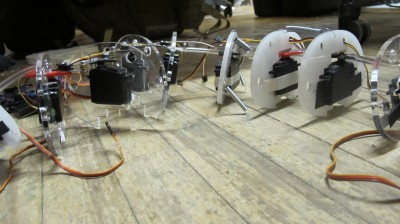
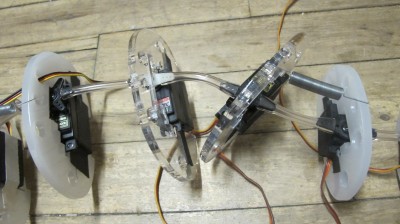
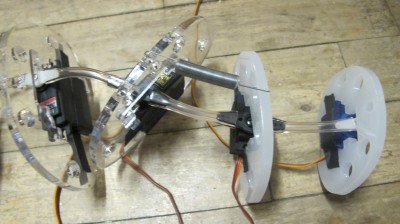
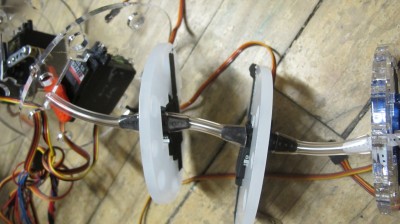
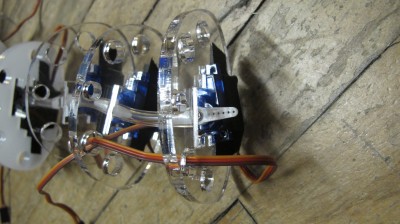
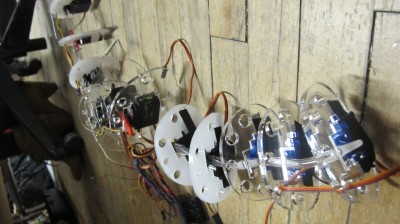
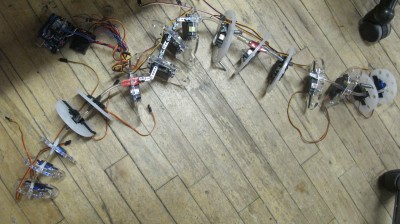
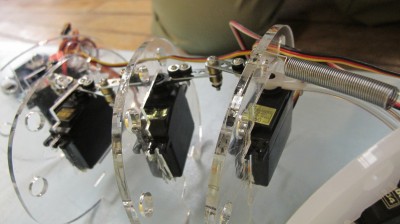
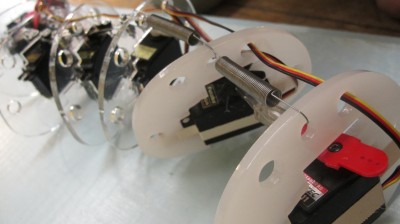
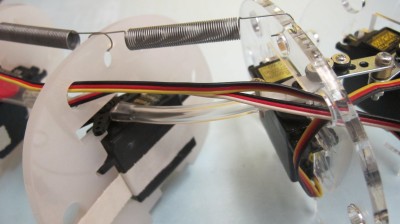
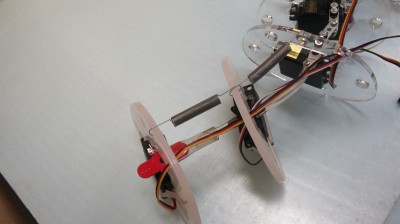
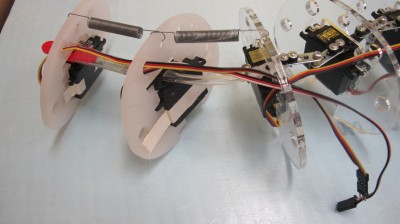
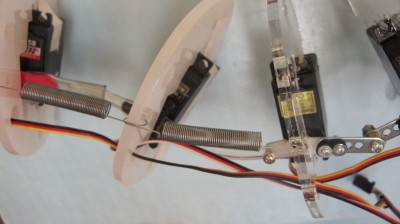
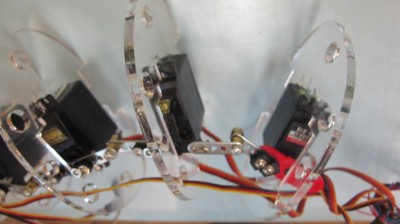
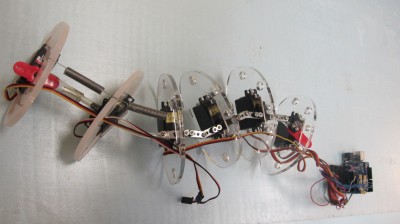
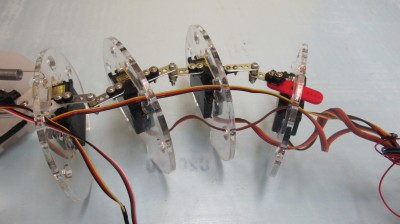
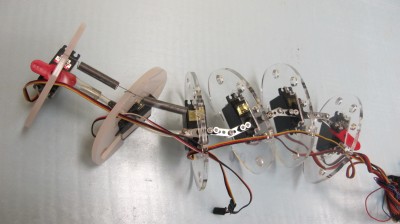
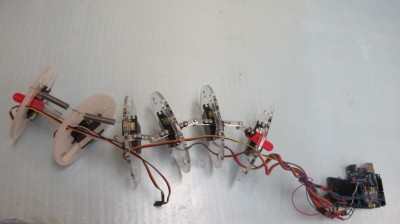
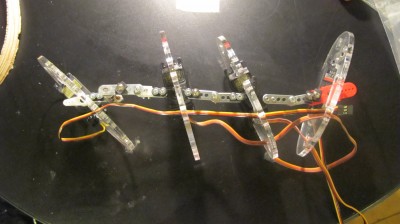
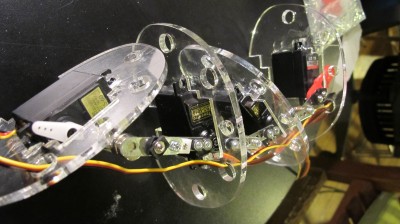
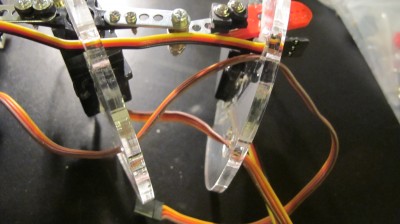
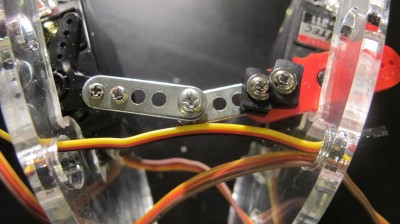
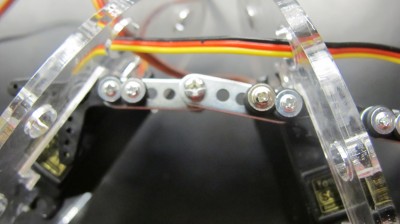
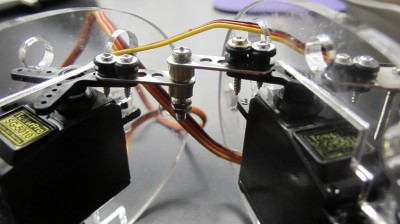
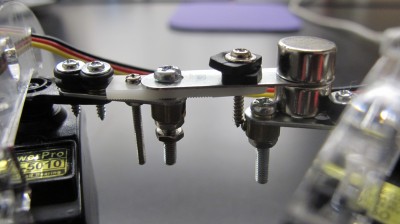
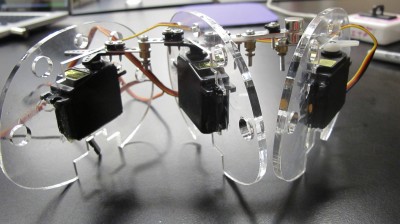
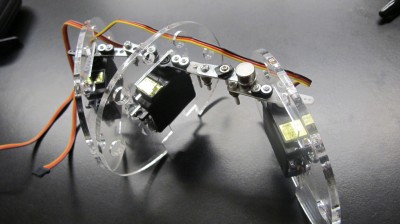
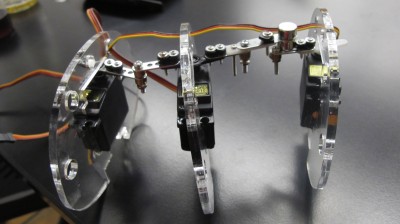
Like a real snakes vertebrates:
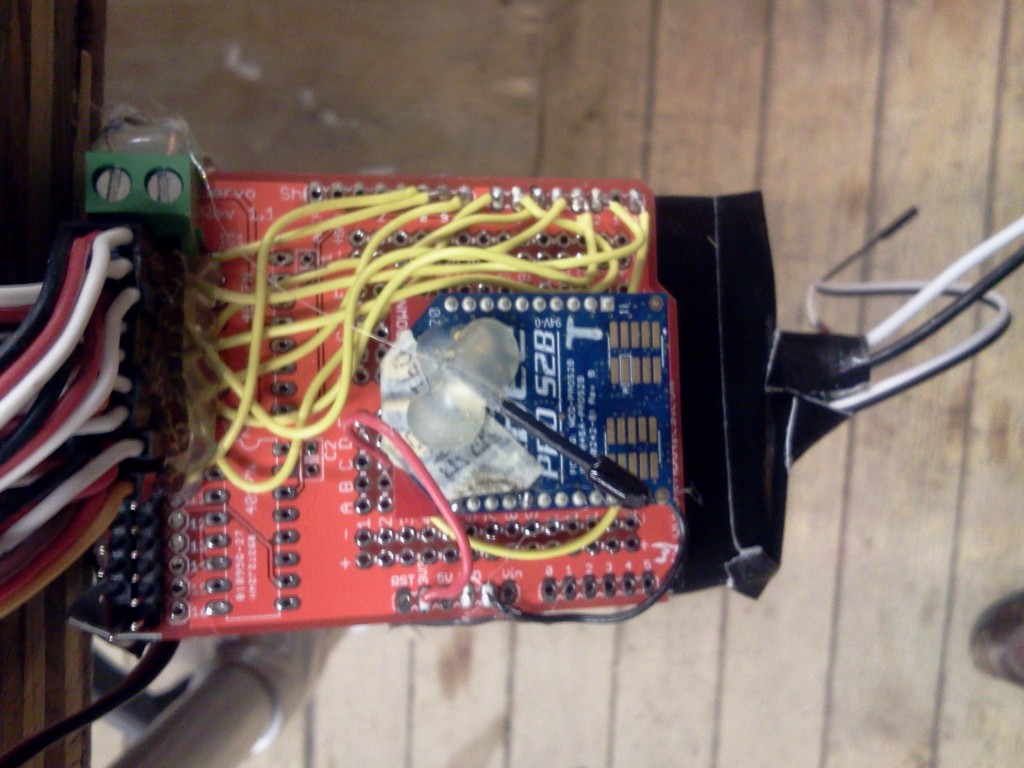
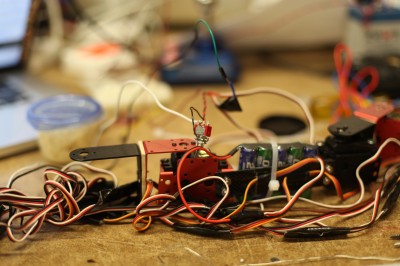
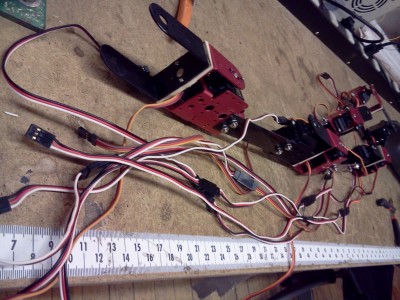
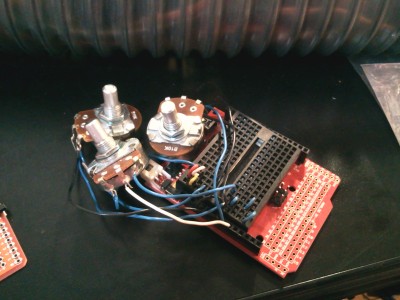
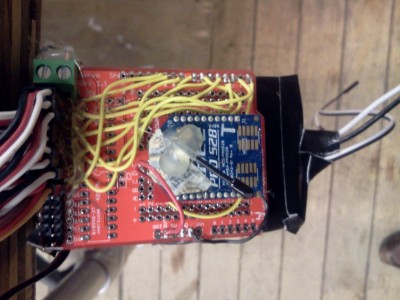
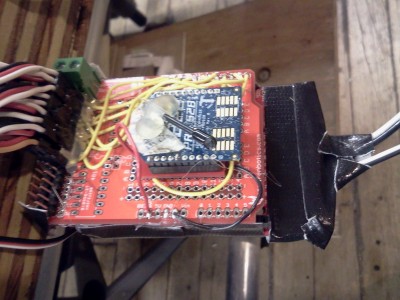
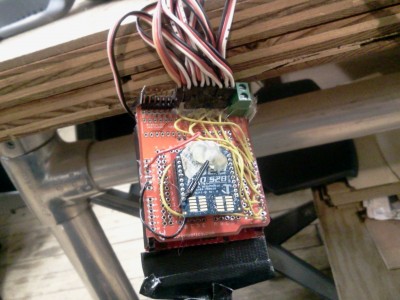
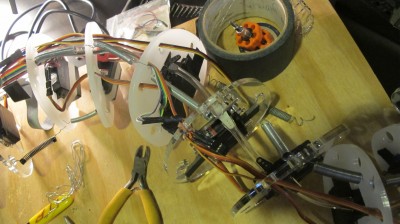
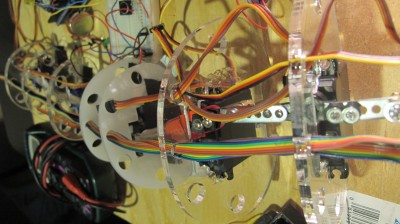
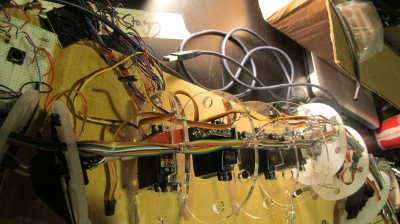
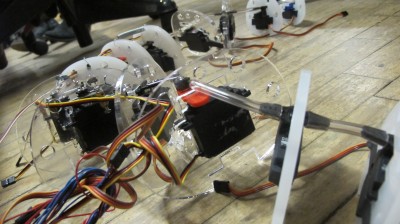
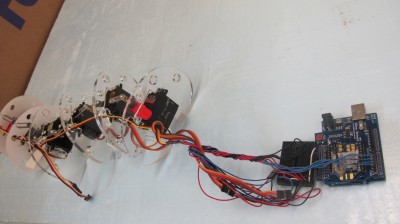
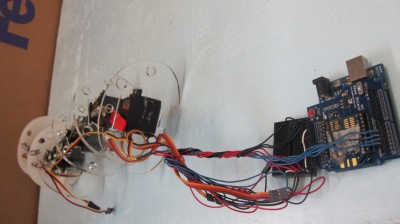
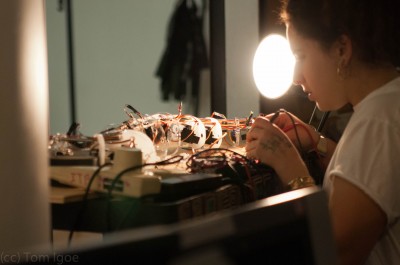
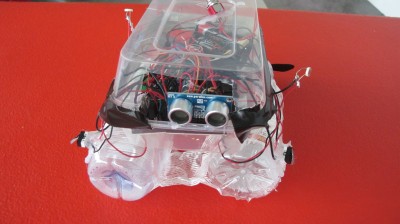
I used Arduino Mega with multiple servos attached, using multiple 6V NiMh battery packs, placed along the body, with an xbee mounted on top to control three parameters of wave behavior: period, wavelength, and amplitude.
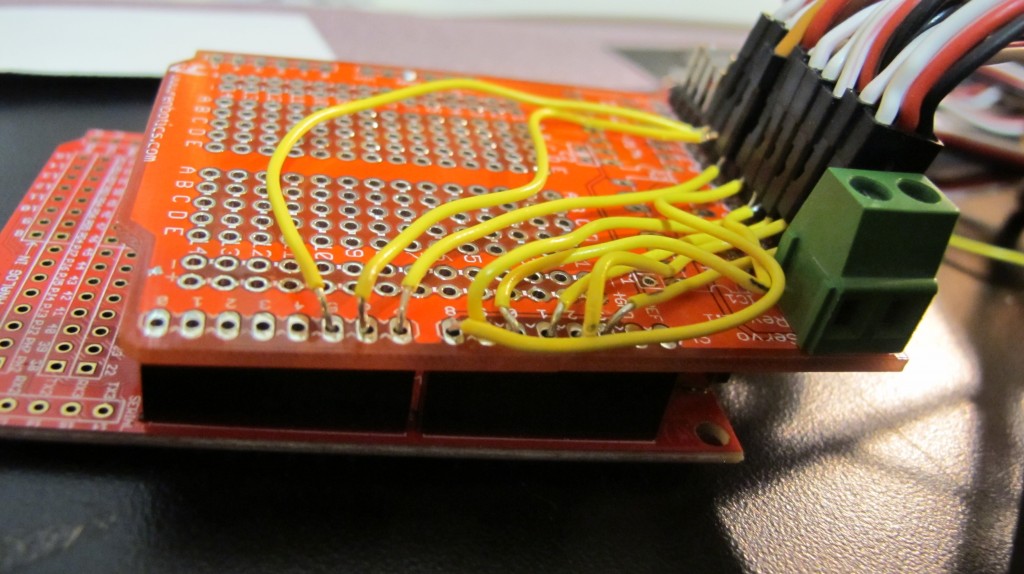
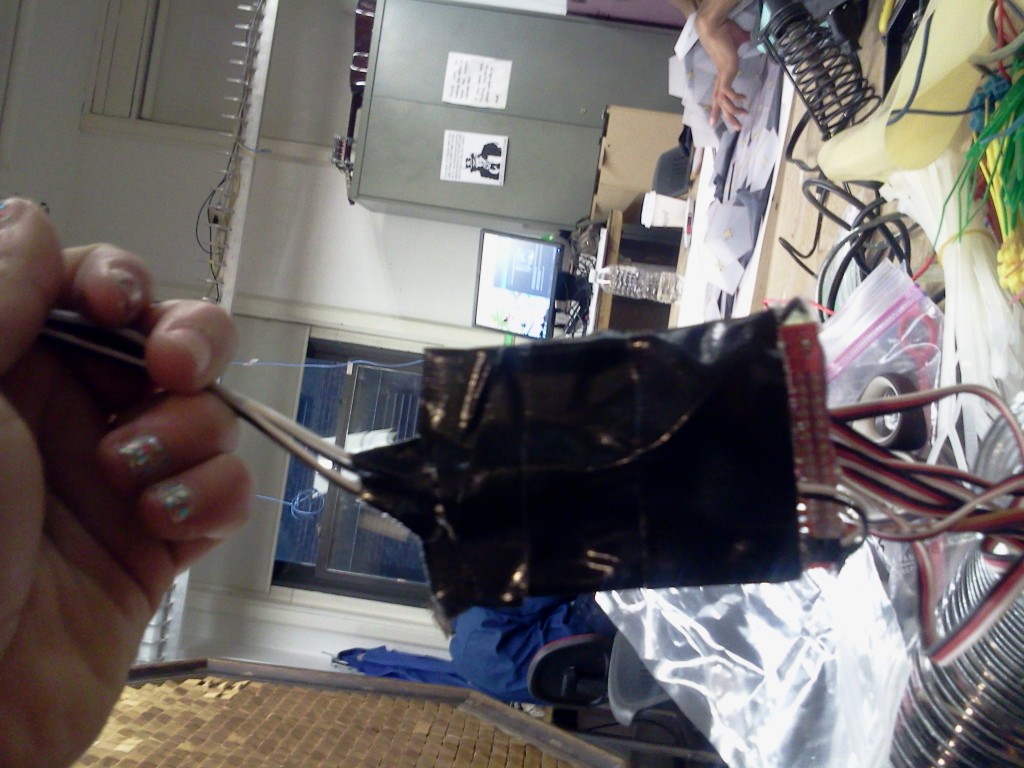
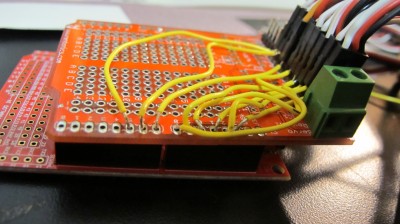
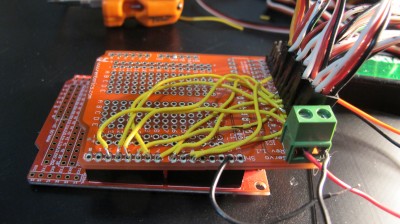
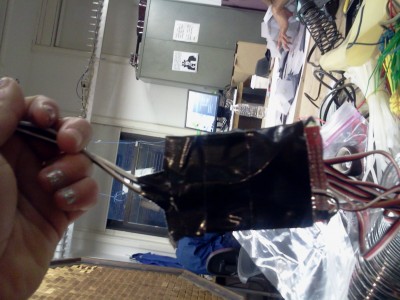
I taped the bottom of the Arduino so nothing shorted:
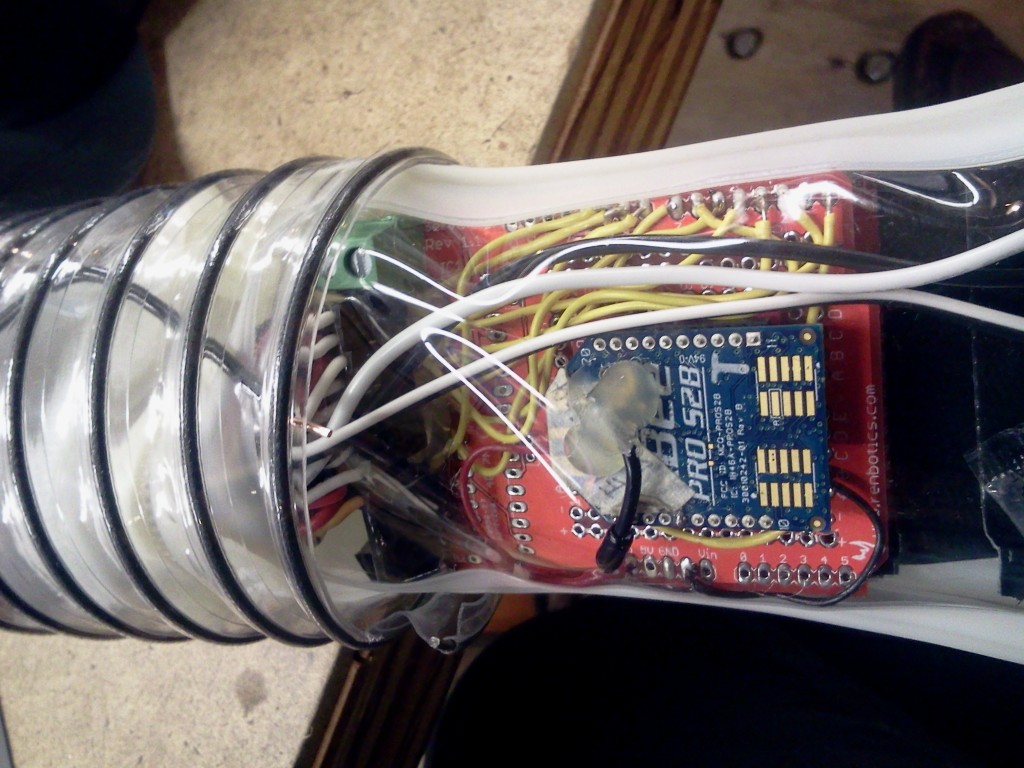
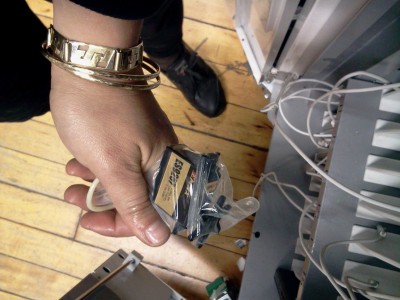
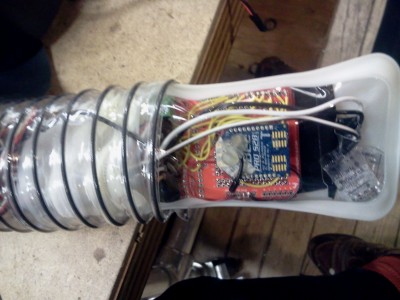
First I stuffed the arduino + xbee into a waterproof sac:
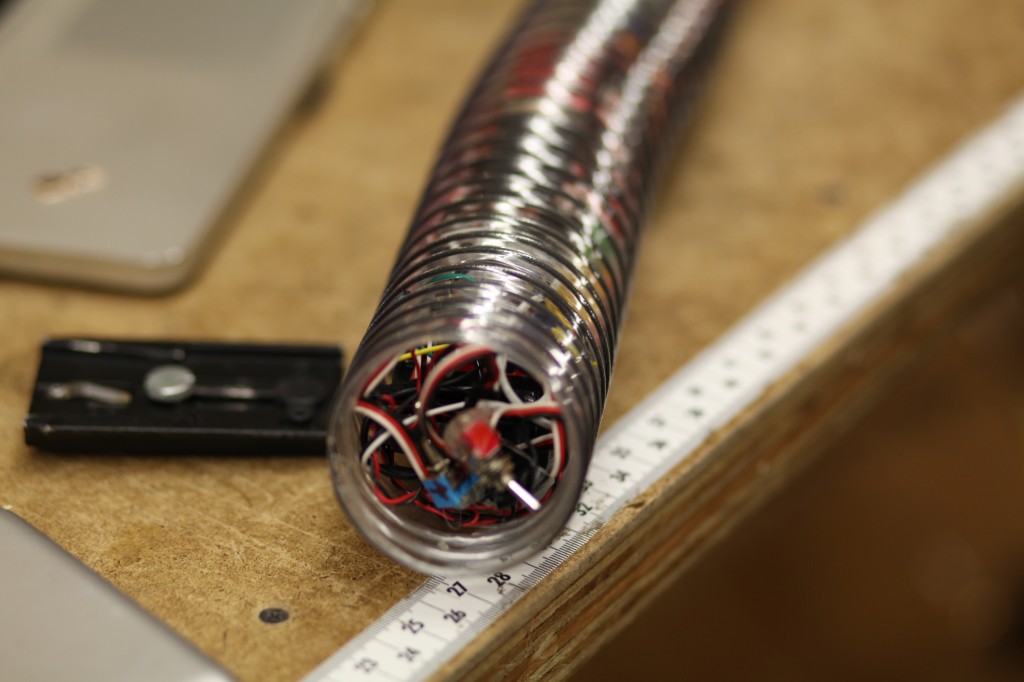
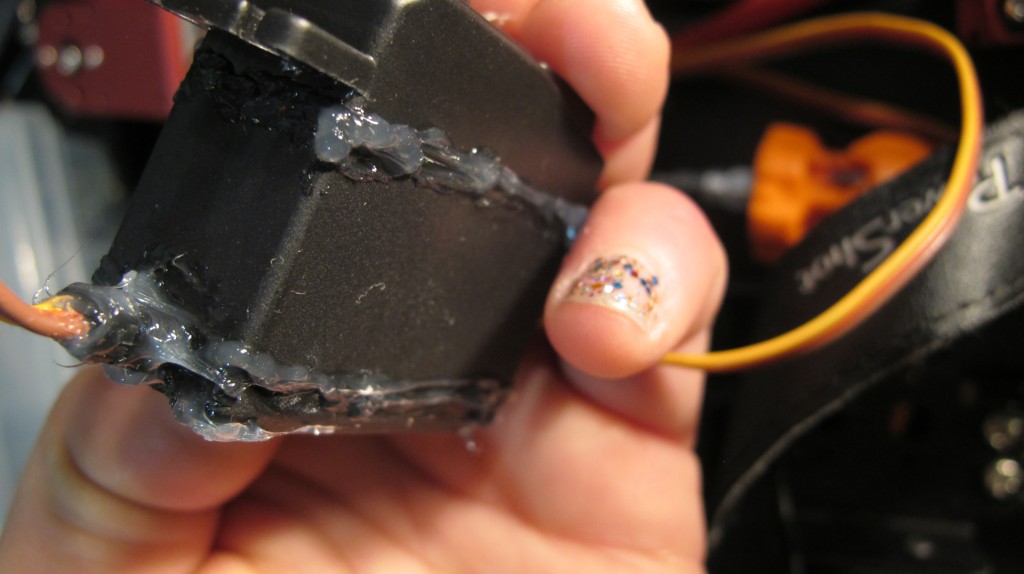
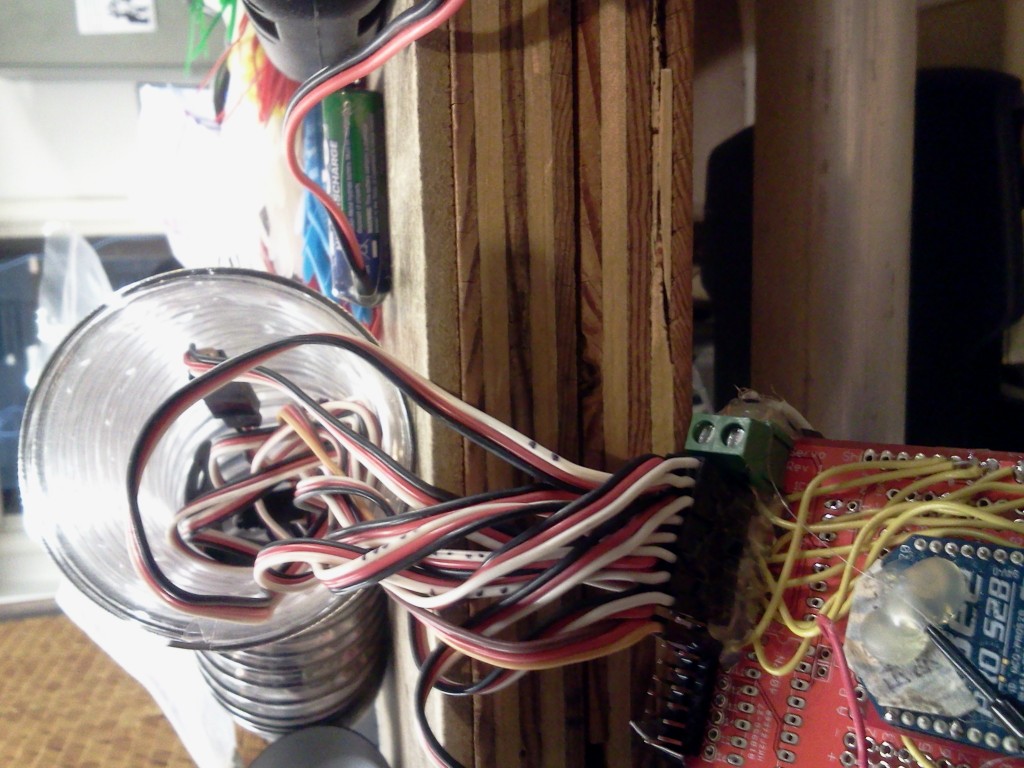
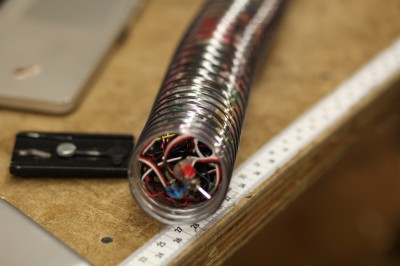
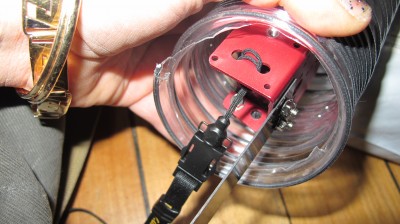
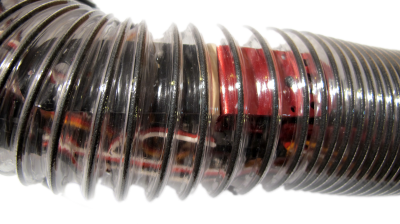
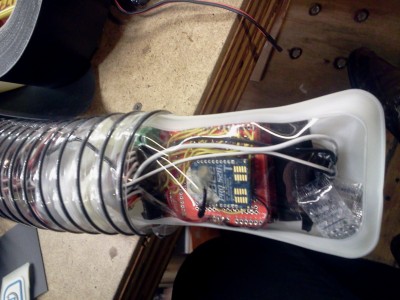
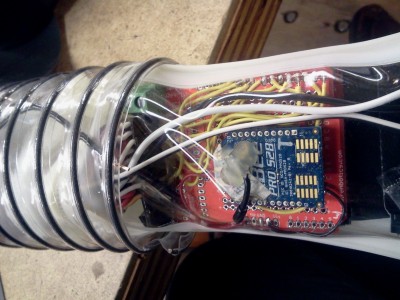
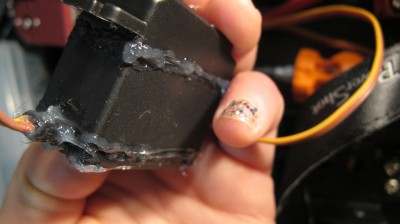
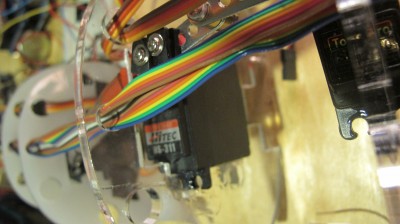
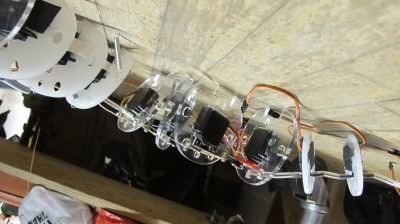
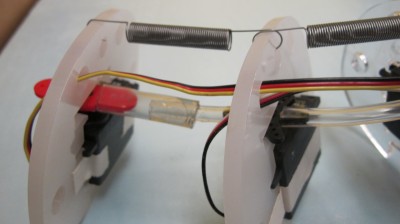
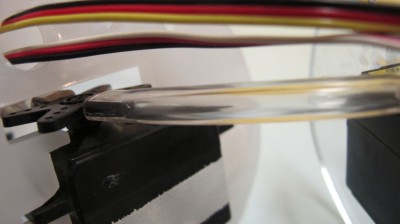
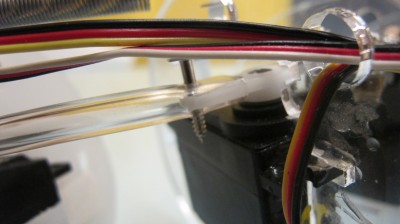
Then I decided that was overkill so I just stuffed everything into the tube (as I had sealed each servo motor with epoxy and had a water tight seal on the tube top and bottom)
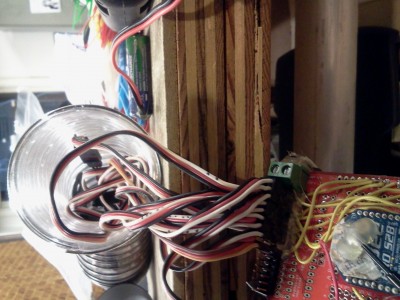
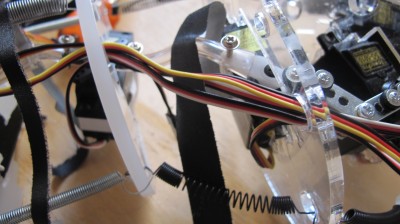
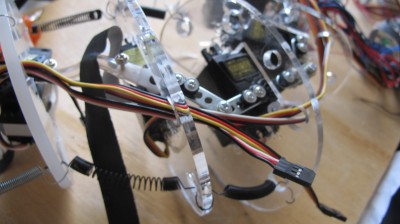
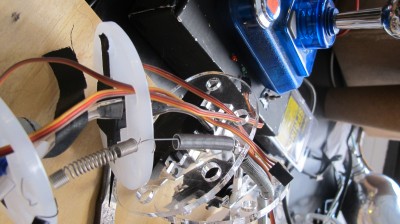
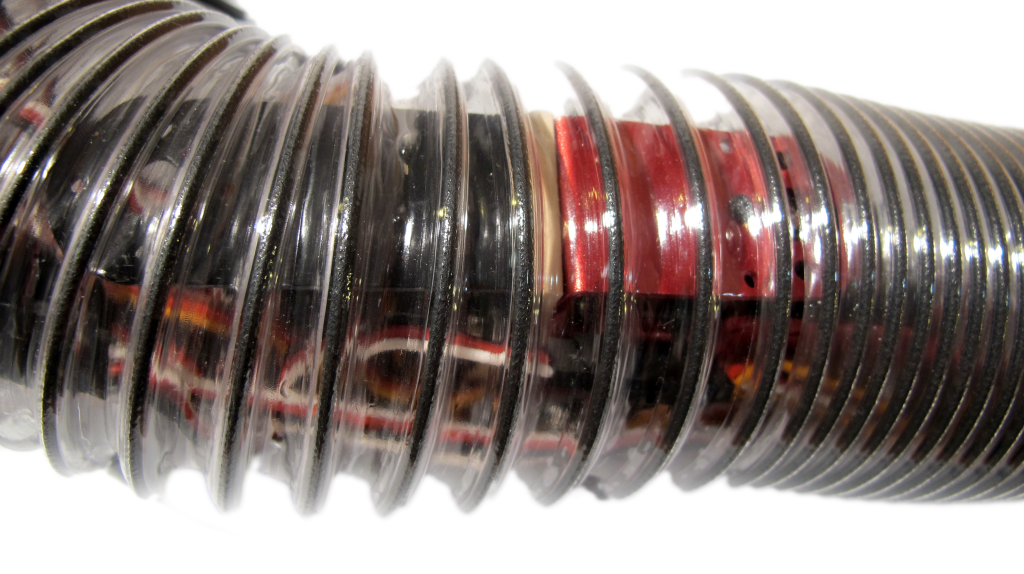
See wires etc. stuffed in the tube:
The Software:
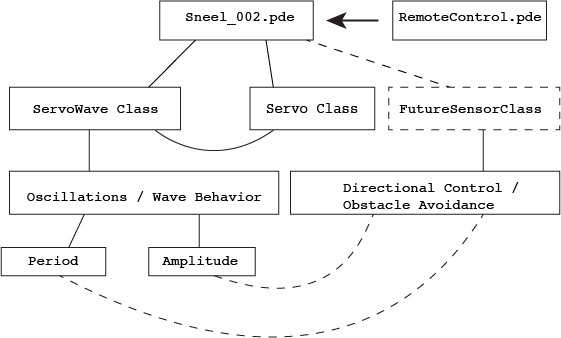
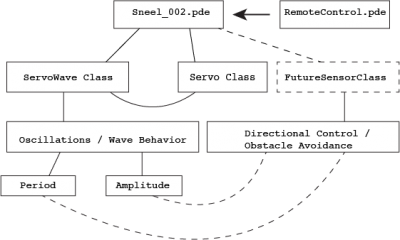
A diagram of the control firmware and the relationship between the classes:
I wrote an Arduino library called ServoWave to control period, amplitude and wavelength of the oscillation for Sneel’s swimming behavior.
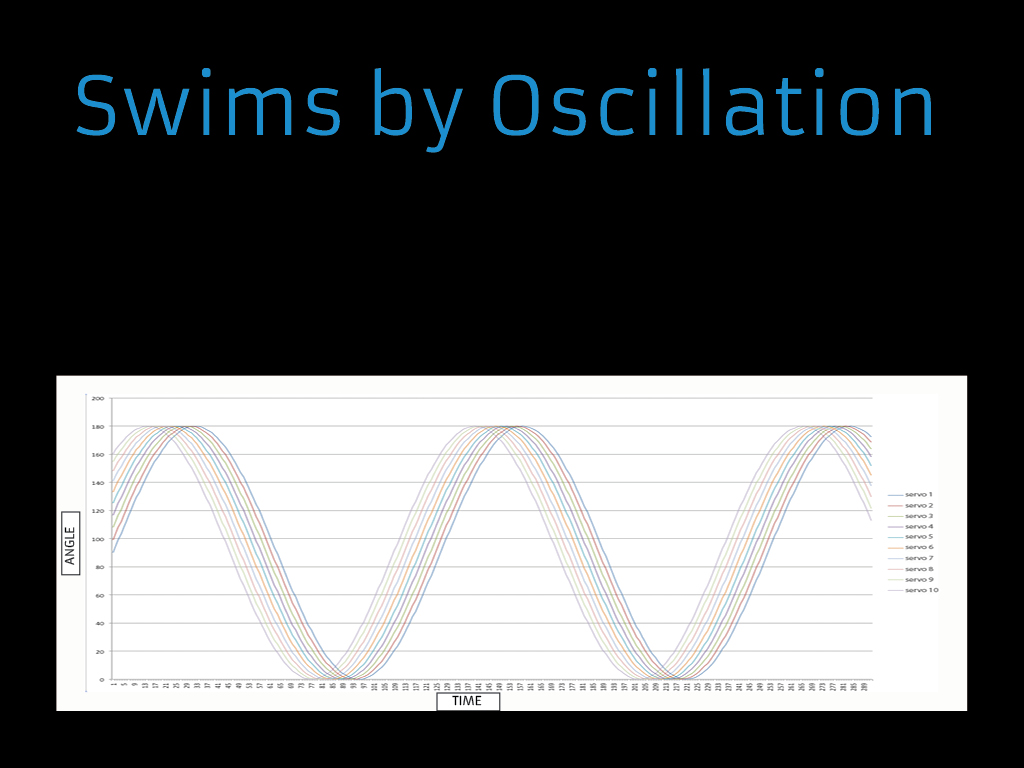
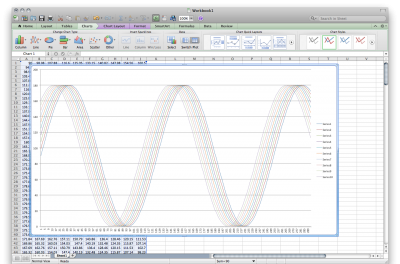
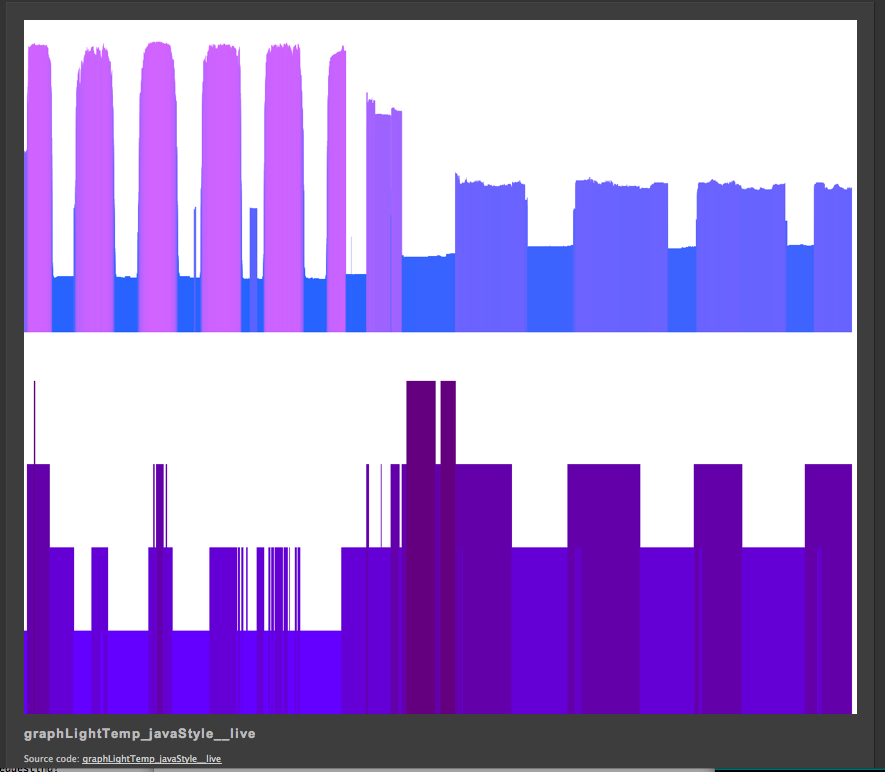
See how each servo motor oscillates – in the following graph, I print out values of each servo as each motor rotates in a sine wave slightly out of phase from each other. The x axis is time and the y axis is angle, and each colored line is a different motor.
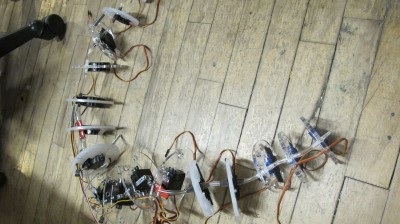
After getting everything packed up in the tube, I tested Sneel_002 on the floor of ITP.
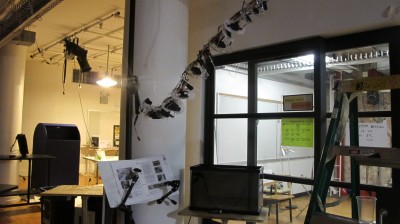
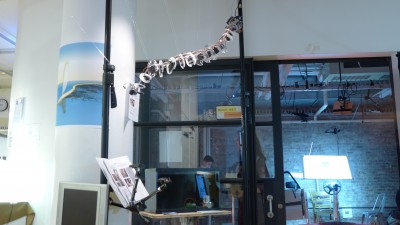
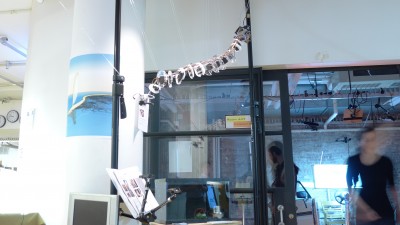
He seemed sort of real:
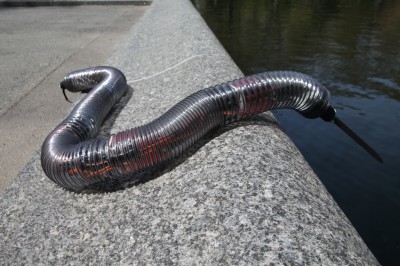
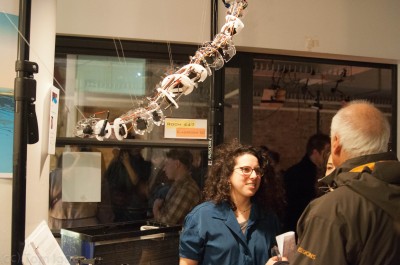
Sneel in the wild:
Well, Sneel_002 swam pretty well, sort of like a real snake, but there’s much work to be done…
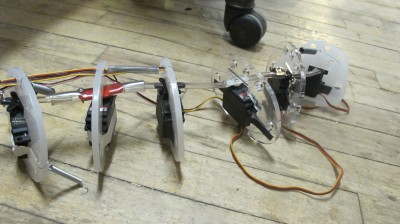
Model shot:
Progress ON Snake
a quick start:
questions for consideration:
snake or eel( float or sink)
hydraulic pump?
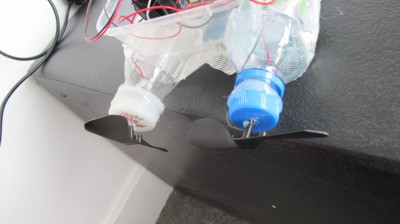
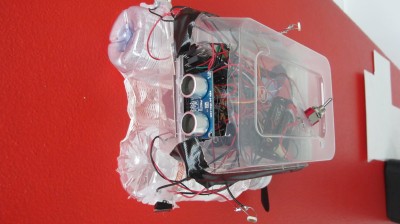
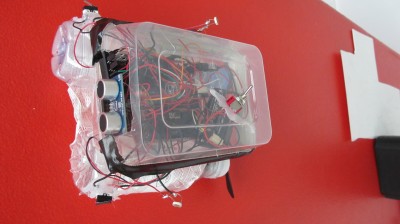
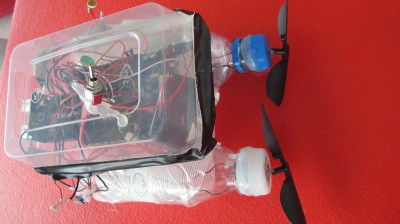
propeller for forward propagation?
behavioral test – think better about mechanics of aquatic locomotion
______________________________________________________
I got the snake into the tube.

Here are some images of the progress:

I think I’ll bring the boat here:

______________________________________________________________________
my email to the p comp list:
It turns out something weird is happening with my batteries – I can run the lipo batteries I have with two DC motors, giving me a current draw of 1800 mAmps (around there anyway when I tested with the multimeter)m, at around 8 V .
When I try to power solely one servo, the voltage drops immediately to below 2 V. The batteries seem to be fully charged , as indicated by the charger I’m using and when I try to give them voltage from a power supply of 8.4 volts at 0.25 mAmps limit, the power supply shuts to 0 (I think this happens with LI ion batteries, a chip prevents over charging if using a regulated power supply…?)
Anyway, what can possibly be preventing me from running one servo with a current rating of 0.3 Amps peak , but I can run DC motors , with 1800 mAmp peak? ?
I can’t figure out what might be wrong – if the battery was damaged, I thought I’d not be able to use it for the DC motors, but since it works fine that way… what can be the problem?
OK another Totally Weird thing is happening:
when I try to test the amperage on one servo by plugging the multimeter in series between the battery +7.4 V and the servo + power , the servo DOES seem to move a bit (slower than when I use just a 6V non rechargeable battery).
When I but without the multimeter in series I get no motion (immediate voltage drop to 1.5 V from 7.4)
What/??
Also, the multimeter is reading 0 amps even when in series with the battery and Vin on the servo
SO I realized I can’t stack it… UGH. I dont understand why I can’t combine two LI ion batteries to make 7.4 V from 3.2 V. WHy?
And now I am using vivitar batteries from cameras, but my voltage regulator, which brings the voltage down to 5.8 V gets super hot. this scares me.
Also, the small servos get super hot. Especially the Emax MD (i’m also using Emax A ).
SO I think I’ll buy some larger servos now, from servocity , as well as perhaps a 6 V NImh battery. Ugh.
TO REMEMBER:
get bigger servos
get new battery
get charger
tighten screws
put more screws on black servos
put on loctite
test o rings
put dielectric / marine grease
seal with epoxy the rest of the large servos
get more vacuum tubing
figure out battery pack, arduino power, face, etc
glue rubber
pugs
screws
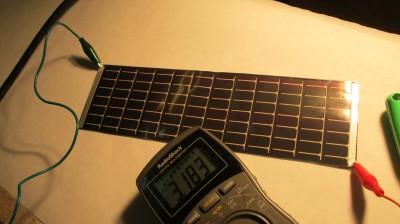
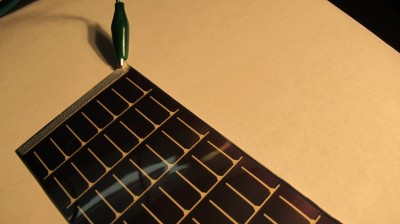
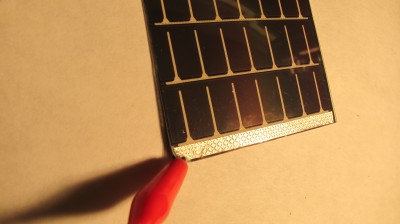
bellflower voltage logging solar panel
logging voltage here: http://www.levinegabriella.com/bellflower/bellflower_dataLog.txt
arduino code here:
https://github.com/gabriella/bellflower
php and more to come…
BLINK detection –> blinding LIGHT
code here
I like the concept of always trying to reach something, or always trying to see something, but you cannot penetrate barrier in order to reach / see it. In a sense, something only occurring when you blink, to me seems like you straddle the threshold of perception… well, i dunno. I have to develop this more and figure out what it actually is I’m trying to see that I never can
Here is a video of me testing my blink mechanism then trying to implement it in the dark, as I thought that would be dramatic. However, there was a delay in the dark, as I guess the camera vision was more difficult.
A few tests with others:
payphone
for the fusebox festival, payphone revival project, in austin texas
using a mp3 trigger, and getting into the matrix circuit behind the keypad (luckily the phone was OPEN and not locked) we’re going to allow people to pick up the phone
The payphone is so much simpler than I thought! the coin slot is just a bunch of gears, then the circuitry for the buttons and the receiver etc… nice
So I soldered some wires onto the already working switch so when the receiver is picked up a dial tone plays, then working on the matrix to activate different tracks when I button is pressed
cool.
the mp3 trigger is pretty simple with a micro sd card, FAT 16 formatted (<2 gb)- either it can be digitally controlled, by closing the switch on pins 0-17 (which switches between 18 tracks), Or it can interface with arduino serially. [gallery]
tmp36
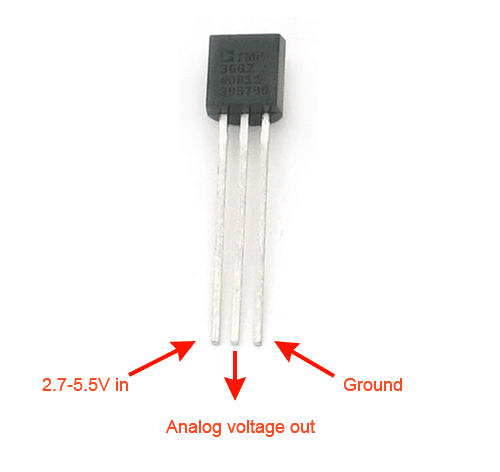
I’ve switched over to this sensor as a solid state temperature sensor:
I will use thermocouples for rapid rate of changes of liquids but for environmental sensing:
temperature from tmp36 sensor: http://www.ladyada.net/learn/sensors/tmp36.html
0.73 volts
22.75 degrees C
72.96 degrees F
0.73 volts
//TMP36 Pin Variables
int sensorPin = 0; //the analog pin the TMP36's Vout (sense) pin is connected to
//the resolution is 10 mV / degree centigrade with a
//500 mV offset to allow for negative temperatures
/*
* setup() - this function runs once when you turn your Arduino on
* We initialize the serial connection with the computer
*/
void setup()
{
Serial.begin(9600); //Start the serial connection with the computer
//to view the result open the serial monitor
}
void loop() // run over and over again
{
//getting the voltage reading from the temperature sensor
int reading = analogRead(sensorPin);
// converting that reading to voltage, for 3.3v arduino use 3.3
float voltage = reading * 5.0;
voltage /= 1024.0;
// print out the voltage
Serial.print(voltage); Serial.println(&amp;quot; volts&amp;quot;);
// now print out the temperature
float temperatureC = (voltage - 0.5) * 100 ; //converting from 10 mv per degree wit 500 mV offset
//to degrees ((volatge - 500mV) times 100)
Serial.print(temperatureC); Serial.println(&amp;quot; degrees C&amp;quot;);
// now convert to Fahrenheight
float temperatureF = (temperatureC * 9.0 / 5.0) + 32.0;
Serial.print(temperatureF); Serial.println(&amp;quot; degrees F&amp;quot;);
delay(1000); //waiting a second
}
IR proximity sensor
Here’s the Sharp product i’m using: http://www.sparkfun.com/datasheets/Sensors/Infrared/gp2y0a02yk_e.pdf
bought from here: http://www.sparkfun.com/products/8958
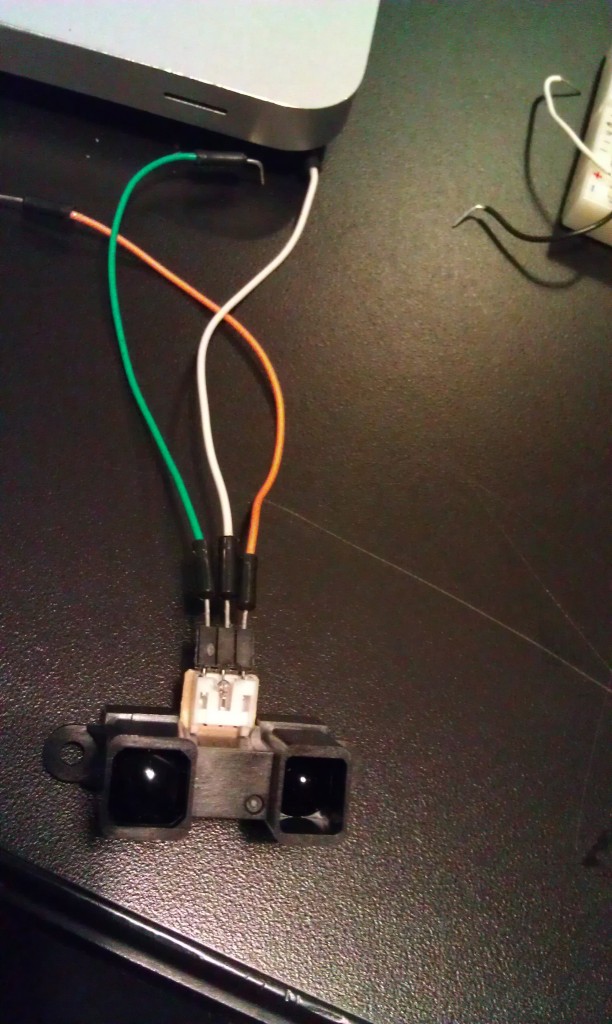
This code is simply smoothing an analog input value (0-5V), and it seems to work ok, but I have to see – I’m working on graphing the values (using Excel and CoolTerm) to make sure that my linearizing function I got from here: http://www.acroname.com/robotics/info/articles/irlinear/irlinear.html = has worked correctly
const int numReadings = 100;
int readings[numReadings]; // the readings from the analog input
int index = 0; // the index of the current reading
int total = 0; // the running total
int average = 0; // the average
int inputPin = A0;
void setup()
{
// initialize serial communication with computer:
Serial.begin(9600);
// initialize all the readings to 0:
for (int thisReading = 0; thisReading &amp;lt; numReadings; thisReading++)
readings[thisReading] = 0;
}
void loop() {
// subtract the last reading:
total= total - readings[index];
// read from the sensor:
readings[index] = analogRead(inputPin);
// add the reading to the total:
total= total + readings[index];
// advance to the next position in the array:
index = index + 1;
// if we're at the end of the array...
if (index &amp;gt;= numReadings)
// ...wrap around to the beginning:
index = 0;
// calculate the average:
average = total / numReadings;
// send it to the computer as ASCII digits
Serial.println(average);
}
This code also is seems good but I have to check it out more closely:
int sensorPin = 0; // input pin for the sensor
int barPin[] = {2, 3, 4, 5, 6, 7, 8, 9, 10, 11};
int barPinCount = 10;
int volt = 0; // variable to store the value coming from the sensor
int zeit = 100; // *10 = Gesamtzeit - total time
void setup() {
Serial.begin(9600);
int thisPin;
// the array elements are numbered from 0 to (pinCount - 1).
// use a for loop to initialize each pin as an output:
for (int thisPin = 0; thisPin &amp;lt; barPinCount; thisPin++) {
pinMode(barPin[thisPin], OUTPUT);
}
}
void loop() {
int volt = 0;
for(int i=0; i&amp;lt;10; i++)
{
volt += analogRead(sensorPin);
delay(zeit);
}
volt /= 10;
Serial.println(volt);
int litCount = 0;
if (volt &amp;lt;= 82) {
// &amp;gt;= 80cm
litCount = 1;
} else if (volt &amp;lt;= 92) {
// &amp;gt;= 70cm
litCount = 2;
} else if (volt &amp;lt;= 102) {
// &amp;gt;= 60cm
litCount = 3;
} else if (volt &amp;lt;= 123) {
// &amp;gt;= 50cm
litCount = 4;
} else if (volt &amp;lt;= 154) {
// &amp;gt;= 40cm
litCount = 5;
} else if (volt &amp;lt;= 184) {
// &amp;gt;= 30cm
litCount = 6;
} else if (volt &amp;lt;= 266) {
// &amp;gt;= 20cm
litCount = 7;
} else if (volt &amp;lt;= 328) {
// &amp;gt;= 15cm
litCount = 8;
} else if (volt &amp;lt;= 461) {
// &amp;gt;= 10cm
litCount = 9;
} else if (volt &amp;gt; 461) {
// &amp;lt; 10cm
litCount = 10;
}
for(int b=0; b&amp;lt;10; b++)
{
if(b&amp;lt;=litCount)
digitalWrite(barPin[b], HIGH); // Turn the bar on
else
digitalWrite(barPin[b], LOW); // Turn the bar off
}
}
circuit – SHT11 humidity sensor
I found a super nice library – https://github.com/practicalarduino/SHT1x – it’s working way better than what I had going before – Thanks!
I’m using this schematic: using this http://www.parallax.com/dl/docs/prod/acc/SensirionDocs.pdf
I’m getting legible values :
Temperature: 25.4199981689C / 77.8459930419F. Humidity: 23.45%
Temperature: 25.4399948120C / 77.8639984130F. Humidity: 23.45%
Temperature: 25.4799957275C / 77.7919921875F. Humidity: 25.12%
Temperature: 25.4599990844C / 77.8999938964F. Humidity: 27.65%
Temperature: 25.3600006103C / 77.7739944458F. Humidity: 27.87%
Temperature: 25.5199966430C / 77.9719924926F. Humidity: 26.86%
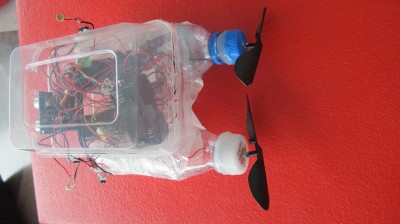
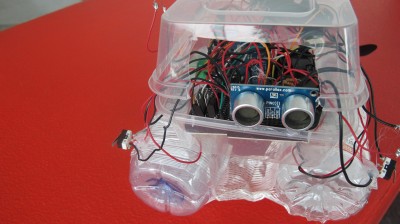
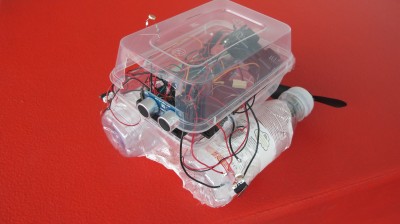
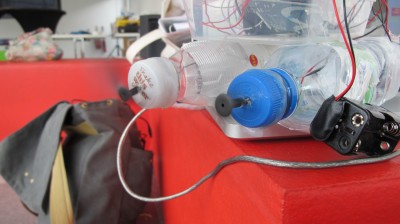
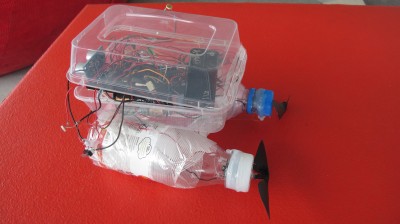
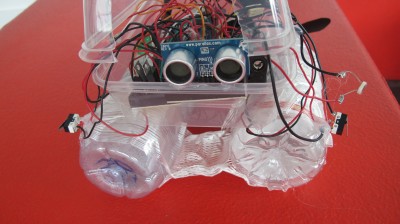
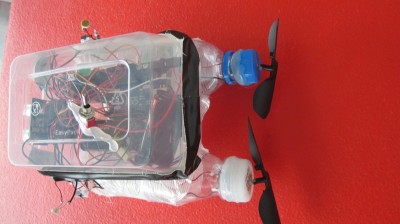
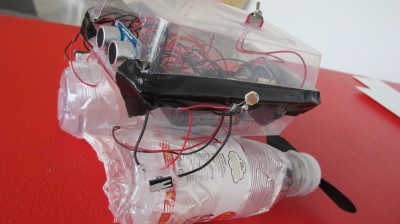
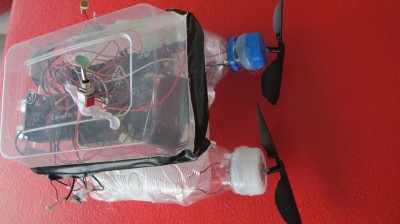
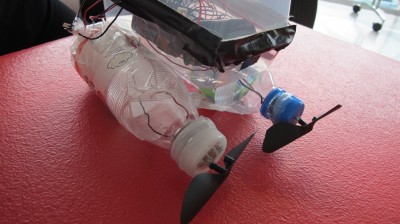
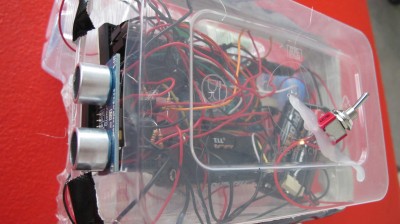
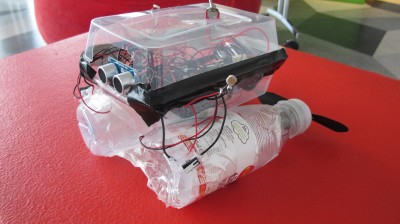
robot boat with many sensing capabilities
STEP BY STEP HOW TO:
http://levinegabriella.com/teaching/Boat.pdf TUTORIAL and CODE
github.com/gabriella/boat-
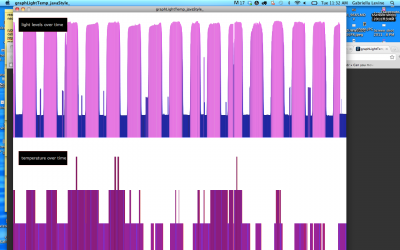
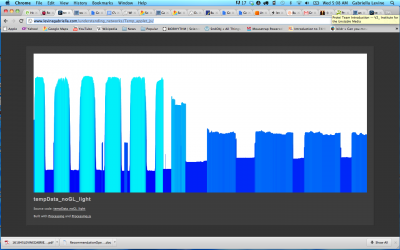
Logging data remotely to the web, no computer
So I switched over the client to here: http://levinegabriella.com/understanding_networks/liveApplet/
(I have to figure out why no text is appearing on the graph – i had temperature and light and date markers)
the php server is written here: http://levinegabriella.com/understanding_networks/dataLogger.php
The server reads and writes to a text file here: http://www.levinegabriella.com/understanding_networks/liveApplet/DATAcl.TXT
See code below for Arduino and php and processing
Next step: The day I left NY my dataLogging Arduino “crashed”, after working for a week . It could have been any number of things. The SD card, the server, a short?
Try Pachube, and Watch Dog to restart Arduino if it crashes.
Can i do some virtual debugging?
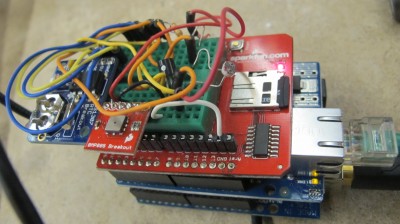
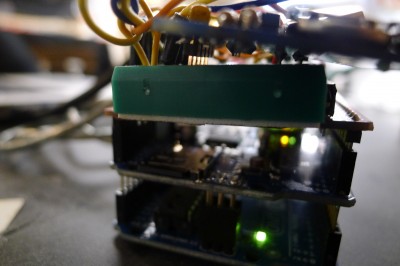
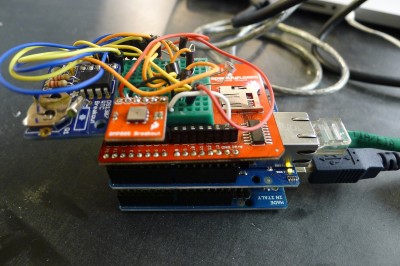
Also, Arduino UNO ran out of space (the functions include: data logger, ethernet connection to a server, temp sensor, light sensor, real time clock – But there are many more sensors on board (gps, humidity, accelerometer, barometric pressure) so I’ve moved everything over to the MEGA. Had to rearrange the SPI / I2C pin connections, but besides that it’s all good.
(all the code (php, processing, arduino) can also be downloaded here)
More to come…
&amp;amp;amp;lt;?php
// put the name and path of the text file in a variable.
// this is the text file where we'll store the data:
$filename = 'liveApplet/DATAcl.TXT';
//make sure the file is not empty:
if (file_exists($filename)) {
// get the contents of the file
// and put them in a variable called $fileContents:
$fileContents = file_get_contents($filename);
// if there is new data from the client, it'll
// be in a request parameter called &amp;amp;amp;quot;data&amp;amp;amp;quot;.
if (isset($_REQUEST['data'])) {
// append what the client sent as 'data' to
// the variable holding the file contents:
$fileContents = $fileContents . &amp;amp;amp;quot;\n&amp;amp;amp;quot;. $_REQUEST['data'];
// put the file contents back into the file
// you're overwriting the whole file when you do this:
file_put_contents($filename, $fileContents);
} else {
// there was no data sent in the request
// so show the old stuff:
// echo '&amp;amp;amp;lt;p&amp;amp;amp;gt;' . $fileContents . '&amp;amp;amp;lt;/p&amp;amp;amp;gt;';
//split the string of the newLines:
$strings = explode(&amp;amp;amp;quot;\n&amp;amp;amp;quot;, $fileContents);
//loop over the array of the lines, adding a break at the end of each
foreach ($strings as $thisString){
echo $thisString . &amp;amp;amp;quot;&amp;amp;amp;lt;br/&amp;amp;amp;gt;\n&amp;amp;amp;quot;;
}
}
}
?&amp;amp;amp;gt;
Arduino:
[/python]
/*
Web client
This sketch connects to a website (http://www.google.com)
using an Arduino Wiznet Ethernet shield.
Circuit:
* Ethernet shield attached to pins 10, 11, 12, 13
created 18 Dec 2009
by David A. Mellis
*/
#include
#include
#include
#include “RTClib.h”
#include
// Enter a MAC address for your controller below.
// Newer Ethernet shields have a MAC address printed on a sticker on the shield
byte mac[] = {
0x00, 0xAA, 0xBB, 0xCC, 0xDE, 0x03 };
IPAddress server(69,89,31,63); // my IP server
const int requestInterval = 30000;
long lastAttemptTime = 0; // last time you connected to the server, in milliseconds
boolean requested;
const int resetLED = 13;
float temp;
float voltage;
// Initialize the Ethernet client library
// with the IP address and port of the server
// that you want to connect to (port 80 is default for HTTP):
const int chipSelect = 4;//changed from 8
const int LOCATION_FILE_NUMBER_LSB = 0x00;
const int LOCATION_FILE_NUMBER_MSB = 0x01;
File dataFile;
RTC_DS1307 RTC;
EthernetClient client;
DateTime now;
void setup() {
// start the serial library:
Serial.begin(9600);
pinMode(A2, OUTPUT);
pinMode(A3, OUTPUT);
// A2 is the ground, A3 is the power:
digitalWrite(A2, LOW);
digitalWrite(A3, HIGH);
pinMode(10, OUTPUT);
if (!SD.begin(chipSelect)) {
Serial.println(“Card failed, or not present”);
// don’t do anything more:
}
Serial.println(“card initialized.”);
Wire.begin();
RTC.begin();
delay(50);
if (! RTC.isrunning()) {
Serial.println(“RTC is NOT running!”);
// following line sets the RTC to the date & time this sketch was compiled
RTC.adjust(DateTime(__DATE__, __TIME__));
}
dataFile = SD.open(“data.txt”, FILE_WRITE);
delay(500);
// start the Ethernet connection:
Ethernet.begin(mac);
if (Ethernet.begin(mac) == 0) {
Serial.println(“Failed to configure Ethernet using DHCP”);
// no point in carrying on, so do nothing forevermore:
for(;;)
;
}
// connectToServer();
// give the Ethernet shield a second to initialize:
delay(1500);
blink(resetLED, 3);
Serial.println(“connecting…”);
connectToServer();
}
void loop()
{
now = RTC.now();
if(client.connected()){
if(!requested){
requested = makeRequest();
// Serial.println(“requesting!”);
}
if(millis() – lastAttemptTime>requestInterval){
//if youre not connected and two minutes have passed, attempt to connect again
client.stop();
// Serial.println(“stopping and reconnecting!”);
// getData();
delay(1500);
//connectToServer();
}
// if there are incoming bytes available
// from the server, read them and print them:
}
if (client.available()) {
char c = client.read();
// Serial.print(c);
}
// if the server’s disconnected, stop the client:
if (!client.connected()) {
// Serial.println();
// Serial.println(“disconnecting.”);
client.stop();
delay(1500);
if(millis() – lastAttemptTime>requestInterval){
//if youre not connected and two minutes have passed, attempt to connect again
connectToServer();
//try to reconnect here…
}
}
}
void getData(){
voltage = 5 * analogRead(A0) / 1024.0;
//float temp = 5 * analogRead(A1) / 1024.0;
temp=(analogRead(A1))/10;
// Serial.print(voltage);
// Serial.print(F(“,”));
// Serial.print(temp);
// Serial.print(F(“,”));
// Serial.println(” “);
//
if (dataFile) {
DateTime now = RTC.now();
dataFile.print(now.month());
dataFile.print(‘/’);
dataFile.print(now.day());
dataFile.print(‘/’);
dataFile.print(now.year());
dataFile.print(F(“,”));
dataFile.print(now.hour());
dataFile.print(F(“:”));
dataFile.print(now.minute());
dataFile.print(F(“:”));
dataFile.print(now.second());
dataFile.print(F(“,”));
dataFile.print(voltage);
dataFile.print(F(“,”));
dataFile.print(temp);
dataFile.println();
}
dataFile.flush();
}
void connectToServer(){
// Serial.println(“connecting to server…”);
if (client.connect(server, 80)) {
requested = false;
}
lastAttemptTime = millis();
}
boolean makeRequest() {
// Serial.println(“requesting”);
getData();
// Make a HTTP request:
client.print(“GET /understanding_networks/dataLogger.php?data=”);
client.print(now.month());
client.print(‘/’);
client.print(now.day());
client.print(‘/’);
client.print(now.year());
client.print(F(“,”));
client.print(now.hour());
client.print(F(“:”));
client.print(now.minute());
client.print(F(“:”));
client.print(now.second());
client.print(F(“,”));
client.print(voltage);
client.print(F(“,”));
client.print(temp);
client.println(” HTTP/1.1 “);
client.println(“HOST: www.levinegabriella.com”);
client.println();
return true;
}
void blink(int thisPin, int howManyTimes){
for (int blinks = 0;blinks digitalWrite(thisPin, HIGH);
delay(200);
digitalWrite(thisPin, LOW);
delay(200);
}
}
//questions: what other sensors will be good?
//what is too much data
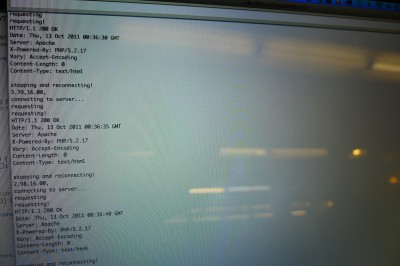
//i seem to be making my request twice
//when my request interval is more than 5000 i get
//10/13/2011,11:14:56,3.67,15.00
//10/13/2011,11:15:5,3.65,15.00
//10/13/2011,11:15:16,0.00,0.00
//10/13/2011,11:15:44,0.00,0.00
//why
//can you go back a directory
[/python]
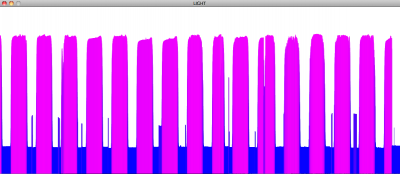
bytelight over time
Some visualizations of the colors of ByteLight over the course of a month
And this is zoomed in on two weeks in May:
The Human Baud Repeater
My wish is to be inside a pixel.
I also want to translate ascii to baudot.
I also want to translate nonverbal communication into code.
The earliest standard character encoding to facilitate the transmission of data (basic text messages)
baudot – (1870, Emile Baudot, International Telegraph Alphatbet 1)
-a bit ironic to use because as soon as ascii was invented (which sent 7 or 8 bits per character) a keyboard was more suited than a five key system (similar to a piano keyboard).
-transmitters typed at 30 words per minute
-radio based teleprinters, 20th C
-US Army (1940s), weather transmission, Western Union teletype
A character set, to represent each character in the alphabet as a series of 5 bits, with a shift symbol to represent capitals/special characters, and control characters characters (carriage returns and linefeeds). It is made to transmit information over radio signal or telegraph tower.
perforated copy of the message on tape
Baud rate:
number of symbol changes made to the transmission medium per second (measured in symbols/second)
Carriage return 00100
Line feed 11011
Shift to figures 11111
Shift to letters 00010
ASCII: 1963 – 7 bit encoding scheme
human relay / repeater:
Swan Lake repeater, Winema NF
ferrofluidic motor syringe
continuing with the ferrofluid idea:
so my servos are strong enough to push syringes with liquid:
I got inspired by a radial engine:
and was going to start off by building a piston:
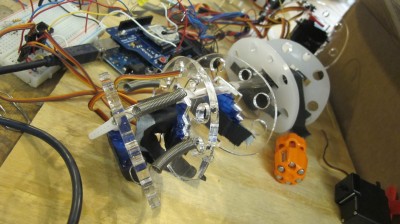
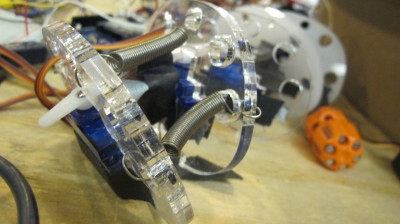
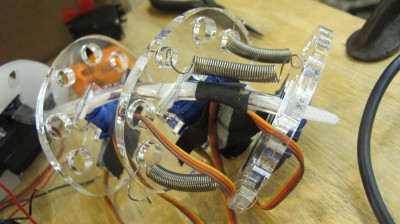
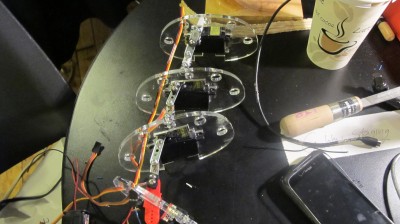
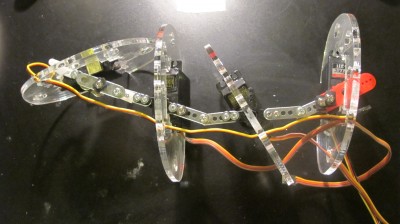
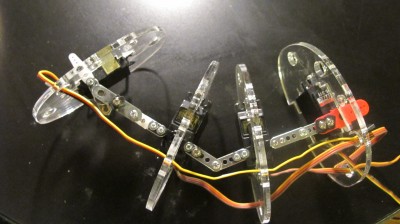
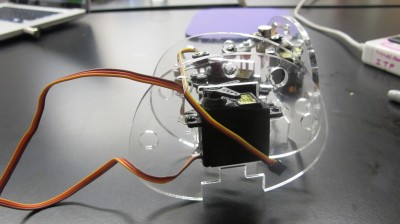
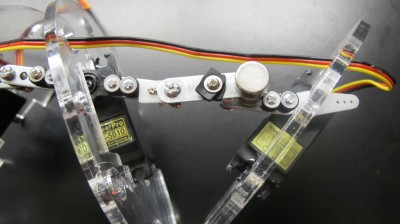
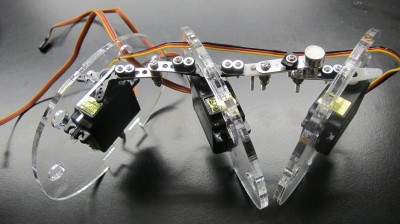
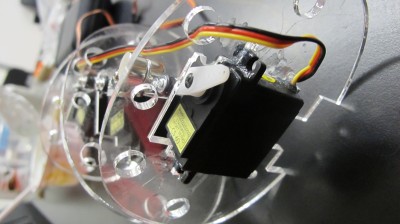
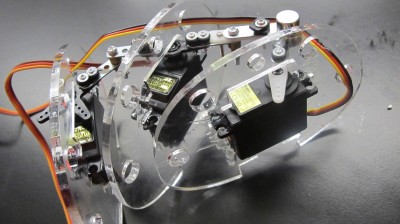
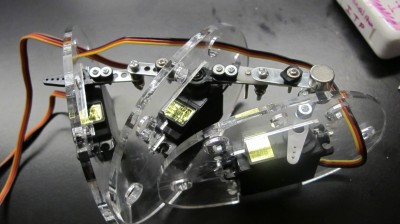
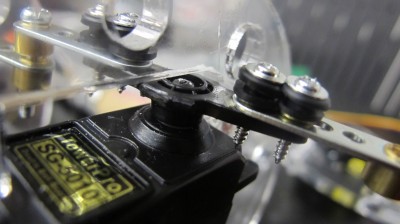
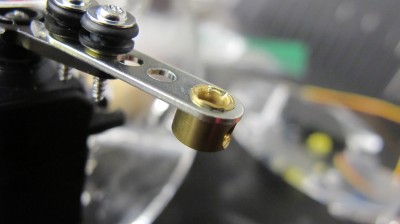
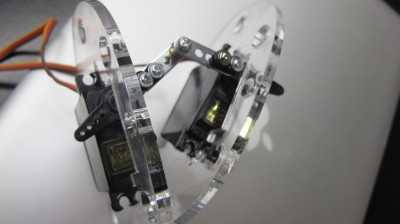
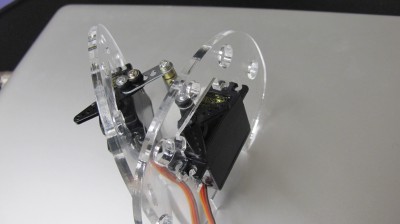
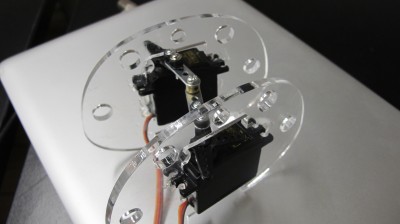
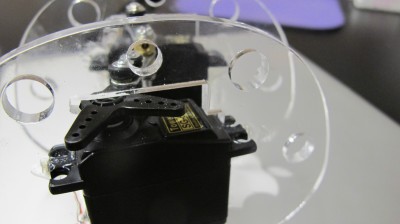
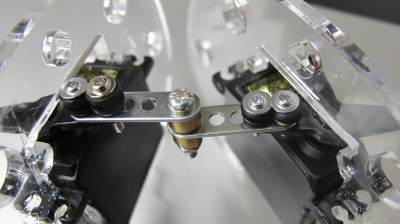
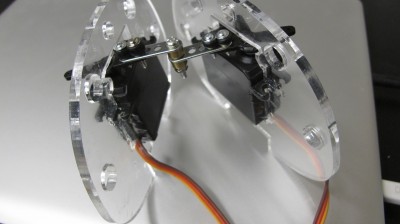
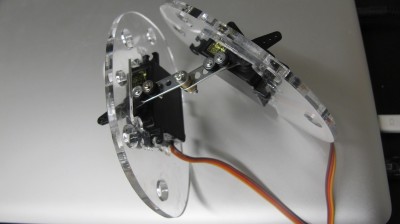
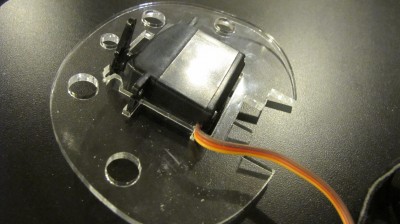
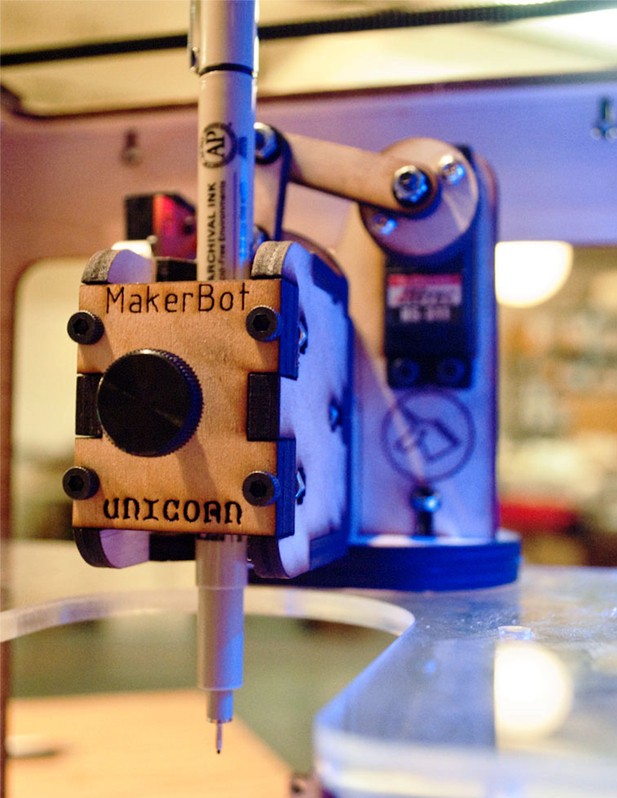
But I have a bunch of servos, so I decided to model some sort of an improvised two-cylinder piston that takes in fluid and spits it back out, that is modelled after MakerBot’s Unicorn Pen plotter – An elbow pushes back and forth laterally
I think that I am going to do some 3d moving model using ferrofluid, perhaps using the data that Genevieve and I are collecting about solar / temperature data
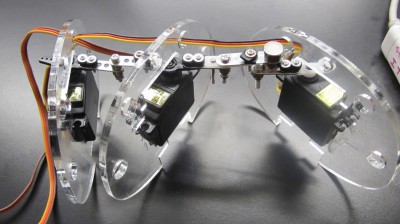
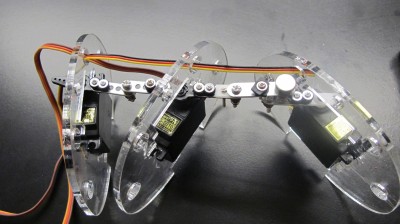
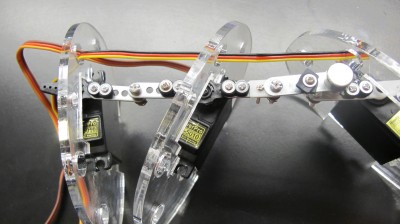
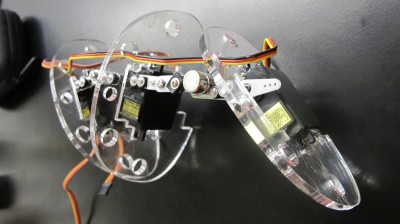
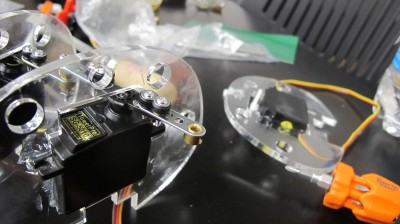
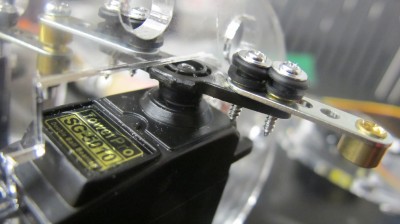
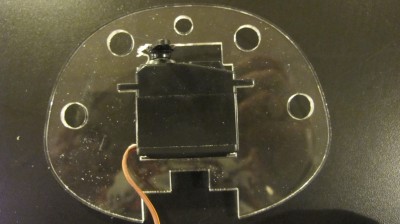
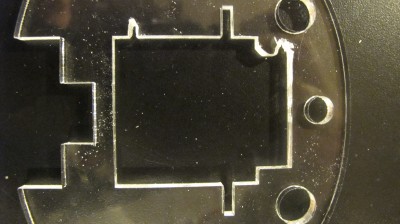
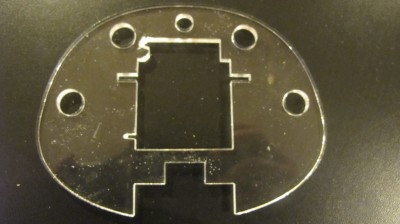
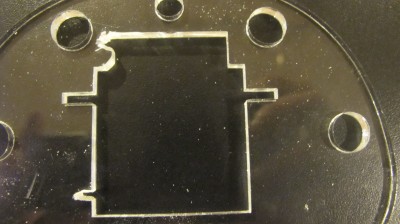
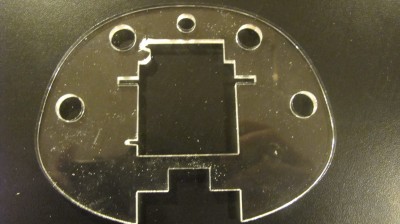
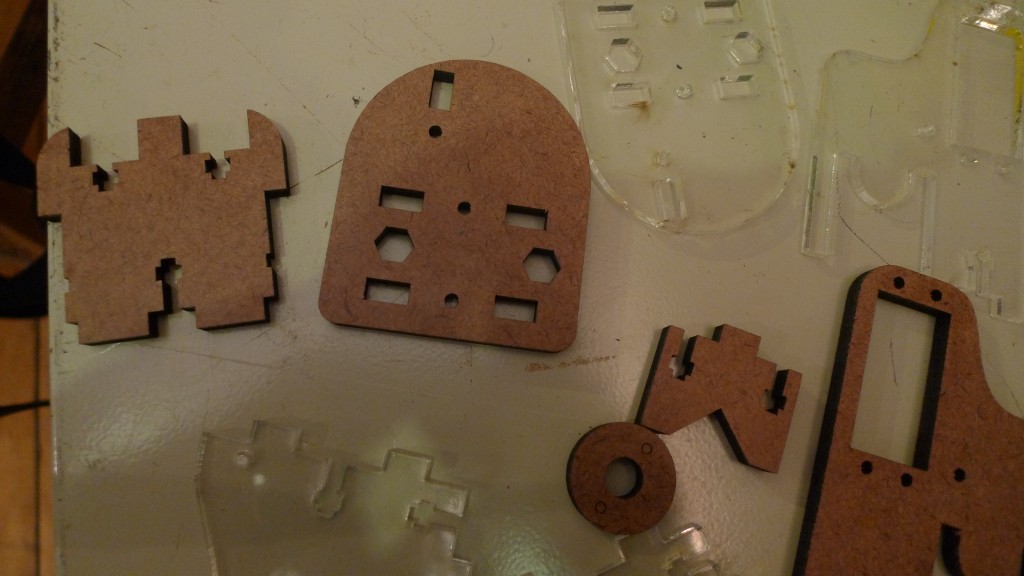
So, using the makerBot wiki, I got a pattern to cut the pieces for the mechanism: I cut it in both masonite and clear plexi (I assume the plexiglass is stronger but I preferred the transparent aesthetic, so I’ll try it!)….
now, to get some nuts and bolts…
Byte Light
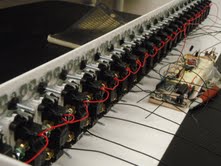
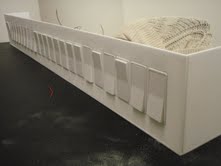
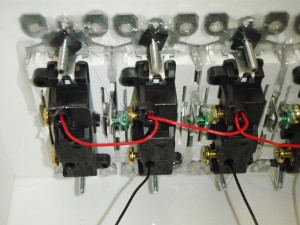
Jack and I collaborated to make ByteLight, which is an interactive light fixture that represents a giant LCD pixel. People can manipulate R, G, and B values of the pixel by flipping on and off 24 switches, which represent individual bits.
In the video above, someone flips the switches on and off, and watches the ambient light change color. The user can look up at the light fixture and see what happens to individual R, G, and B values when different combinations of switches are enacted, and the projected light color from the mixed R, G and B lights shows the color output of the pixel. It is possible to play and interact in a fun and compelling way, and also to experiment with bit data to gain a more comprehensive understanding.
Here are some images from our process:
see here for more
ByteLight update
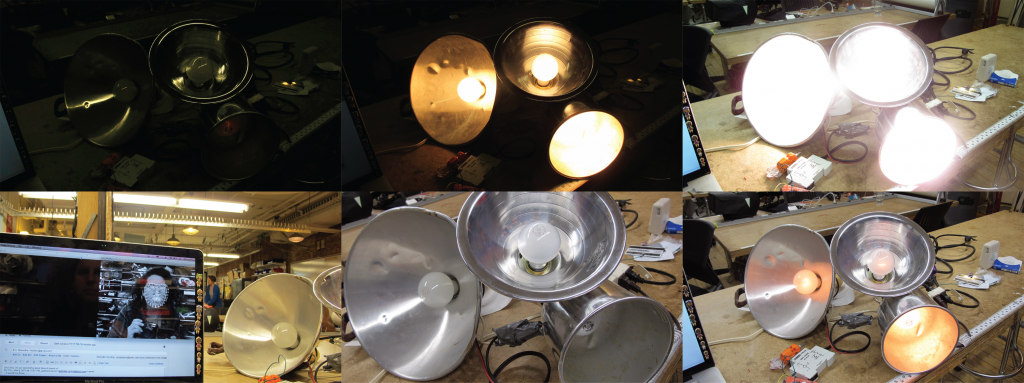
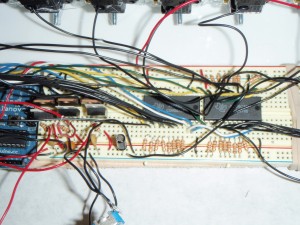
We finished our R, G, and B strips (each with about 45 LED’s), and we hooked them up to the bench power supply. We are feeding voltage through the breadboard, then through both the Arduino V-in, and through two adjustable voltage regulators (LM317) – then through three transistors. One goes to green and blue LED strips, which each ideally require about 3-3.5 V, and one goes to the red LED strip, which requires about 2.5 V.
Here we are testing the lights. It took us a little while to figure out how to get the brightness of each color to be more calibrated – since the red ones require less voltage, we realized we’d need an extra voltage regulator.
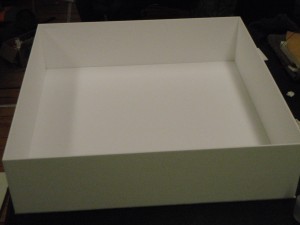
We got white glossy plexiglass which we will sand to look matte. With about 4’x4′ we should be set, although we have much extra. We will use AMS to cut out the parts for the light fixture (a box roughly 20″x20″x4″) and a box to contain all the switches, the arduino, the wiring, and the breadboards (roughly 35.5″x4″x4.625). I made the templates using Illustrator.
269 Canal street is a decent place to get parts. We got a power adapter that goes up to 5 Amps, so we should have enough with that to get the desired voltage and amperage for the LED’s.
Big Pixel – process
see here for older Big Pixel progress links.
Jack and I have continued work with our light fixture, aka Byte Light.
We have soldered 50 red, 50 blue, and 50 green 10 mm superbright LED lights each to three plexiglass rods, which will each represent one of the R, G, and B lines in our LCD pixel representation. Each LED needs 20 mA, and between 2-4 V, depending on the color. Therefore, we need an external power supply that goes up to around 3 Amps (when every switch is on). We will encompass each colored LED rod with frosted paper, and encase the three in a square plexiglass box that will shine light downwards on the user, who will be manipulating the 24 switches on the wall.
Our circuit consists of two multiplexors as input from the 24 light switches. Then the arduino takes the binary input and translates it into byte values (0-255) for R, G and B values, and using three transistors, we will alter the brightness of each R, G, and B light rod.

wall wash pixel from a LCD pixel representation
Screen images bombard contemporary society, yet few people understand how these images are composed.
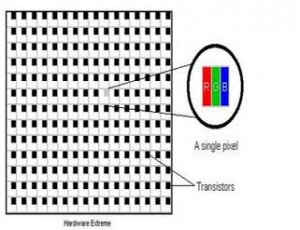
Jack Kalish and I are collaborating to create a light fixture that represents one giant LCD pixel of RGB color. In order to do so, we are going to use bright three rows of LED’s (one red, one green, and one blue). Each LED row will be controlled, and have 255 distinct brightness levels. The LED’s will be mounted perpendicular to the wall, above head level, and create a wall wash effect. As the colors of each LED mix (and each one has a different brightness level), the light emitted represents the color given off by a pixel that is made up of those three color levels.
The level of brightness of each LED row depends on the interaction: We are going to set up a grid of switches that a person can interact with to control the brightness of each of the three LED rows. Each switch that a person can control will represent a bit. As a user plays with the switches, he will be manipulating the digital data manually.
For a typical LCD pixel, each byte of the R, G, and B value are made up of 8 bits, so we will have 24 manipulatable switches. The switches represent either an on or off value (0 or 1), and 8 switches determines a value from 0-255 of each R, G, and B value.
By augmenting the resolution of data (each of 24 light switches represent one byte), and the size of the representative pixel, We hope the experience will be immersive, and through playing and interacting with our switchboard, the user will begin to understand how digital data communicates simple signals.
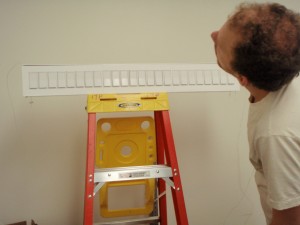
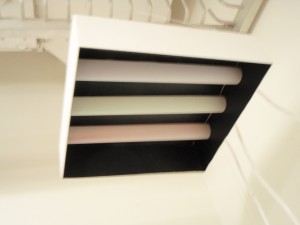
(We were trying to decide what types of lights to use – at first we thought three fluorescent lights would be good, until we realized that dimming them would pose a problem)
Cochlea
(see project site here)
Cochlea is an interactive sculptural artwork based on the inner ear, which is composed of small hairs, that receive aural input, analyze it based on component frequencies, and send corresponding electrical signals to the brain.
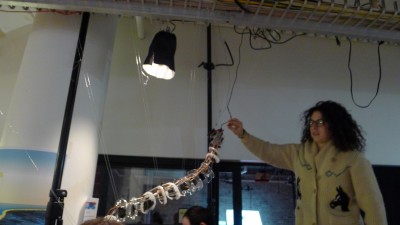
Cochlea is a sculpture, made out of plexiglass, 32 led’s, piezo sensors, ribbon, a microphone, and paint. The cochlea both analyzes the frequency of incoming sound and outputs sound based on what region it is stimulated, either by blowing or touching. Users can “play” the cochlea as if it were a musical instrument, by touching different parts of the coil-shape structure, which trigger synthesized sounds that correspond to the frequencies of aural input received at that region of the cochlea. There is also a microphone on the end of the structure, which analyzes the frequency of incoming sound, and based on the region of the human cochlea that interprets the incoming frequencies, the sculpture lights up, so the viewer can visualize the activity in that region of the organ. The cochlea creates its own loop of incoming sound analysis and sound output.
read on to see photos of our process


