Physical Computing
MotorLab
Just a short video of turning a motor on and off with different parameters, using a transistor.
Etch-a-sketch revisited (Serial Communication lab)
It still needs work, because it’s still cumbersome – If you want to change color, you have to maneuver to the corner to click. Bad design. Instead, I’m going to implement using a couple pushbuttons to change the color. But here’s a sample drawing. Also, I’d like to change the lines to a continuous line
An observation of an interactive technology
These videos demonstrate motion sensor doorways (I’m sure we’ve all been through many of them in supermarkets).
This weekend, at the supermarket, I observed people “using” the automatic doorways at Key Food. The notion of doors and doorways, which are ubiquitous devices in our daily lives, are often something we overlook, and they aren’t standardized, nor have their designs been perfected: how does someone know to push or pull on a door to open it? What side of the door, the left or right side, will make something happen, and what side is hinged in place (what direction will it swing or move in? How will the door open and close (slide, revolve…). What type of action does it require in order to respond? Since there aren’t really standardized doors, how do the designers get across the message? (with writing – Push, Pull; with a metal rectangle implying that the user should push against it; with a handle that the user can understand what to do to it?). And there are more things to consider, like how to prevent energy loss when the room is temperature-controlled (preventing cool air from an air conditioned room in the summer from escaping, or alternatively, preventing cool air from rushing into a heated room in the winter – revolving doors are good for this). Many supermarkets have automatic doors, for convenience sake, I imagine. People entering and leaving the market therefore interact with the door, but in a passive way. They don’t have to do anything extra than simply coming and going.
- outside, approach the door, and it will open to allow you to enter
- it opens as you approach
- it will remain open for a few seconds
- as you approach, it will open

StupidPetTrick – dancing Tee with a buddy
lightUpManinSeries from gabriella levine on Vimeo.
The main problem with the technical aspects of this garment is that there are many wires that extend from the tee-shirt. Options to remedy this are use stranded wires that are more flexible, or use different breadboard circuits.
Read on for some photos of my work process: (more…)
Lab – tones and servos
Just some videos of analog output, on a servo and speaker.
piezoLab from gabriella levine on Vimeo.
ServoMotor from gabriella levine on Vimeo.
Lab 3
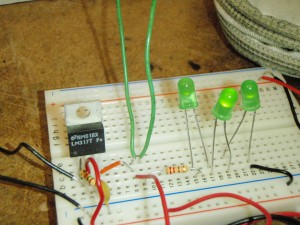
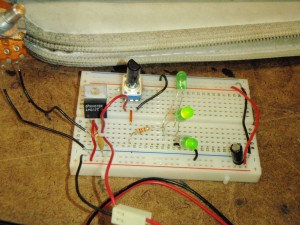
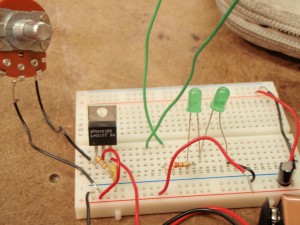
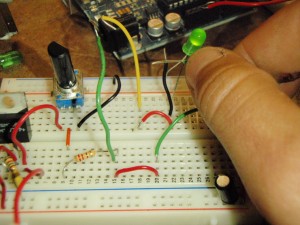
First I had to make a circuit, using a variable regulator, a 9V battery, capacitors and resistors, that would transmit 5V. Then I connected 2 LED’s in series to measure the voltage in different locations in the circuit. Then I made a circuit in parallel with three LED’s, and tested the voltage (equal across all three), then pulled one leg out and used a multimeter set for amp measurement to complete the circuit. (I was getting no reading for Amperage? maybe it was so low?)
- LED's in series
- LED's in Parallel with Potentiometer
- variable regulator circuit
- switch in Parallel
- switch in series
now I’m playing with switches (below, I’m just using two wires to make a switch, but I should get more creative – wire mesh gloves that clapping to make a strobe light?)
Here’s a switch in parallel (either one of the two switches can be on for the LED to light up) and one in series (both switches need to be enacted for the LED):
Some work with variable resistors – early signs of my stupid pet trick
I’d like to make a programmable tee-shirt, with a built in light show, also including a slot for messages, in front of the “screen”…
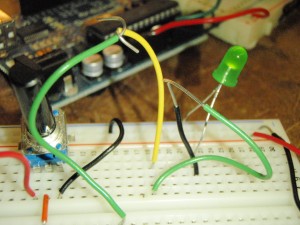
here’s what I have so far – I just need to make the LED’s brighter and then implant them into a shirt…
I used a push pad to turn on a series of lights (as pressure increases, more lights come on) while increasing the amplitude of a speaker.
fourLightsSpeaker from gabriella levine on Vimeo.
And below I use three photocells, each one dims an LED:
(vid)
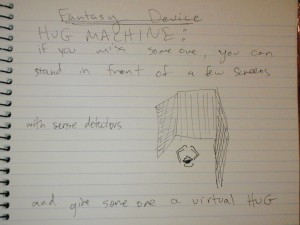
fantasy project sketch
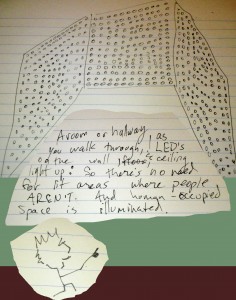
I imagine something not far from the parking garage Vito Acconci spoke of designing. When people move through the space, the walls and ceiling light up (maybe LED’s or incandescent). Therefore, you can see where other people occupy the space, and there isn’t extra lights on where there aren’t people.
In a sense, this is an extension of my light relay project (see last post). As someone passes through a space, many lights are activated at once.
Another fantasy project:
the HUG MACHINE
step into yours, while someone afar steps into theirs – and virtually hug each other:
LED Ball
the harder you squeeze something, the brighter the lights will get. I’d like to cover the ball with lights.
LED Ball from gabriella levine on Vimeo.
Light onOff relayHeatSensor
Light OnOff Sensor Relay from gabriella levine on Vimeo.
In this video is my DIY light switch, where the light is turned on with the wave of a hand
**(Note for Comm Lab – I used the Xacti camera for this documentation
It uses the same code as before. On the next page is a close up of the circuit and the photosensor
(more…)
Project? for P-COMP
PhotoSensor Relay from gabriella levine on Vimeo.
A circuit for a photosensor that turns on, say, a light, or anything:
Lab 3 and beyond
Finally I rearranged the code from before and was able to get the LED to blink and the motor to spin when the flex sensor was touched. See the code on the next page
DC relayBlink from gabriella levine on Vimeo.
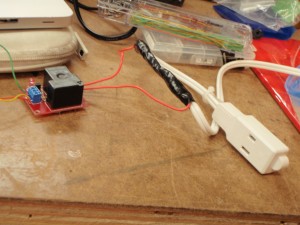
Here I use the Arduino and a stripped radioshack electrical outlet, this code is just set up to blink, but I’d like to use a heat sensor to … do something? (like power on the outlet).
Lab 3
LED and servoTry from gabriella levine on Vimeo.
In this video, I use a flexor sensor to turn on a servo motor. However, I’m unsuccessful in trying to get an LED light to light up also.
And here’s the breadboard. See the code on the next page.
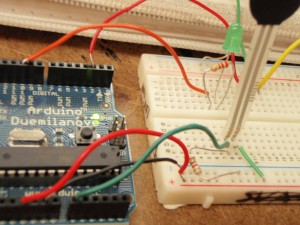
Flexor Sensor from gabriella levine on Vimeo.
And above, I use a flexor sensor to turn on and off an LED.
PCOMP lab 3 potentiometer from gabriella levine on Vimeo.
Turn the potentiometer up and the LED light gets brighter.
Just a note: At first I had digital output from pin 13 but since it’s not PWM , the potentiometer was acting more like a switch than an analog reader. So I switched it to pin 9, as the lab designated.
(more…)
DonutBlink: P-Comp lab 2
A step further
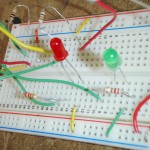
Blinking Donuts: When the pink donut is placed on the aluminum surface, the Red LED lights up; when the white donut is placed on the surface, only the Green LED lights up; when both are placed down, the Red and Green LED alternate blinking.
Simply two switches – one makes the yellow LED light up, one makes the Red LED light up; both switches on make the LED’s alternately blink
The problem is that because I am using delay() function, there is a 500 ms delay before the switches register. I am going to try to use the Arduino BlinkWithoutDelay example to rectify this.
Click here for the code and the rest of the lab
Physical Computing, sensors walk (ass. 1)
noun \ˈsen-ˌsȯr, ˈsen(t)-sər\
1: a device that responds to a physical stimulus (as heat, light, sound, pressure, magnetism, or a particular motion) and transmits a resulting impulse (as for measurement or operating a control)
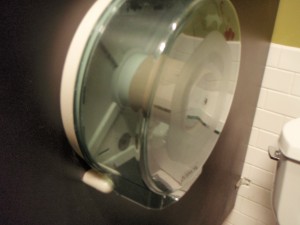
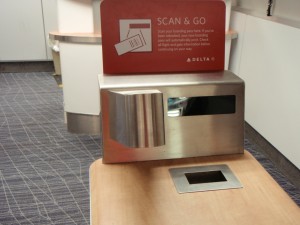
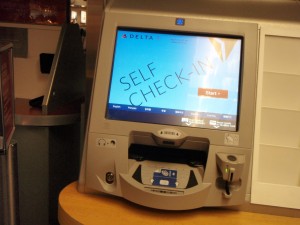
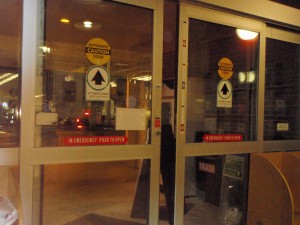
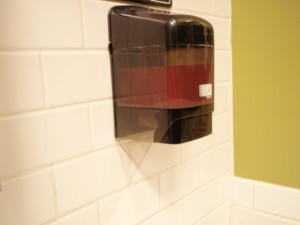
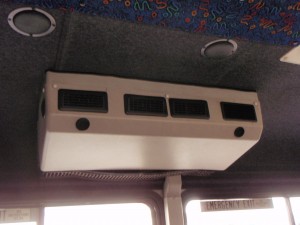
Here are some sensors I saw this weekend
These and some others I saw include a sliding door, an X-Ray, a help line (for someone to dial up and get help at the airport), a button to press for the flight attendant to come help, an A/C, hand driers, light switches, a car (including many sensors)…and more.
