open_hardware
payphone
for the fusebox festival, payphone revival project, in austin texas
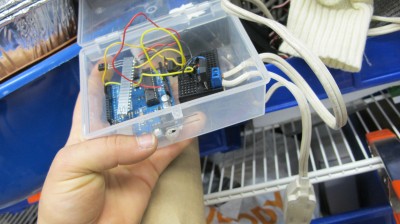
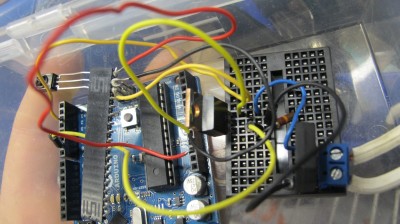
using a mp3 trigger, and getting into the matrix circuit behind the keypad (luckily the phone was OPEN and not locked) we’re going to allow people to pick up the phone
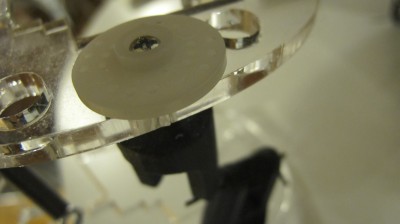
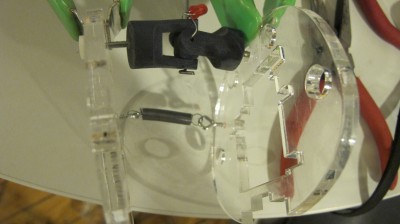
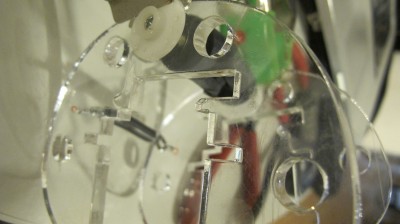
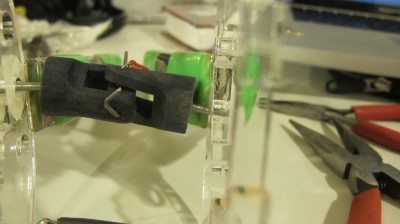
The payphone is so much simpler than I thought! the coin slot is just a bunch of gears, then the circuitry for the buttons and the receiver etc… nice
So I soldered some wires onto the already working switch so when the receiver is picked up a dial tone plays, then working on the matrix to activate different tracks when I button is pressed
cool.
the mp3 trigger is pretty simple with a micro sd card, FAT 16 formatted (<2 gb)- either it can be digitally controlled, by closing the switch on pins 0-17 (which switches between 18 tracks), Or it can interface with arduino serially. [gallery]
seeed studio
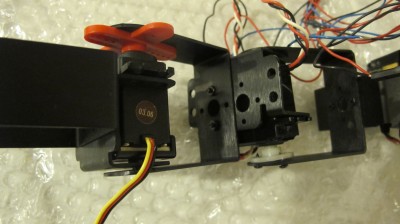
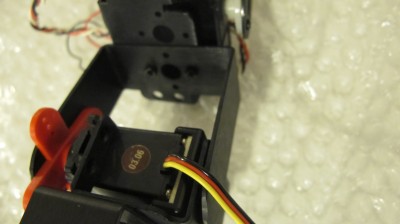
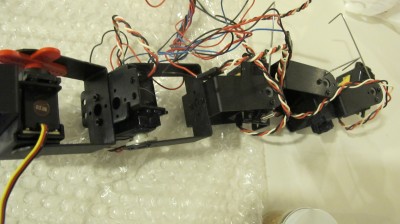
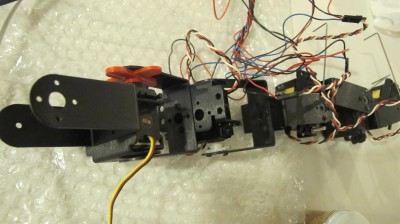
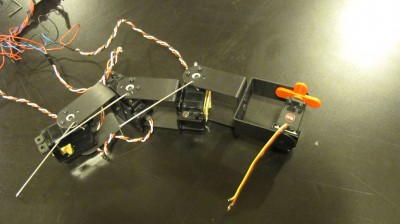
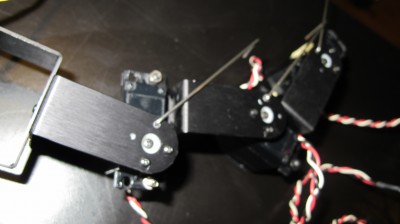
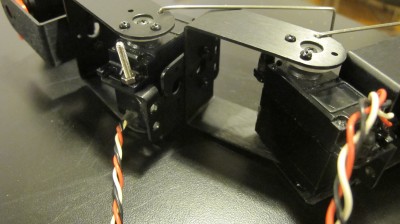
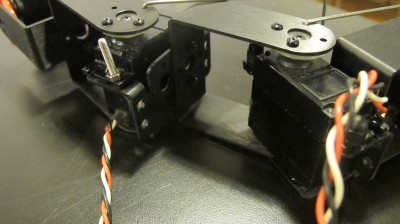
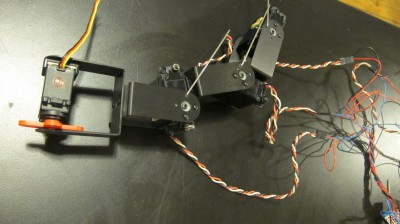
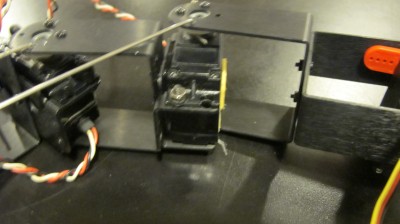
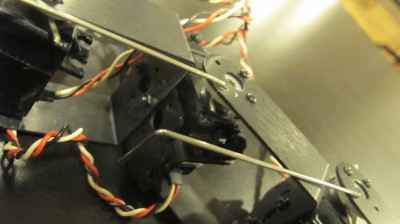
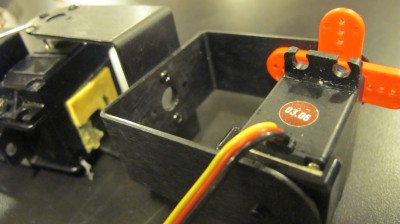
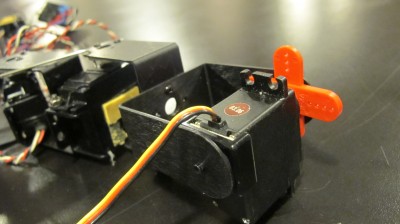
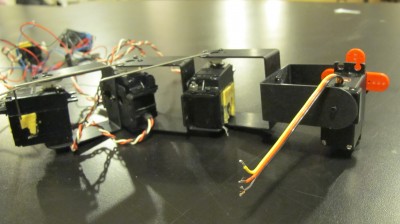
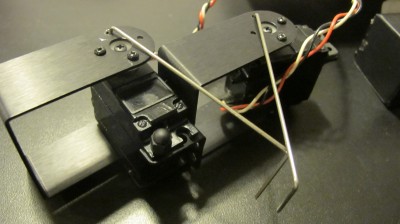
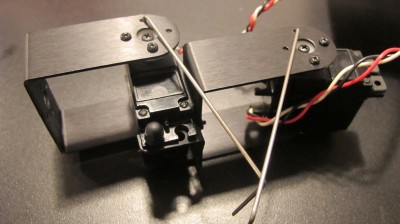
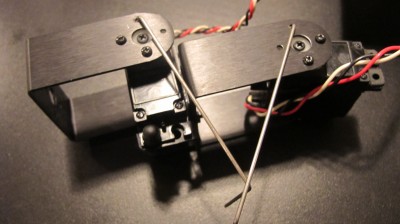
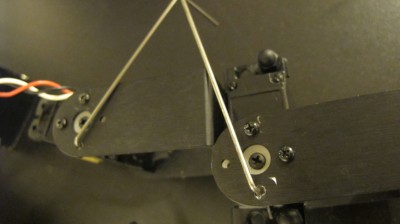
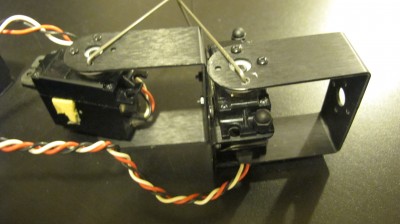
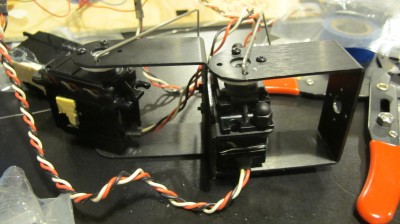
Thanks for helping support Protei_010 by supplying parts, like servos, microcontrollers, servo brackets, sensors, IOIO boards, etc…
more joint work
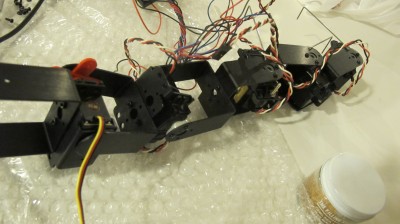
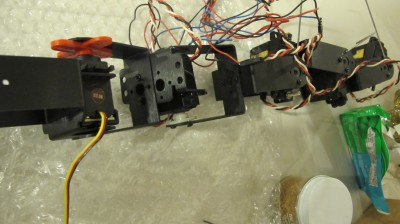
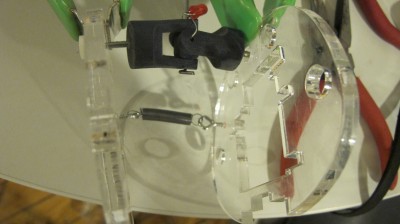
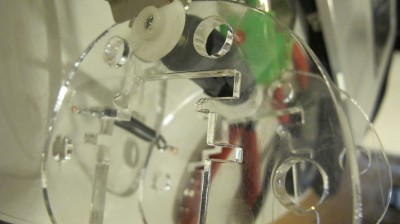
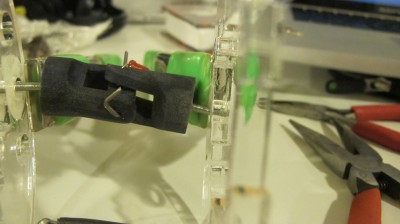
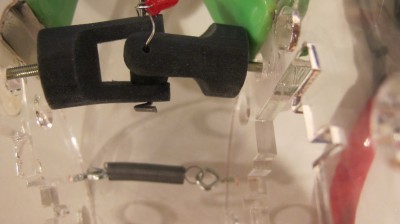
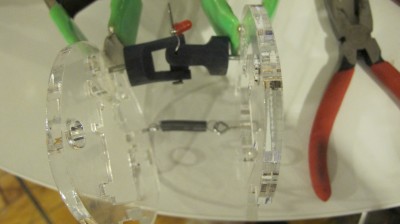
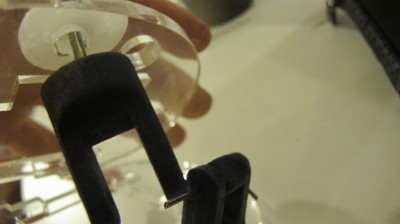
To summarize: I started experimenting with making my own joints and ribs, by cutting corrugated plastic ribs, and 3d printing universal joints at AMS. Then, my intention was to use springs and servos to enact articulation.
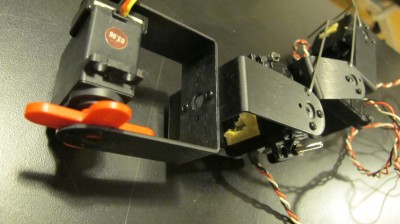
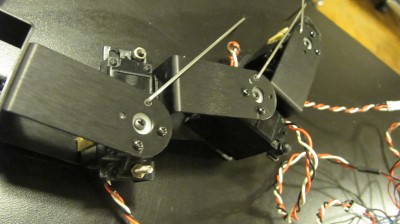
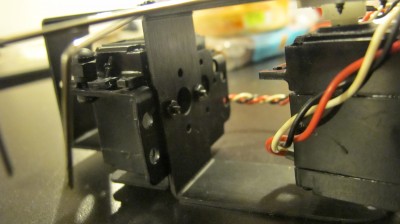
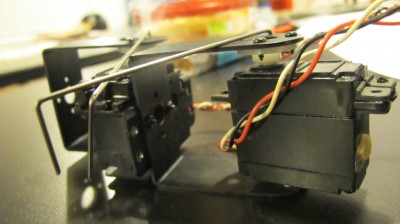
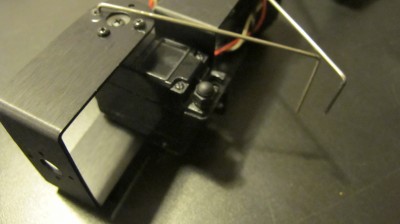
However, I started using u-joint servo brackets, that are super stable, and I will continue with this. https://github.com/gabriella/Servo_wave
Here is the code I finally got to work. Basically, I am storing a table of values, a formula for a sin wave, and each servo is at a different index along the wave values, oscillating up and down. I can therefore control wavelength, speed of the wave propagation, offset from one servo to another, amplitude of the wave, etc.
int total = int(TWO_PI/0.01);//total number of indexes points, points

//until the amplitude is back to zero
float[] wave = new float[total];//array for the amplitude of the
//object to be drawn betwen 0 and ht
int numBalls = 40;
int[]index= new int[numBalls];// 1 = 0;//
int sp = 1;
float ht=1;
//changer = 10;
void setup() {
size(800, 400);
float a = 0;
for (int i = 0; i < wave.length; i++) {
wave[i] = map(sin(a), -1, 1, 0, 180);
println(wave[i]);
a+=0.05;
}
//print(wave.length);
//print(total);
//print(index.length);
for (int i = 0; i < index.length; i++) {
index[i] = i*5;
}
}
void draw() {
background(0);
fill(255);
for (int i=0;i<numBalls;i++) {
ellipse(i*20, ht*wave[index[i]], 10, 10);
index[i] = (sp*index[i]+1) % wave.length;
}
}
void keyPressed(){
if(key=='a'){
ht=ht+0.5;
}
if(key=='s'){
ht = ht-0.5;
}
if(key=='q'){
sp++;
}
if(key=='w'){
sp--;
}
println(ht);
}
AC DIMMER Circuit!!
I adapted this from info from Dmitri Grinberg’s post on Hackaday, “Lamp Fading and Remote Control for the Lazy”.
I have been trying for a number of weeks to perfect this, as in, find the correct transistor that would not overheat or burn out (one that is rated for a high enough voltage since it’s using AC 120 V). I followed this circuit from Dmitri’s blog, except instead of the IRF 250 I used an IRF730. 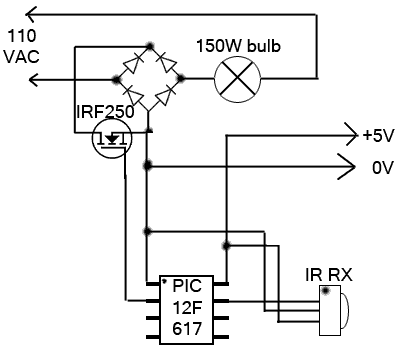
At first, I was using the IRF 520, with a 100 V drain source voltage and a 9 amp continuous drain current. It worked fine at first, and then it burnt out (there was connectivity between the gate-source and gate-drain). So I got an IRF540, with a 100 V drain source voltage and a 33 continuous drain current. This similarly worked at first, then burnt out.
Finally, I used the IRF730 which works pretty well so far! And doesn’t burn out – it is rated upto 400 V (which far surpasses the 120 V wall voltage in the US).
It works for a light (a resistive load):
and a fan (an inductive load):
Here is the simple dimming code used with the infrared detection sensor. I used a universal sony remote as the transmitter.
The Bellflower Project
The Bellflower Project will showcase the potential of sustainable energy sources. By engaging the public in a creative, non-institutional way, we are hoping to show (not tell) the NYU and larger community the benefits of energy harvesting. The Bellflower project is a series of small, public kinetic sculptures that run on solar power. Each “bellflower” biomimetically recreates an opening flower – five petals will slowly open as they collect solar energy, revealing a spiral of musical bars (like large xylophone bars). As the sculpture gathers energy, the bars begin to play, creating unique melodies and chords that vary depending on weather conditions and time of day. Ideally, the project would be embedded in an urban agriculture garden, promoting biodiversity while demonstrating the power of sustainable energy harvesting. Our goal is to aesthetically improve the quotidian life of the community, as well as potentially educating the public about environmentally responsible power consumption.
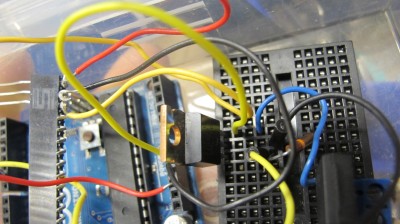
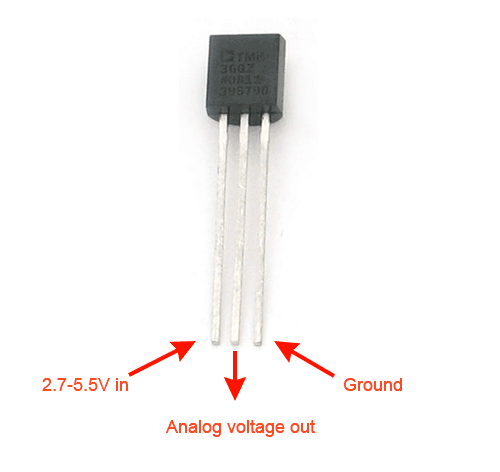
tmp36
I’ve switched over to this sensor as a solid state temperature sensor:
I will use thermocouples for rapid rate of changes of liquids but for environmental sensing:
temperature from tmp36 sensor: http://www.ladyada.net/learn/sensors/tmp36.html
0.73 volts
22.75 degrees C
72.96 degrees F
0.73 volts
//TMP36 Pin Variables
int sensorPin = 0; //the analog pin the TMP36's Vout (sense) pin is connected to
//the resolution is 10 mV / degree centigrade with a
//500 mV offset to allow for negative temperatures
/*
* setup() - this function runs once when you turn your Arduino on
* We initialize the serial connection with the computer
*/
void setup()
{
Serial.begin(9600); //Start the serial connection with the computer
//to view the result open the serial monitor
}
void loop() // run over and over again
{
//getting the voltage reading from the temperature sensor
int reading = analogRead(sensorPin);
// converting that reading to voltage, for 3.3v arduino use 3.3
float voltage = reading * 5.0;
voltage /= 1024.0;
// print out the voltage
Serial.print(voltage); Serial.println(&amp;quot; volts&amp;quot;);
// now print out the temperature
float temperatureC = (voltage - 0.5) * 100 ; //converting from 10 mv per degree wit 500 mV offset
//to degrees ((volatge - 500mV) times 100)
Serial.print(temperatureC); Serial.println(&amp;quot; degrees C&amp;quot;);
// now convert to Fahrenheight
float temperatureF = (temperatureC * 9.0 / 5.0) + 32.0;
Serial.print(temperatureF); Serial.println(&amp;quot; degrees F&amp;quot;);
delay(1000); //waiting a second
}
IR proximity sensor
Here’s the Sharp product i’m using: http://www.sparkfun.com/datasheets/Sensors/Infrared/gp2y0a02yk_e.pdf
bought from here: http://www.sparkfun.com/products/8958
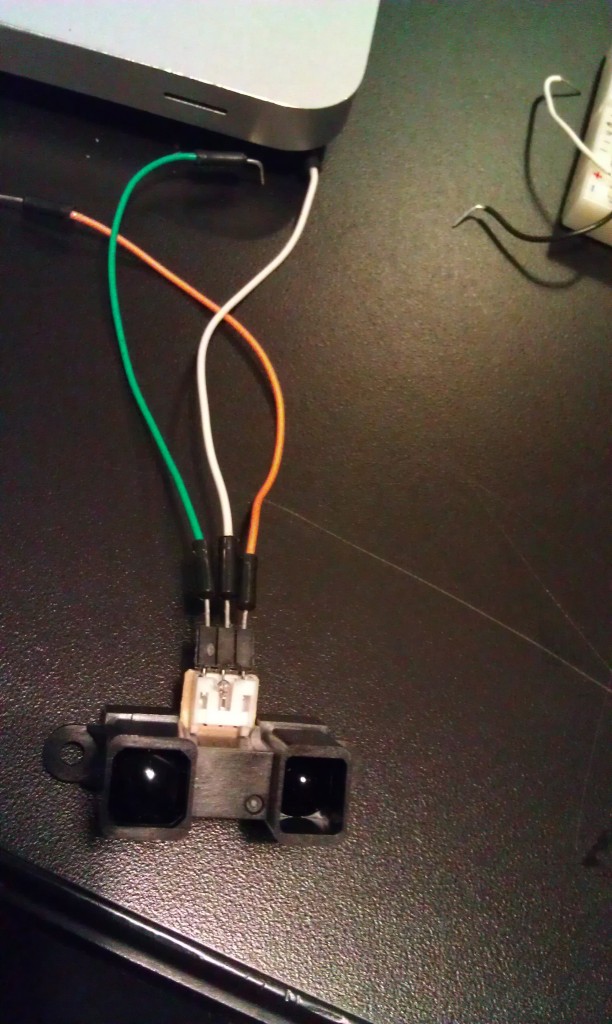
This code is simply smoothing an analog input value (0-5V), and it seems to work ok, but I have to see – I’m working on graphing the values (using Excel and CoolTerm) to make sure that my linearizing function I got from here: http://www.acroname.com/robotics/info/articles/irlinear/irlinear.html = has worked correctly
const int numReadings = 100;
int readings[numReadings]; // the readings from the analog input
int index = 0; // the index of the current reading
int total = 0; // the running total
int average = 0; // the average
int inputPin = A0;
void setup()
{
// initialize serial communication with computer:
Serial.begin(9600);
// initialize all the readings to 0:
for (int thisReading = 0; thisReading &amp;lt; numReadings; thisReading++)
readings[thisReading] = 0;
}
void loop() {
// subtract the last reading:
total= total - readings[index];
// read from the sensor:
readings[index] = analogRead(inputPin);
// add the reading to the total:
total= total + readings[index];
// advance to the next position in the array:
index = index + 1;
// if we're at the end of the array...
if (index &amp;gt;= numReadings)
// ...wrap around to the beginning:
index = 0;
// calculate the average:
average = total / numReadings;
// send it to the computer as ASCII digits
Serial.println(average);
}
This code also is seems good but I have to check it out more closely:
int sensorPin = 0; // input pin for the sensor
int barPin[] = {2, 3, 4, 5, 6, 7, 8, 9, 10, 11};
int barPinCount = 10;
int volt = 0; // variable to store the value coming from the sensor
int zeit = 100; // *10 = Gesamtzeit - total time
void setup() {
Serial.begin(9600);
int thisPin;
// the array elements are numbered from 0 to (pinCount - 1).
// use a for loop to initialize each pin as an output:
for (int thisPin = 0; thisPin &amp;lt; barPinCount; thisPin++) {
pinMode(barPin[thisPin], OUTPUT);
}
}
void loop() {
int volt = 0;
for(int i=0; i&amp;lt;10; i++)
{
volt += analogRead(sensorPin);
delay(zeit);
}
volt /= 10;
Serial.println(volt);
int litCount = 0;
if (volt &amp;lt;= 82) {
// &amp;gt;= 80cm
litCount = 1;
} else if (volt &amp;lt;= 92) {
// &amp;gt;= 70cm
litCount = 2;
} else if (volt &amp;lt;= 102) {
// &amp;gt;= 60cm
litCount = 3;
} else if (volt &amp;lt;= 123) {
// &amp;gt;= 50cm
litCount = 4;
} else if (volt &amp;lt;= 154) {
// &amp;gt;= 40cm
litCount = 5;
} else if (volt &amp;lt;= 184) {
// &amp;gt;= 30cm
litCount = 6;
} else if (volt &amp;lt;= 266) {
// &amp;gt;= 20cm
litCount = 7;
} else if (volt &amp;lt;= 328) {
// &amp;gt;= 15cm
litCount = 8;
} else if (volt &amp;lt;= 461) {
// &amp;gt;= 10cm
litCount = 9;
} else if (volt &amp;gt; 461) {
// &amp;lt; 10cm
litCount = 10;
}
for(int b=0; b&amp;lt;10; b++)
{
if(b&amp;lt;=litCount)
digitalWrite(barPin[b], HIGH); // Turn the bar on
else
digitalWrite(barPin[b], LOW); // Turn the bar off
}
}
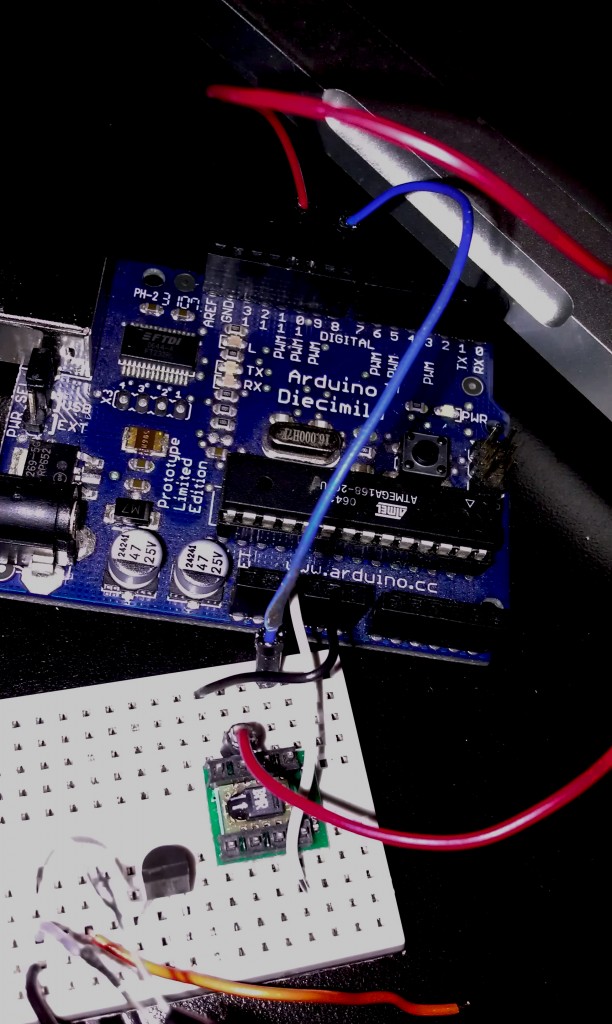
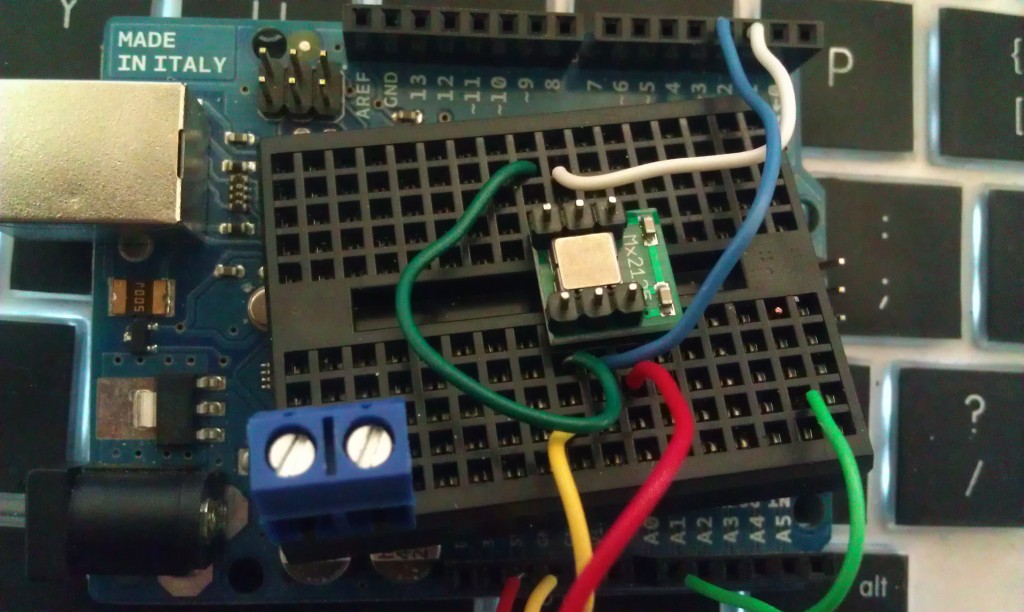
circuit – SHT11 humidity sensor
I found a super nice library – https://github.com/practicalarduino/SHT1x – it’s working way better than what I had going before – Thanks!
I’m using this schematic: using this http://www.parallax.com/dl/docs/prod/acc/SensirionDocs.pdf
I’m getting legible values :
Temperature: 25.4199981689C / 77.8459930419F. Humidity: 23.45%
Temperature: 25.4399948120C / 77.8639984130F. Humidity: 23.45%
Temperature: 25.4799957275C / 77.7919921875F. Humidity: 25.12%
Temperature: 25.4599990844C / 77.8999938964F. Humidity: 27.65%
Temperature: 25.3600006103C / 77.7739944458F. Humidity: 27.87%
Temperature: 25.5199966430C / 77.9719924926F. Humidity: 26.86%
circuit – 2 axis parallax accelerometer
This is on the arduino side:
int pinX = 3;
int pinY = 2;
unsigned long serialTimer = millis();
unsigned long xAcc = 0;
unsigned long yAcc = 0;
boolean flipflop;
void setup()
{
pinMode(pinX, INPUT);
pinMode(pinY, INPUT);
Serial.begin(115200);
}
void loop()
{
if (flipflop == true) {
xAcc = pulseIn(pinX, HIGH);
flipflop = false;
} else {
yAcc = pulseIn(pinY, HIGH);
flipflop = true;
}
if ((millis() - serialTimer) &amp;gt; 50 ) {
Serial.print(&amp;quot;X &amp;quot;);
Serial.println(xAcc);
// Serial.print(&amp;quot; &amp;quot;);
Serial.print(&amp;quot;Y &amp;quot;);
Serial.println(yAcc);
}
}
to visualize it:
in processing:
import processing.serial.*;
Serial port; // Create object from Serial class
int val; // Data received from the serial port
int xAngle;
int yAngle;
void setup()
{
println ( Serial.list());
size(200, 200,P3D);
frameRate(10);
// Open the port that the board is connected to and use the same speed (9600 bps)
port = new Serial(this, Serial.list()[0],115200);
port.bufferUntil(13);
lights();
}
void draw()
{
background(0);
directionalLight(51, 102, 126, 0, 0, -1);
translate(100,100,0);
rotateX(map(xAngle,3800,6300,-1 * HALF_PI,HALF_PI));
rotateY(map(yAngle,3800,6300,-1 * HALF_PI,HALF_PI));
translate(-50,-50,0);
rect(0,0,100,100);
}
void serialEvent(Serial p) {
String msg = port.readStringUntil(13);
if (msg != null) readMsg(msg);
}
void readMsg(String msg) {
//remove non printing chars
int badChars = 0;
for (int i = msg.length() -1; i &amp;gt;= 0; i--) {
char c = msg.charAt(i);
if ( c == 10 || c ==13) {
badChars++;
}
}
if (badChars &amp;gt; 0) msg = msg.substring(0,msg.length()-badChars+1);
String[] words = splitTokens(msg);
if (words[0].equals(&amp;quot;X&amp;quot;)) {
xAngle = int( words[1]);
}
if (words[0].equals(&amp;quot;Y&amp;quot;)) {
yAngle = int( words[1]);
}
}
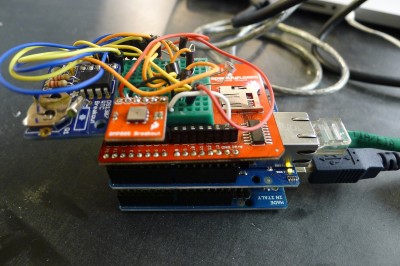
Moving onto the mega (++ sensors, no computer, data to the server)
A note about the Mega and the spi library: (for use with the SD card and ethernet shield)
On Arduino MEGA, SPI bus uses pins 51 (MOSI), 52(SCK), 50(MISO), and 53(SS)
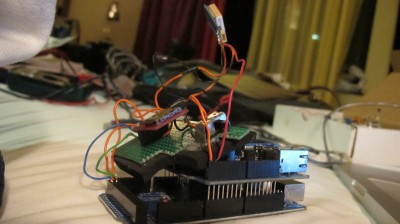
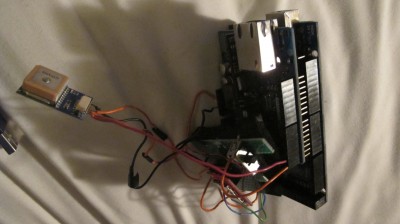
Sensors include: humidity, barometric, light, temp, gps, rtc, accelerometer, more to come…
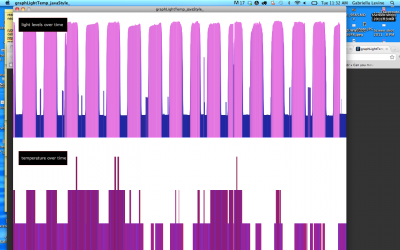
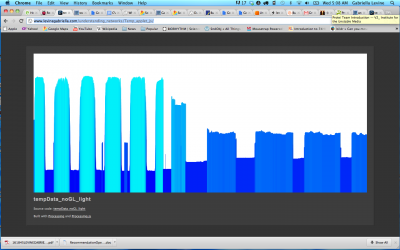
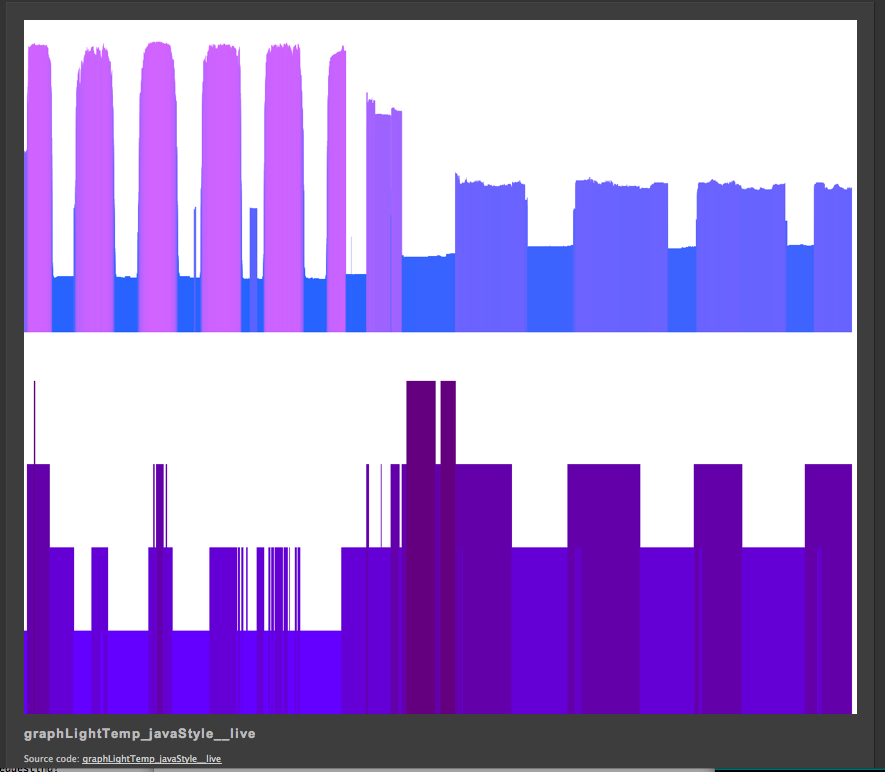
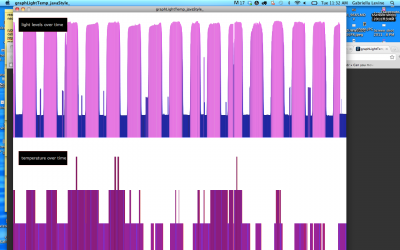
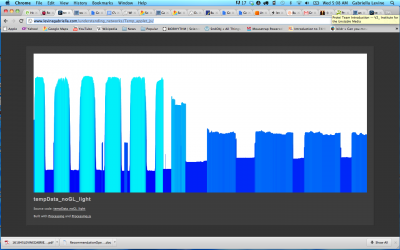
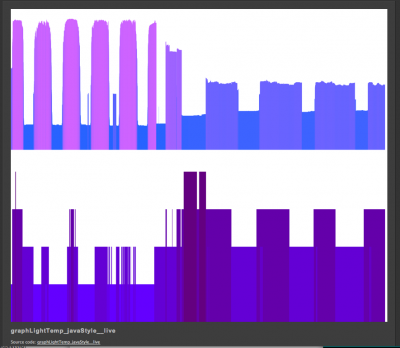
connects to a graph:
logs sensor data to a text file which gets written to a server: www.levinegabriella.com/understanding_networks/dataLogger.php
www.levinegabriella.com/understanding_networks/Temp_applet_js
<code>/*
Web client
This sketch connects to a website (http://www.google.com)
using an Arduino Wiznet Ethernet shield.
Circuit:
* Ethernet shield attached to pins 10, 11, 12, 13
created 18 Dec 2009
by David A. Mellis
*/
#include &amp;lt;Wire.h&amp;gt;
#include &amp;lt;SPI.h&amp;gt;
#include &amp;lt;Ethernet.h&amp;gt;
#include &amp;quot;RTClib.h&amp;quot;
#include &amp;lt;SD.h&amp;gt;
#define BMP085_ADDRESS 0x77 // I2C address of BMP085
const unsigned char OSS = 0; // Oversampling Setting
// Calibration values
int ac1;
int ac2;
int ac3;
unsigned int ac4;
unsigned int ac5;
unsigned int ac6;
int b1;
int b2;
int mb;
int mc;
int md;
// b5 is calculated in bmp085GetTemperature(...), this variable is also used in bmp085GetPressure(...)
// so ...Temperature(...) must be called before ...Pressure(...).
long b5;
short temperature;
long pressure;
// Enter a MAC address for your controller below.
// Newer Ethernet shields have a MAC address printed on a sticker on the shield
byte mac[] = {
0x00, 0xAA, 0xBB, 0xCC, 0xDE, 0x03 };
IPAddress server(69,89,31,63); // my IP server
const int requestInterval = 30000;
long lastAttemptTime = 0; // last time you connected to the server, in milliseconds
boolean requested;
const int resetLED = 13;
float temp;
float voltage;
// Initialize the Ethernet client library
// with the IP address and port of the server
// that you want to connect to (port 80 is default for HTTP):
const int chipSelect = 53;//changed from 8
const int LOCATION_FILE_NUMBER_LSB = 0x00;
const int LOCATION_FILE_NUMBER_MSB = 0x01;
File dataFile;
RTC_DS1307 RTC;
EthernetClient client;
DateTime now;
int ledPin = 13; // LED test pin to determine if we are successfully writing gps strings to a text file
int ledState = LOW;
int rxPin = 0; // RX PIN
int txPin = 1; // TX TX
void setup() {
pinMode(ledPin, OUTPUT); // Initialize LED pin
pinMode(rxPin, INPUT);
pinMode(txPin, OUTPUT);
// start the serial library:
Serial.begin(38400);
pinMode(A2, OUTPUT);
pinMode(A3, OUTPUT);
// A2 is the ground, A3 is the power:
digitalWrite(A2, LOW);
digitalWrite(A3, HIGH);
pinMode(chipSelect, OUTPUT);
if (!SD.begin(chipSelect)) {
Serial.println(&amp;quot;Card failed, or not present&amp;quot;);
// don't do anything more:
}
Serial.println(&amp;quot;card initialized.&amp;quot;);
Wire.begin();
RTC.begin();
delay(50);
bmp085Calibration();
if (! RTC.isrunning()) {
Serial.println(&amp;quot;RTC is NOT running!&amp;quot;);
// following line sets the RTC to the date &amp;amp;amp; time this sketch was compiled
RTC.adjust(DateTime(__DATE__, __TIME__));
}
dataFile = SD.open(&amp;quot;data.txt&amp;quot;, FILE_WRITE);
delay(500);
// start the Ethernet connection:
Ethernet.begin(mac);
if (Ethernet.begin(mac) == 0) {
Serial.println(&amp;quot;Failed to configure Ethernet using DHCP&amp;quot;);
// no point in carrying on, so do nothing forevermore:
// for(;;)
// ;
}
// connectToServer();
// give the Ethernet shield a second to initialize:
delay(1500);
blink(resetLED, 3);
Serial.println(&amp;quot;connecting...&amp;quot;);
connectToServer();
}
// Stores all of the bmp085's calibration values into global variables
// Calibration values are required to calculate temp and pressure
// This function should be called at the beginning of the program
void bmp085Calibration()
{
ac1 = bmp085ReadInt(0xAA);
ac2 = bmp085ReadInt(0xAC);
ac3 = bmp085ReadInt(0xAE);
ac4 = bmp085ReadInt(0xB0);
ac5 = bmp085ReadInt(0xB2);
ac6 = bmp085ReadInt(0xB4);
b1 = bmp085ReadInt(0xB6);
b2 = bmp085ReadInt(0xB8);
mb = bmp085ReadInt(0xBA);
mc = bmp085ReadInt(0xBC);
md = bmp085ReadInt(0xBE);
}
void loop()
{
temperature = bmp085GetTemperature(bmp085ReadUT());
pressure = bmp085GetPressure(bmp085ReadUP());
now = RTC.now();
if(client.connected()){
if(!requested){
requested = makeRequest();
// Serial.println(&amp;quot;requesting!&amp;quot;);
}
if(millis() - lastAttemptTime&amp;gt;requestInterval){
//if youre not connected and two minutes have passed, attempt to connect again
client.stop();
// Serial.println(&amp;quot;stopping and reconnecting!&amp;quot;);
// getData();
delay(1500);
//connectToServer();
}
// if there are incoming bytes available
// from the server, read them and print them:
}
if (client.available()) {
char c = client.read();
// Serial.print(c);
}
// if the server's disconnected, stop the client:
if (!client.connected()) {
// Serial.println();
// Serial.println(&amp;quot;disconnecting.&amp;quot;);
client.stop();
delay(1500);
if(millis() - lastAttemptTime&amp;gt;requestInterval){
//if youre not connected and two minutes have passed, attempt to connect again
connectToServer();
//try to reconnect here...
}
}
}
void getData(){
voltage = 5 * analogRead(A0) / 1024.0;
//float temp = 5 * analogRead(A1) / 1024.0;
temp=(analogRead(A1))/10;
if(Serial.available()&amp;gt;0){
byte gps=Serial.read(); //echo incoming gps data
Serial.write(gps);
if (dataFile) {
digitalWrite(ledPin, HIGH);//turn on the status led
DateTime now = RTC.now();
dataFile.write(gps);
dataFile.print(now.month());
dataFile.print('/');
dataFile.print(now.day());
dataFile.print('/');
dataFile.print(now.year());
dataFile.print(F(&amp;quot;,&amp;quot;));
dataFile.print(now.hour());
dataFile.print(F(&amp;quot;:&amp;quot;));
dataFile.print(now.minute());
dataFile.print(F(&amp;quot;:&amp;quot;));
dataFile.print(now.second());
dataFile.print(F(&amp;quot;,&amp;quot;));
dataFile.print(voltage);
dataFile.print(F(&amp;quot;,&amp;quot;));
dataFile.print(temp);
dataFile.print(temperature);
dataFile.print(F(&amp;quot;,&amp;quot;));
dataFile.print(pressure);
dataFile.println();
}
dataFile.flush();
}
else{digitalWrite(ledPin, LOW);}
}
void connectToServer(){
// Serial.println(&amp;quot;connecting to server...&amp;quot;);
if (client.connect(server, 80)) {
requested = false;
}
lastAttemptTime = millis();
}
boolean makeRequest() {
// Serial.println(&amp;quot;requesting&amp;quot;);
getData();
// Make a HTTP request:
client.print(&amp;quot;GET /understanding_networks/dataLogger.php?data=&amp;quot;);
client.print(now.month());
client.print('/');
client.print(now.day());
client.print('/');
client.print(now.year());
client.print(F(&amp;quot;,&amp;quot;));
client.print(now.hour());
client.print(F(&amp;quot;:&amp;quot;));
client.print(now.minute());
client.print(F(&amp;quot;:&amp;quot;));
client.print(now.second());
client.print(F(&amp;quot;,&amp;quot;));
client.print(voltage);
client.print(F(&amp;quot;,&amp;quot;));
client.print(temp);
client.print(F(&amp;quot;,&amp;quot;));
client.print(temperature);
client.print(F(&amp;quot;,&amp;quot;));
client.print(pressure);
client.println(&amp;quot; HTTP/1.1 &amp;quot;);
client.println(&amp;quot;HOST: www.levinegabriella.com&amp;quot;);
client.println();
return true;
}
// Calculate temperature given ut.
// Value returned will be in units of 0.1 deg C
short bmp085GetTemperature(unsigned int ut)
{
long x1, x2;
x1 = (((long)ut - (long)ac6)*(long)ac5) &amp;gt;&amp;gt; 15;
x2 = ((long)mc &amp;lt;&amp;lt; 11)/(x1 + md);
b5 = x1 + x2;
return ((b5 + 8)&amp;gt;&amp;gt;4);
}
// Calculate pressure given up
// calibration values must be known
// b5 is also required so bmp085GetTemperature(...) must be called first.
// Value returned will be pressure in units of Pa.
long bmp085GetPressure(unsigned long up)
{
long x1, x2, x3, b3, b6, p;
unsigned long b4, b7;
b6 = b5 - 4000;
// Calculate B3
x1 = (b2 * (b6 * b6)&amp;gt;&amp;gt;12)&amp;gt;&amp;gt;11;
x2 = (ac2 * b6)&amp;gt;&amp;gt;11;
x3 = x1 + x2;
b3 = (((((long)ac1)*4 + x3)&amp;lt;&amp;lt;OSS) + 2)&amp;gt;&amp;gt;2;
// Calculate B4
x1 = (ac3 * b6)&amp;gt;&amp;gt;13;
x2 = (b1 * ((b6 * b6)&amp;gt;&amp;gt;12))&amp;gt;&amp;gt;16;
x3 = ((x1 + x2) + 2)&amp;gt;&amp;gt;2;
b4 = (ac4 * (unsigned long)(x3 + 32768))&amp;gt;&amp;gt;15;
b7 = ((unsigned long)(up - b3) * (50000&amp;gt;&amp;gt;OSS));
if (b7 &amp;lt; 0x80000000)
p = (b7&amp;lt;&amp;lt;1)/b4;
else
p = (b7/b4)&amp;lt;&amp;lt;1;
x1 = (p&amp;gt;&amp;gt;8) * (p&amp;gt;&amp;gt;8);
x1 = (x1 * 3038)&amp;gt;&amp;gt;16;
x2 = (-7357 * p)&amp;gt;&amp;gt;16;
p += (x1 + x2 + 3791)&amp;gt;&amp;gt;4;
return p;
}
// Read 1 byte from the BMP085 at 'address'
char bmp085Read(unsigned char address)
{
unsigned char data;
Wire.beginTransmission(BMP085_ADDRESS);
Wire.write(address);
Wire.endTransmission();
Wire.requestFrom(BMP085_ADDRESS, 1);
while(!Wire.available())
;
return Wire.read();
}
// Read 2 bytes from the BMP085
// First byte will be from 'address'
// Second byte will be from 'address'+1
int bmp085ReadInt(unsigned char address)
{
unsigned char msb, lsb;
Wire.beginTransmission(BMP085_ADDRESS);
Wire.write(address);
Wire.endTransmission();
Wire.requestFrom(BMP085_ADDRESS, 2);
while(Wire.available()&amp;lt;2)
;
msb = Wire.read();
lsb = Wire.read();
return (int) msb&amp;lt;&amp;lt;8 | lsb;
}
// Read the uncompensated temperature value
unsigned int bmp085ReadUT()
{
unsigned int ut;
// Write 0x2E into Register 0xF4
// This requests a temperature reading
Wire.beginTransmission(BMP085_ADDRESS);
Wire.write(0xF4);
Wire.write(0x2E);
Wire.endTransmission();
// Wait at least 4.5ms
delay(5);
// Read two bytes from registers 0xF6 and 0xF7
ut = bmp085ReadInt(0xF6);
return ut;
}
// Read the uncompensated pressure value
unsigned long bmp085ReadUP()
{
unsigned char msb, lsb, xlsb;
unsigned long up = 0;
// Write 0x34+(OSS&amp;lt;&amp;lt;6) into register 0xF4
// Request a pressure reading w/ oversampling setting
Wire.beginTransmission(BMP085_ADDRESS);
Wire.write(0xF4);
Wire.write(0x34 + (OSS&amp;lt;&amp;lt;6));
Wire.endTransmission();
// Wait for conversion, delay time dependent on OSS
delay(2 + (3&amp;lt;&amp;lt;OSS));
// Read register 0xF6 (MSB), 0xF7 (LSB), and 0xF8 (XLSB)
Wire.beginTransmission(BMP085_ADDRESS);
Wire.write(0xF6);
Wire.endTransmission();
Wire.requestFrom(BMP085_ADDRESS, 3);
// Wait for data to become available
while(Wire.available() &amp;lt; 3)
;
msb = Wire.read();
lsb = Wire.read();
xlsb = Wire.read();
up = (((unsigned long) msb &amp;lt;&amp;lt; 16) | ((unsigned long) lsb &amp;lt;&amp;lt; 8) | (unsigned long) xlsb) &amp;gt;&amp;gt; (8-OSS);
return up;
}
void blink(int thisPin, int howManyTimes){
for (int blinks = 0;blinks&amp;lt;howManyTimes;blinks++){
digitalWrite(thisPin, HIGH);
delay(200);
digitalWrite(thisPin, LOW);
delay(200);
}
}
//questions: what other sensors will be good?
//what is too much data
//i seem to be making my request twice
//when my request interval is more than 5000 i get
//10/13/2011,11:14:56,3.67,15.00
//10/13/2011,11:15:5,3.65,15.00
//10/13/2011,11:15:16,0.00,0.00
//10/13/2011,11:15:44,0.00,0.00
//why
//can you go back a directory
//try it? overwhelm maybe... w/ gps
//implem. timer
</code>
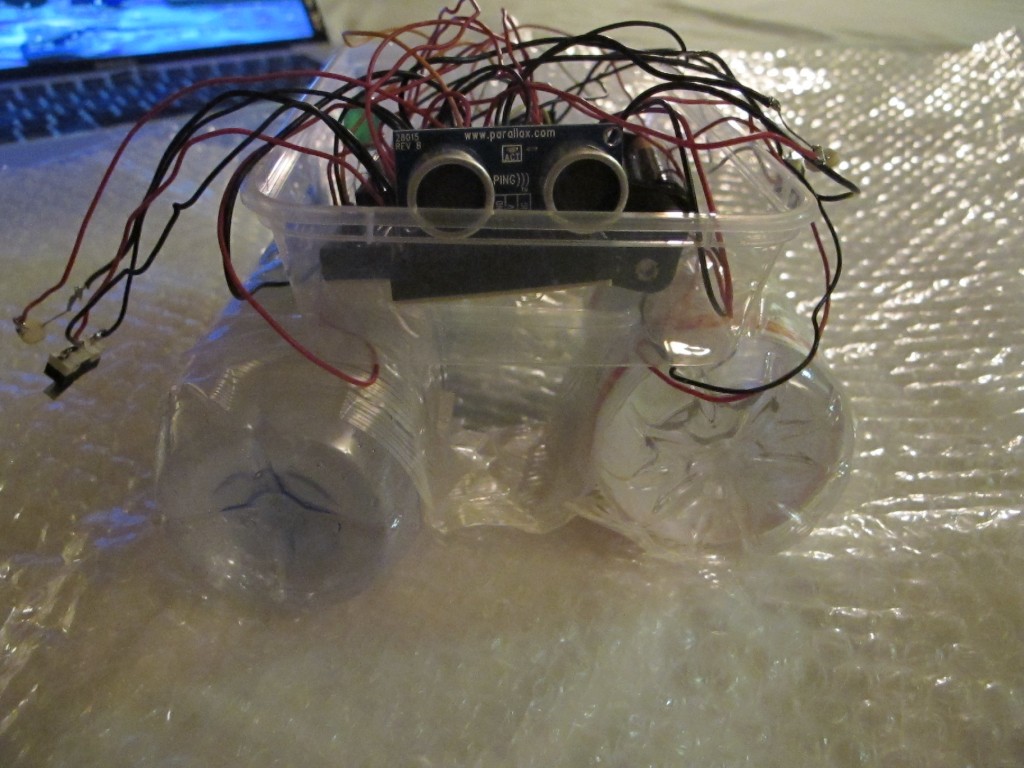
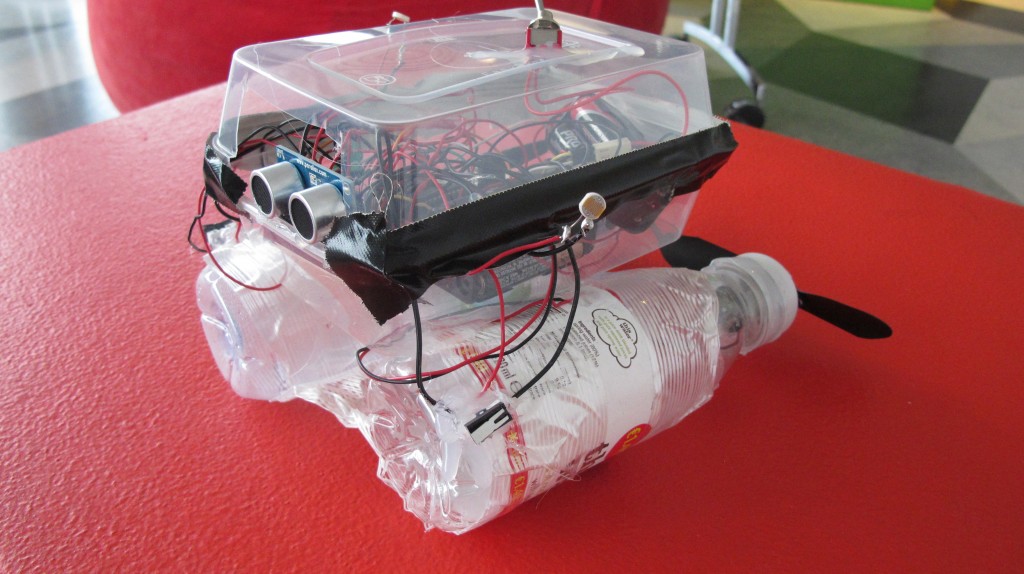
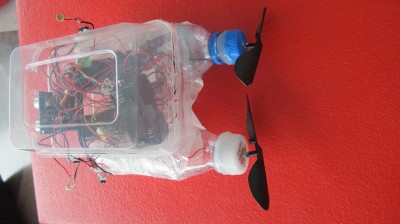
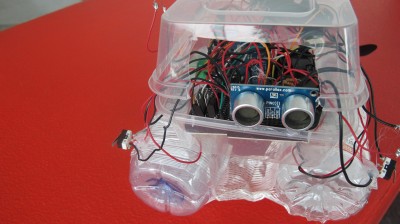
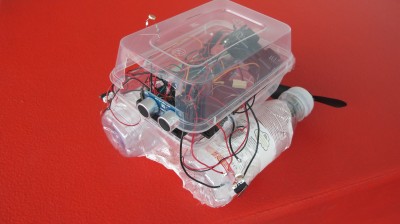
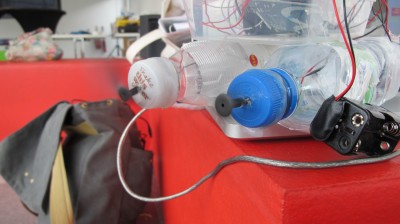
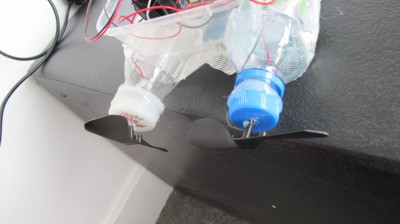
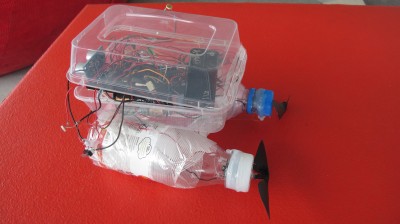
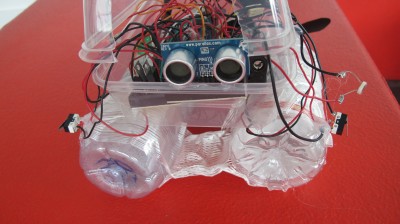
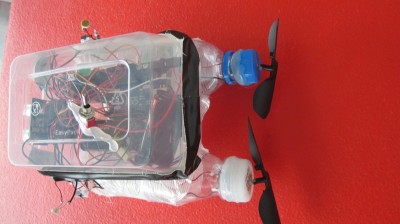
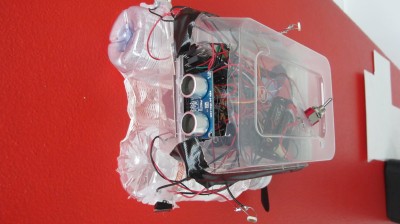
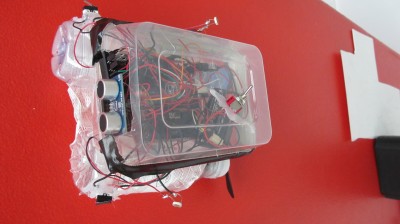
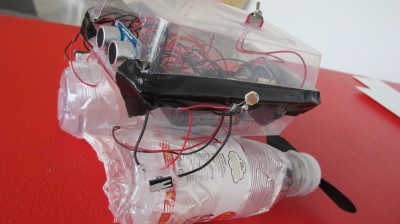
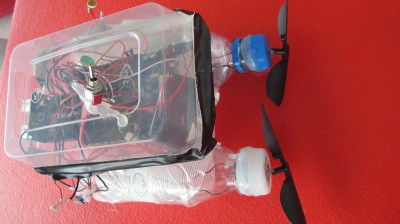
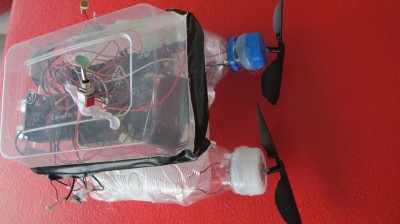
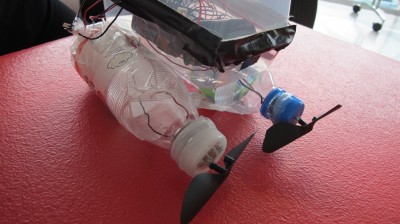
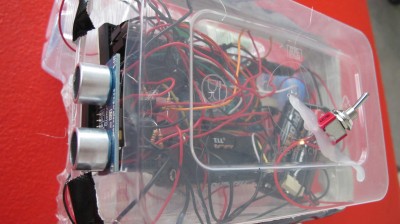
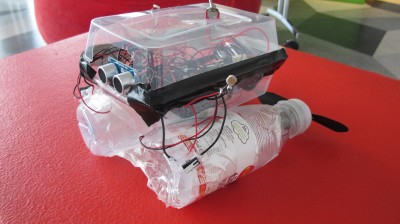
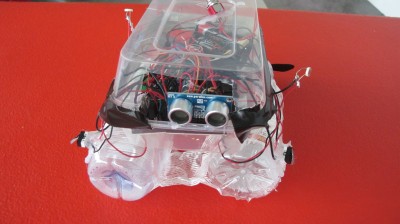
robot boat with many sensing capabilities
STEP BY STEP HOW TO:
http://levinegabriella.com/teaching/Boat.pdf TUTORIAL and CODE
github.com/gabriella/boat-
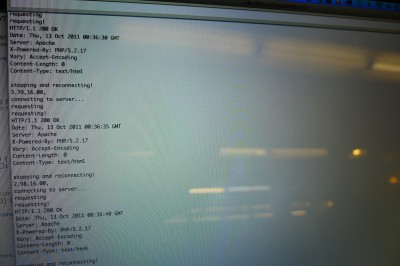
Logging data remotely to the web, no computer
So I switched over the client to here: http://levinegabriella.com/understanding_networks/liveApplet/
(I have to figure out why no text is appearing on the graph – i had temperature and light and date markers)
the php server is written here: http://levinegabriella.com/understanding_networks/dataLogger.php
The server reads and writes to a text file here: http://www.levinegabriella.com/understanding_networks/liveApplet/DATAcl.TXT
See code below for Arduino and php and processing
Next step: The day I left NY my dataLogging Arduino “crashed”, after working for a week . It could have been any number of things. The SD card, the server, a short?
Try Pachube, and Watch Dog to restart Arduino if it crashes.
Can i do some virtual debugging?
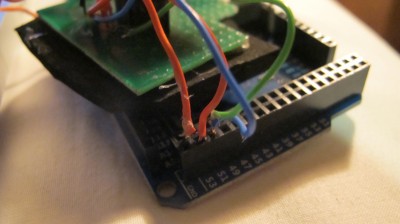
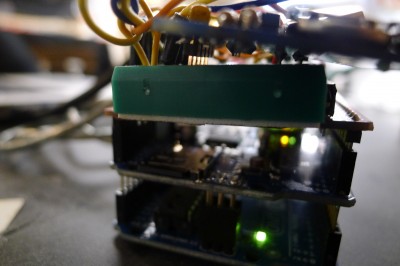
Also, Arduino UNO ran out of space (the functions include: data logger, ethernet connection to a server, temp sensor, light sensor, real time clock – But there are many more sensors on board (gps, humidity, accelerometer, barometric pressure) so I’ve moved everything over to the MEGA. Had to rearrange the SPI / I2C pin connections, but besides that it’s all good.
(all the code (php, processing, arduino) can also be downloaded here)
More to come…
&amp;amp;amp;lt;?php
// put the name and path of the text file in a variable.
// this is the text file where we'll store the data:
$filename = 'liveApplet/DATAcl.TXT';
//make sure the file is not empty:
if (file_exists($filename)) {
// get the contents of the file
// and put them in a variable called $fileContents:
$fileContents = file_get_contents($filename);
// if there is new data from the client, it'll
// be in a request parameter called &amp;amp;amp;quot;data&amp;amp;amp;quot;.
if (isset($_REQUEST['data'])) {
// append what the client sent as 'data' to
// the variable holding the file contents:
$fileContents = $fileContents . &amp;amp;amp;quot;\n&amp;amp;amp;quot;. $_REQUEST['data'];
// put the file contents back into the file
// you're overwriting the whole file when you do this:
file_put_contents($filename, $fileContents);
} else {
// there was no data sent in the request
// so show the old stuff:
// echo '&amp;amp;amp;lt;p&amp;amp;amp;gt;' . $fileContents . '&amp;amp;amp;lt;/p&amp;amp;amp;gt;';
//split the string of the newLines:
$strings = explode(&amp;amp;amp;quot;\n&amp;amp;amp;quot;, $fileContents);
//loop over the array of the lines, adding a break at the end of each
foreach ($strings as $thisString){
echo $thisString . &amp;amp;amp;quot;&amp;amp;amp;lt;br/&amp;amp;amp;gt;\n&amp;amp;amp;quot;;
}
}
}
?&amp;amp;amp;gt;
Arduino:
[/python]
/*
Web client
This sketch connects to a website (http://www.google.com)
using an Arduino Wiznet Ethernet shield.
Circuit:
* Ethernet shield attached to pins 10, 11, 12, 13
created 18 Dec 2009
by David A. Mellis
*/
#include
#include
#include
#include “RTClib.h”
#include
// Enter a MAC address for your controller below.
// Newer Ethernet shields have a MAC address printed on a sticker on the shield
byte mac[] = {
0x00, 0xAA, 0xBB, 0xCC, 0xDE, 0x03 };
IPAddress server(69,89,31,63); // my IP server
const int requestInterval = 30000;
long lastAttemptTime = 0; // last time you connected to the server, in milliseconds
boolean requested;
const int resetLED = 13;
float temp;
float voltage;
// Initialize the Ethernet client library
// with the IP address and port of the server
// that you want to connect to (port 80 is default for HTTP):
const int chipSelect = 4;//changed from 8
const int LOCATION_FILE_NUMBER_LSB = 0x00;
const int LOCATION_FILE_NUMBER_MSB = 0x01;
File dataFile;
RTC_DS1307 RTC;
EthernetClient client;
DateTime now;
void setup() {
// start the serial library:
Serial.begin(9600);
pinMode(A2, OUTPUT);
pinMode(A3, OUTPUT);
// A2 is the ground, A3 is the power:
digitalWrite(A2, LOW);
digitalWrite(A3, HIGH);
pinMode(10, OUTPUT);
if (!SD.begin(chipSelect)) {
Serial.println(“Card failed, or not present”);
// don’t do anything more:
}
Serial.println(“card initialized.”);
Wire.begin();
RTC.begin();
delay(50);
if (! RTC.isrunning()) {
Serial.println(“RTC is NOT running!”);
// following line sets the RTC to the date & time this sketch was compiled
RTC.adjust(DateTime(__DATE__, __TIME__));
}
dataFile = SD.open(“data.txt”, FILE_WRITE);
delay(500);
// start the Ethernet connection:
Ethernet.begin(mac);
if (Ethernet.begin(mac) == 0) {
Serial.println(“Failed to configure Ethernet using DHCP”);
// no point in carrying on, so do nothing forevermore:
for(;;)
;
}
// connectToServer();
// give the Ethernet shield a second to initialize:
delay(1500);
blink(resetLED, 3);
Serial.println(“connecting…”);
connectToServer();
}
void loop()
{
now = RTC.now();
if(client.connected()){
if(!requested){
requested = makeRequest();
// Serial.println(“requesting!”);
}
if(millis() – lastAttemptTime>requestInterval){
//if youre not connected and two minutes have passed, attempt to connect again
client.stop();
// Serial.println(“stopping and reconnecting!”);
// getData();
delay(1500);
//connectToServer();
}
// if there are incoming bytes available
// from the server, read them and print them:
}
if (client.available()) {
char c = client.read();
// Serial.print(c);
}
// if the server’s disconnected, stop the client:
if (!client.connected()) {
// Serial.println();
// Serial.println(“disconnecting.”);
client.stop();
delay(1500);
if(millis() – lastAttemptTime>requestInterval){
//if youre not connected and two minutes have passed, attempt to connect again
connectToServer();
//try to reconnect here…
}
}
}
void getData(){
voltage = 5 * analogRead(A0) / 1024.0;
//float temp = 5 * analogRead(A1) / 1024.0;
temp=(analogRead(A1))/10;
// Serial.print(voltage);
// Serial.print(F(“,”));
// Serial.print(temp);
// Serial.print(F(“,”));
// Serial.println(” “);
//
if (dataFile) {
DateTime now = RTC.now();
dataFile.print(now.month());
dataFile.print(‘/’);
dataFile.print(now.day());
dataFile.print(‘/’);
dataFile.print(now.year());
dataFile.print(F(“,”));
dataFile.print(now.hour());
dataFile.print(F(“:”));
dataFile.print(now.minute());
dataFile.print(F(“:”));
dataFile.print(now.second());
dataFile.print(F(“,”));
dataFile.print(voltage);
dataFile.print(F(“,”));
dataFile.print(temp);
dataFile.println();
}
dataFile.flush();
}
void connectToServer(){
// Serial.println(“connecting to server…”);
if (client.connect(server, 80)) {
requested = false;
}
lastAttemptTime = millis();
}
boolean makeRequest() {
// Serial.println(“requesting”);
getData();
// Make a HTTP request:
client.print(“GET /understanding_networks/dataLogger.php?data=”);
client.print(now.month());
client.print(‘/’);
client.print(now.day());
client.print(‘/’);
client.print(now.year());
client.print(F(“,”));
client.print(now.hour());
client.print(F(“:”));
client.print(now.minute());
client.print(F(“:”));
client.print(now.second());
client.print(F(“,”));
client.print(voltage);
client.print(F(“,”));
client.print(temp);
client.println(” HTTP/1.1 “);
client.println(“HOST: www.levinegabriella.com”);
client.println();
return true;
}
void blink(int thisPin, int howManyTimes){
for (int blinks = 0;blinks digitalWrite(thisPin, HIGH);
delay(200);
digitalWrite(thisPin, LOW);
delay(200);
}
}
//questions: what other sensors will be good?
//what is too much data
//i seem to be making my request twice
//when my request interval is more than 5000 i get
//10/13/2011,11:14:56,3.67,15.00
//10/13/2011,11:15:5,3.65,15.00
//10/13/2011,11:15:16,0.00,0.00
//10/13/2011,11:15:44,0.00,0.00
//why
//can you go back a directory
[/python]
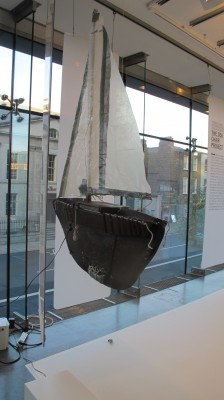
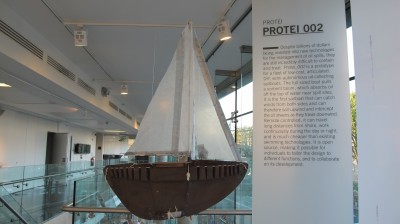
SURFACE TENSION – the Future of Water – at The Science Gallery, Dublin
Protei_002 at the Science Gallery
PROTEI_002
PROTEI
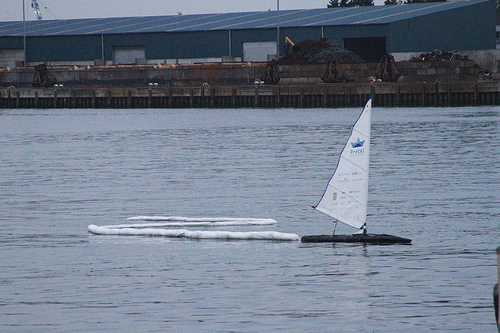
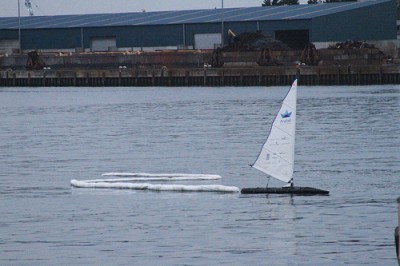
Oil spills destroy wildlife, human health, and have serious effects on the economy. Despite billions of dollars being invested into new technologies for the management of oil spills, they are still incredibly difficult to contain and treat. Oil from a spill drifts downwind, following surface currents. One technique to manage this drift is to use skimmers – repurposed fishing boats that contain and absorb the oil. Despite being mobilised in their hundreds, skimmers absorb a relatively small proportion of oil from a spill. Protei have come up with a way to optimise the process using existing technology and an innovative open source design. Protei_002 is a prototype for a fleet of low-cost, articulated, DIY, semi- autonomous oil-collecting sailboats. The full-sized boat pulls a sorbent boom, which absorbs oil off the top of water near spill sites. It is the first sailboat that can catch winds from both sides and can therefore sail upwind and intercept the oil sheens as they travel downwind. It can be controlled remotely and so does not endanger the health of operators. It can travel long distances from shore, work continuously during the day or night, and is much cheaper than existing skimming technologies. It is open source, making it possible for individuals to tailor the design to different functions, and to collaborate on its development.
Here I am setting up Protei_002 for this amazing exhibition
And come learn to build robotic boats Saturday.
Here are some of the other works featured in the exhibit.
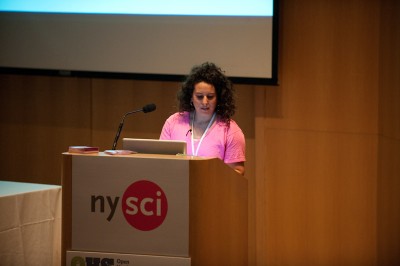
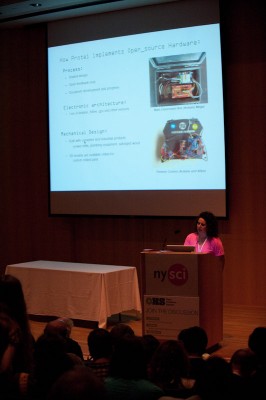
Protei at Open_hardware summit 2011
This was the most inspiring day for me.
nice write up on the science american blog

